
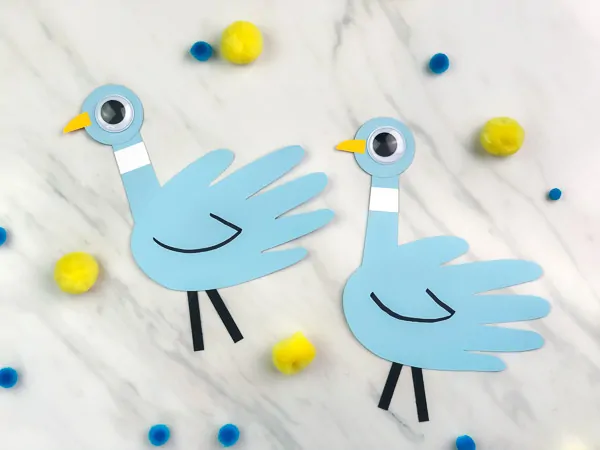
Inside: Learn how to make this funny handprint pigeon craft for kids! It’s perfect for using in the classroom or library.
If your kids are anything like mine, they love the Pigeon books by Mo Willems.
The first time my son mentioned them I had no idea what he was talking about so we went to the library and borrowed several of them.
I was instantly a fan!
There’s something about that grumpy little pigeon and those cute illustrations that make the books irresistible.
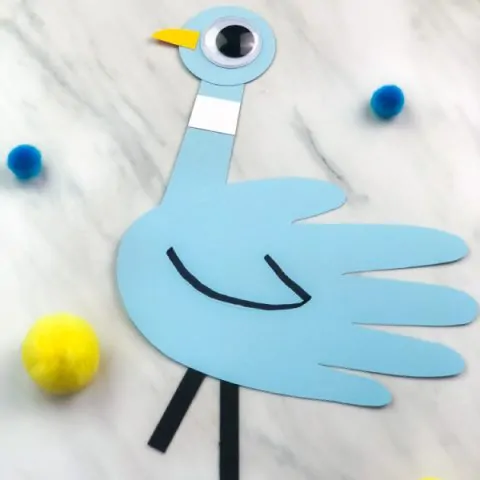
With this latest craft for kids, we decided to combine our love of the pigeon books and our love of handprint arts and crafts.
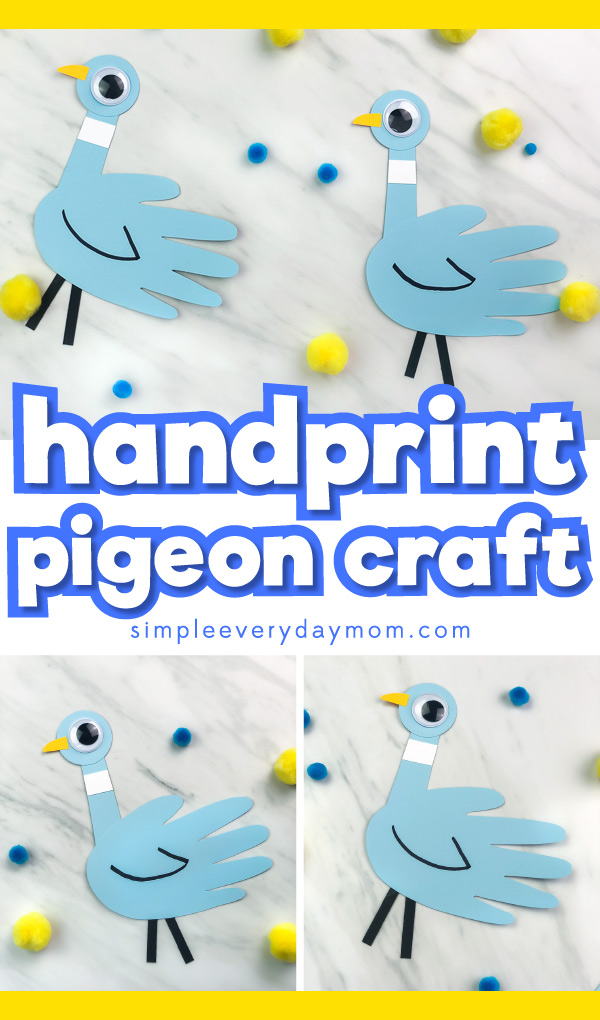
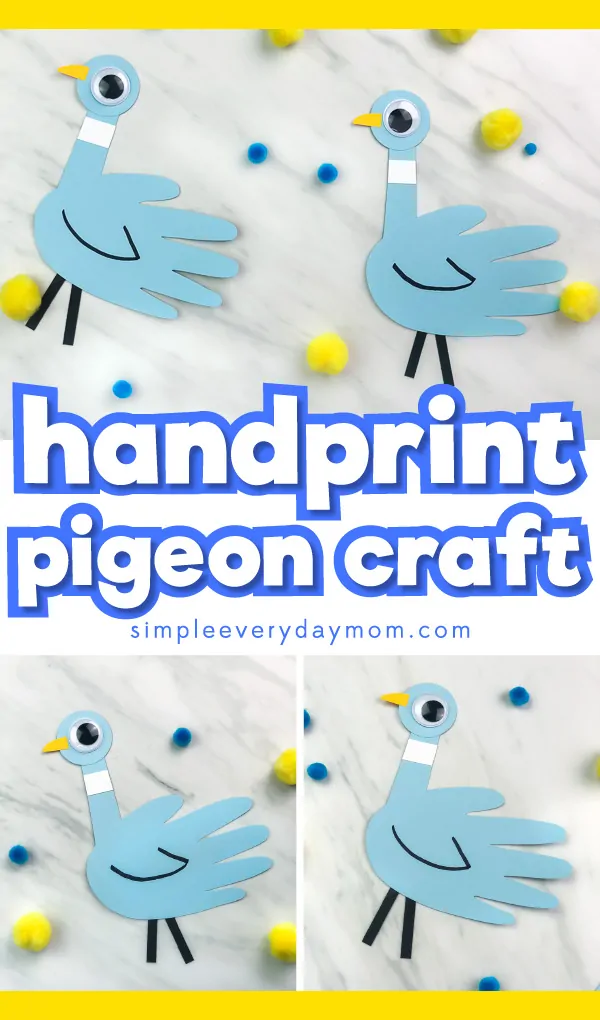
The result was this cute handprint pigeon craft that’s perfect for preschool, kindergarten and elementary students!
Read on below to see how to make this craft with your kids or students.
Mo Willems Pigeon Book Craft For Kids
This post may contain affiliate links. As an Amazon Associate and a participant in other affiliate programs, I earn a commission on qualifying purchases. Read our disclosure policy.
Supplies
- Colored card stock (in light blue, black and yellow)
- White card stock
- Black marker
- Pencil
- 1″ googly eye
- 1.5″ circle punch (optional)
- Scissors
- Glue stick
Directions
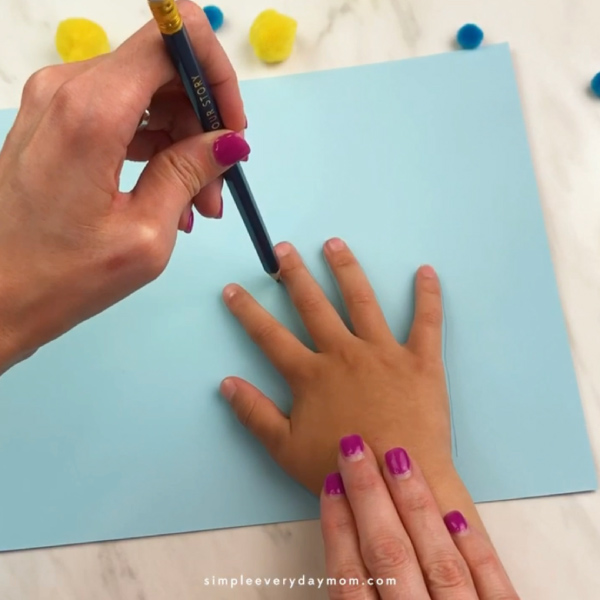
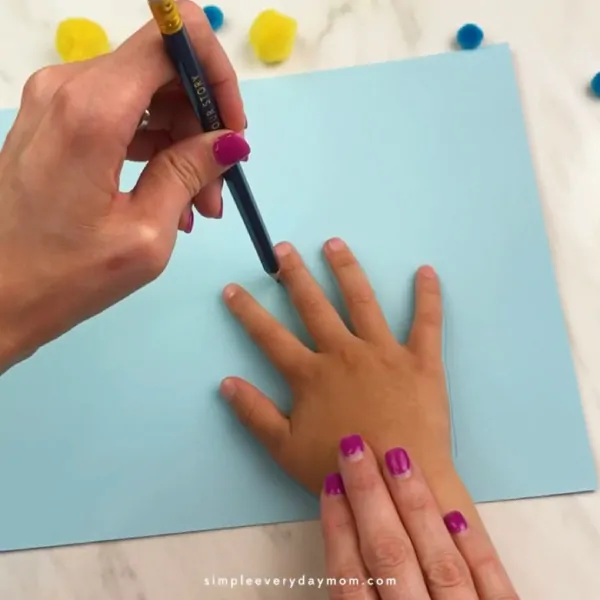
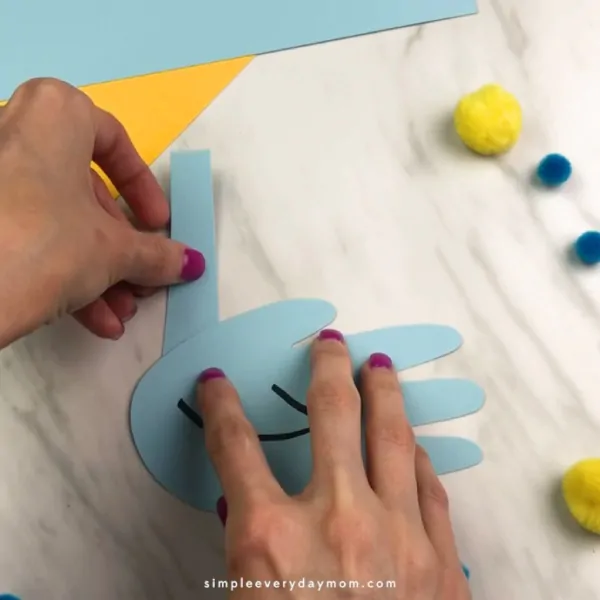
Trace your child’s hand onto the light blue card stock. Cut out.

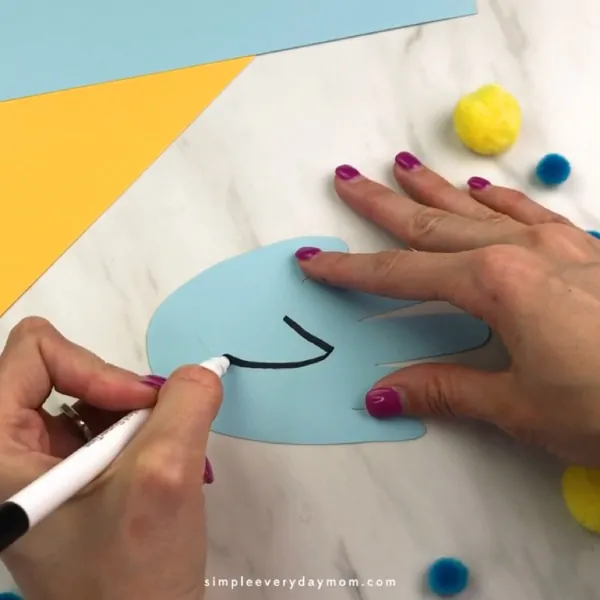
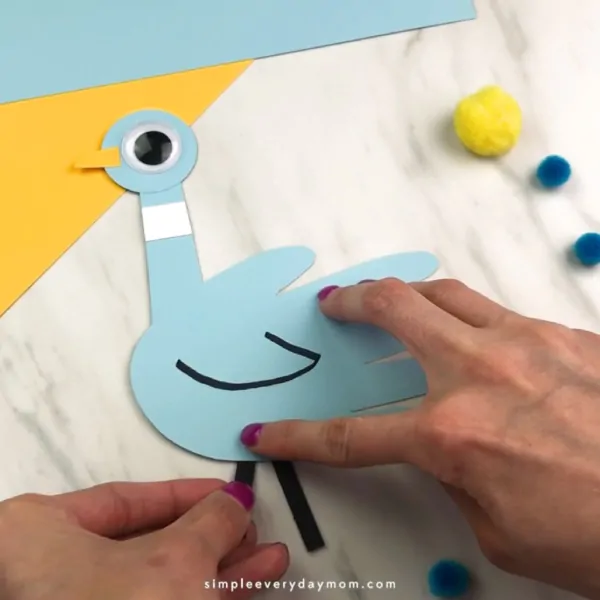
Position the handprint with the thumb up and the fingers facing to the right. Use the black marker to draw a simple wing in the middle of the handprint.

Cut out a long skinny rectangle (about 4″ long by .75″ wide) from the blue card stock. This will be the pigeon’s neck.
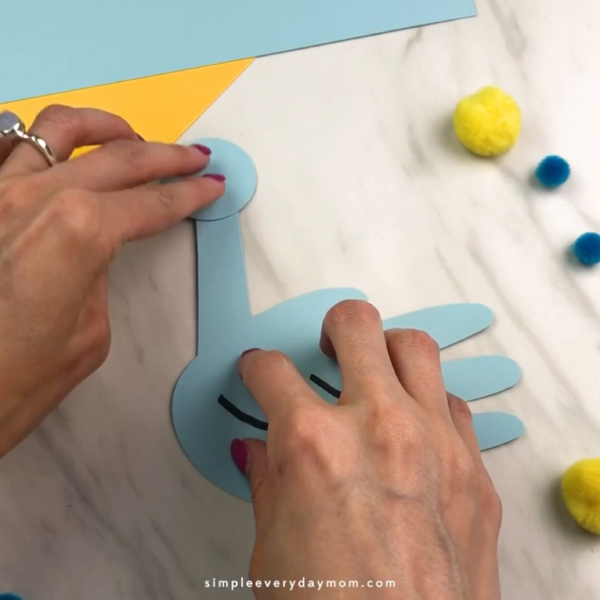

Use the circle punch or scissors to make a 1.5″ circle. This will be the pigeon’s head.
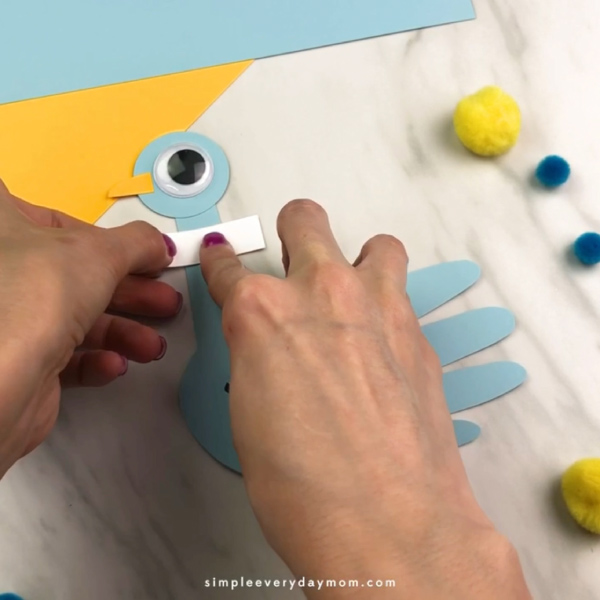

Cut a small rectangle (about .5″ tall by 1.5″ wide) from the white card stock.

Cut out a small beak shape from the yellow card stock.

Using the black card stock, cut out 2 skinny rectangles (about .25″ wide by 2″ tall) for the legs.
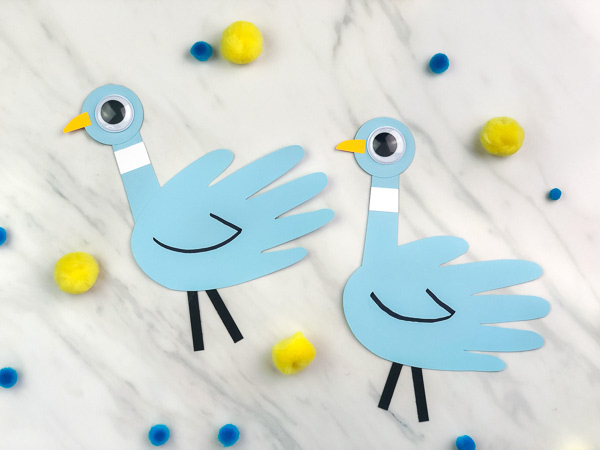
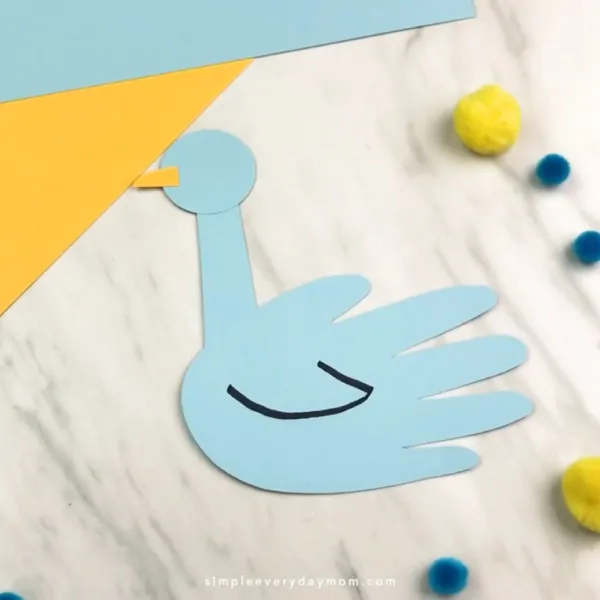
Assemble the pigeon by gluing the neck behind the handprint, close to the base of the hand. Glue the 1.5″ circle to the top of the neck. Attach the googly eye to the center of the pigeon’s head. Glue the beak to the left side of the pigeon’s head. Glue the white rectangle slightly below the pigeon’s head. Trim off the excess on each side. Glue the black legs to the bottom of the handprint.
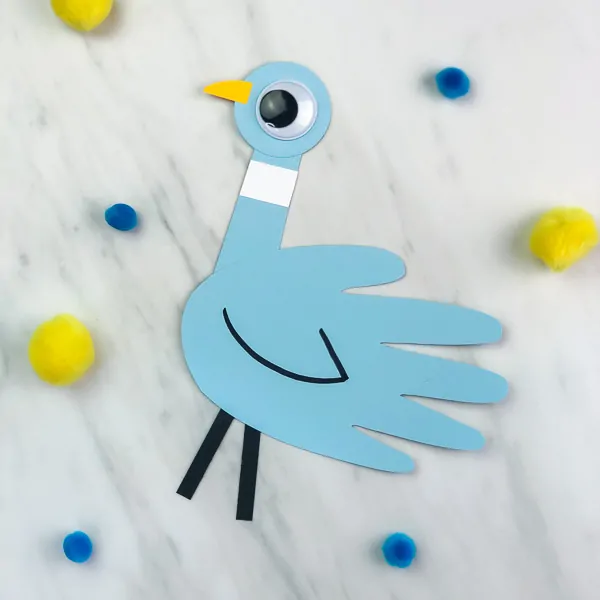
We loved the way these little guys turned out!
My 4-year-old just wanted to take him around all day and play with him while looking at all his pigeon books.
Since this activity is so simple, it makes it a great craft to do with young children in the classroom or at the library.
The tracing, cutting, and gluing are all perfect fine motor skill practice that will help kids progress.
Step into the colorful and quirky universe of Dr. Seuss with our latest Dr. Seuss crafts – click now to discover creative projects that will bring the magic of Seuss stories right into your home!

If you don’t have access to googly eyes, you can always swap them out with white paper. Simply glue the white paper onto the head and use the black marker to draw the pupil and you’re all set!
This was such a hit, that my boys are already asking me to make another one of the little ducklings. We’re sure your young kids will also have fun making them.


Share With Us
If you make this craft with your kids at home or in the classroom, I’d love for you to share it with us on our Facebook page!
We get so excited seeing kids make these crafts 🙂
Get Our Favorite Handprint Animal Crafts

Mo Willems Inspired Handprint Pigeon Craft For Kids
Make this cute handprint pigeon craft from the popular Mo Willem's book.
Materials
- Colored card stock (in light blue, black and yellow)
- White card stock
- Black marker
- Pencil
- 1" googly eye
- Glue stick
Tools
- 1.5" circle punch (optional)
- Scissors
Instructions
- Trace your child's hand onto the light blue card stock. Cut out.
- Position the handprint with the thumb up and the fingers facing to the right. Use the black marker to draw a simple wing in the middle of the handprint.
- Cut out a long skinny rectangle (about 4" long by .75" wide) from the blue card stock. This will be the pigeon's neck.
- Use the circle punch or scissors to make a 1.5" circle. This will be the pigeon's head.
- Cut a small rectangle (about .5" tall by 1.5" wide) from the white card stock.
- Cut out a small beak shape from the yellow card stock.
- Using the black card stock, cut out 2 skinny rectangles (about .25" wide by 2" tall) for the legs.
- Assemble the pigeon by gluing the neck behind the handprint, close to the base of the hand. Glue the 1.5" circle to the top of the neck. Attach the googly eye to the center of the pigeon's head. Glue the beak to the left side of the pigeon's head. Glue the white rectangle slighty below the pigeon's head. Trim off the excess on each side. Glue the black legs to the bottom of the handprint.


Sam is the crafter and founder of Simple Everyday Mom. She has been featured in Oprah Mag, Good Housekeeping, The Spruce Crafts, Country Living, The Bump and more. Read more.
tiffany
Tuesday 2nd of April 2024
Any way to get the template for this? Or the downloads? I do not see it at the end of this page. Help please?
Sam
Tuesday 2nd of April 2024
Hi! This is actually one of the few crafts that doesn't have a template ◡̈
Jeany
Saturday 30th of September 2023
Why us it so hard to find the down loads?! I have been trying to get the pink elf download for days and I can't find it. Same with the pumpkin one. You have such cute free downloads and it keeps taking me to several pages and I still can't find what I want. Tell me the secret please. I'm getting a huge load of emails but no free printouts. Thank you for the help in this problem.
Sam
Monday 2nd of October 2023
Hi Jeany! So sorry you're feeling frustrated. It's supposed to be straight forward. After you enter our email in the form, it redirects you to the download page. You want to stay on that page, scroll past the photo and click the blue "download now" button. And, just to be clear, there is no template for this craft. Please let me know if you need more help after this!
Paz Gutierrez
Tuesday 13th of June 2023
I want this pigeon handprint craft for my grandkids, they’ll love it
Sam
Tuesday 13th of June 2023
This is one of the very few crafts that doesn't come with a template, but explains how to make it in the body of the post ◡̈
Paige
Thursday 1st of June 2023
Can I get this template?
Sam
Friday 2nd of June 2023
This is one of the few crafts that actually doesn't have a template :)
Paige
Wednesday 31st of May 2023
Your Crafts are so cute
Sam
Friday 2nd of June 2023
Thanks so much, Paige!