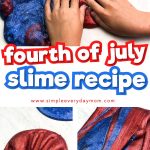
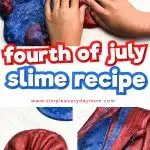
Learn how to make this glittery patriotic slime for Fourth of July!
Summer is basically here and we’re anxiously awaiting the next big holiday!
We love a good excuse to make some themed crafts or activities and Independence day is perfect for celebrating.
Today we’re sharing our recipe for an amazingly glittery July 4th slime for kids! It’s customizable to your liking and takes less than 20 minutes to make.
Trust us, your kids will be so happy you made this slime for them! This slime is the newest addition to our easy slime recipes for kids collection. Be sure to click over and see all the fun slimes we have to share.
Read on below to see how to make this DIY slime with just a few simple ingredients.
Fourth Of July Slime Recipe


This post may contain affiliate links. As an Amazon Associate and a participant in other affiliate programs, I earn a commission on qualifying purchases. Read our disclosure policy.
Supplies
- 3/4 cup clear Elmer’s glue
- 2 tablespoons glitter acrylic paint (in blue and red)
- 1/3 cup water
- 1/2 tsp baking soda
- 3-4 tablespoons contact solution
- 1-2 tablespoons red and blue glitter (we used glitter from this kit)
- Mixing bowl
- Fork
- Spatula
- Measuring cups
- Measuring spoons
Related: Patriotic Color By Number Printables
How To Make Patriotic Slime For Kids

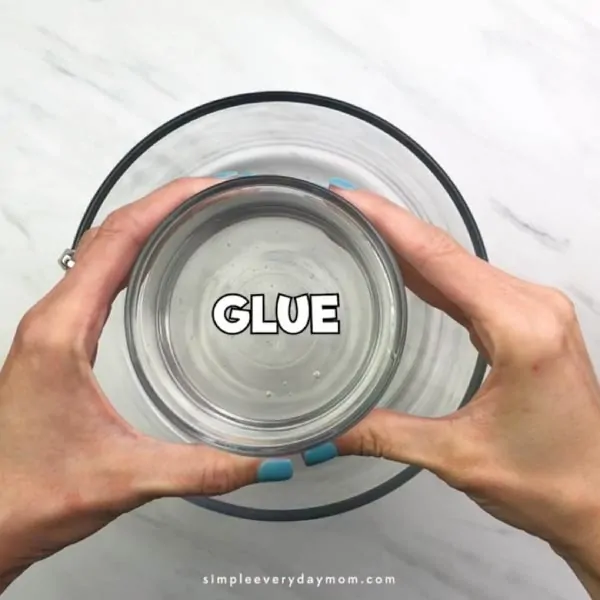
Pour the clear glue into your mixing bowl.

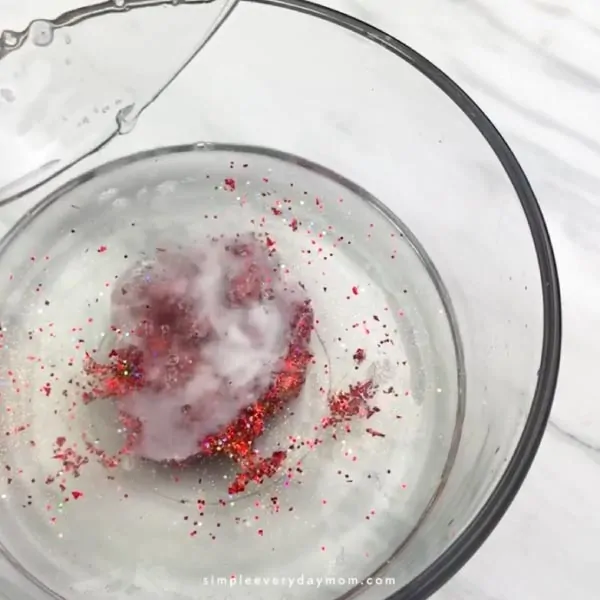
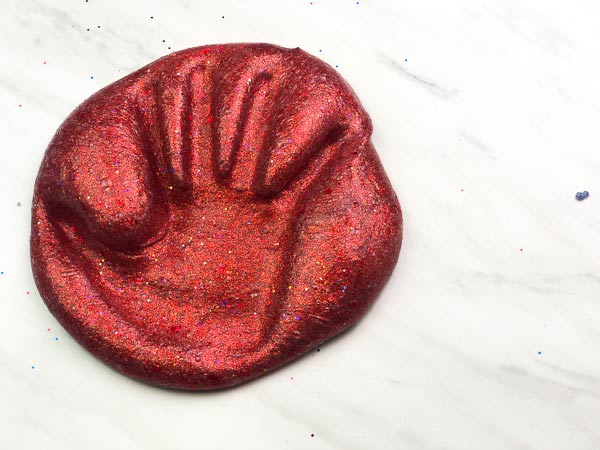
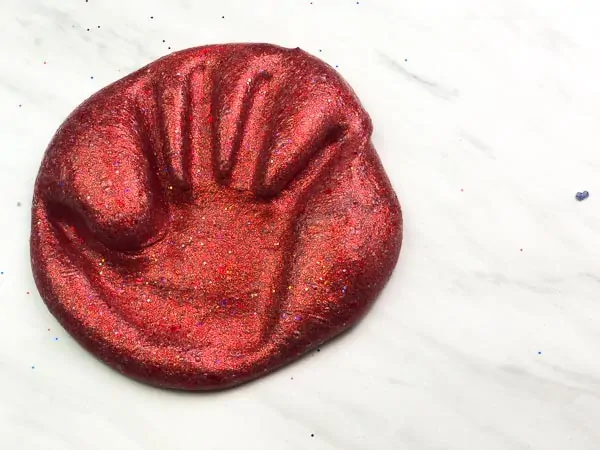
Add the red paint, water, baking soda, red glitter and 3 tablespoons of contact solution to the bowl. Mix well.
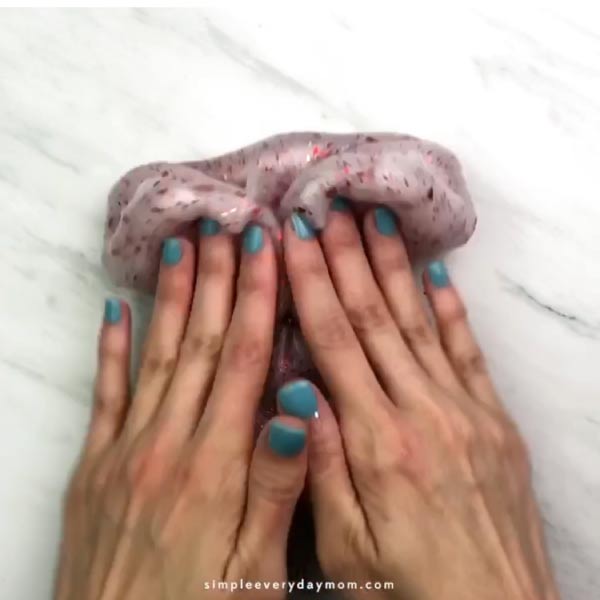
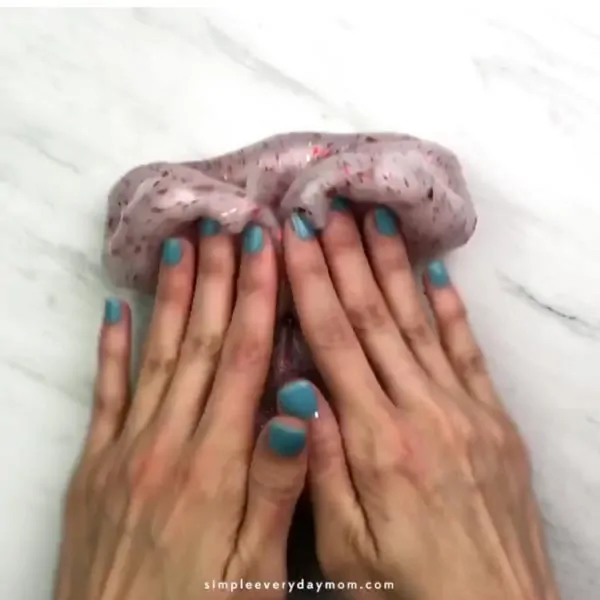
Once the mixture begins to stick to itself, use your hands to knead and stretch the slime.

If your mixture is still too sticky to form slime, slowly add more contact lens solution. Knead again and continue adding more contact solution until your desired consistency is achieved.
Repeat steps 1-4 again with the blue paint and blue glitter.

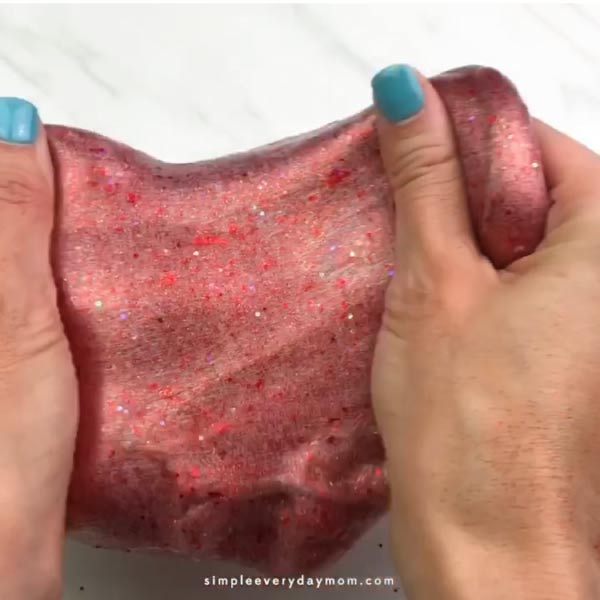
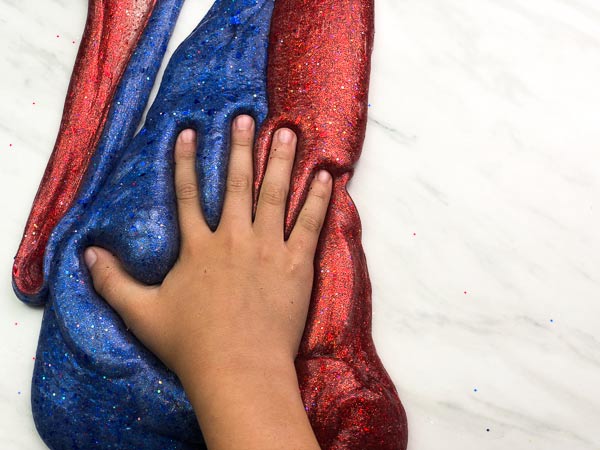
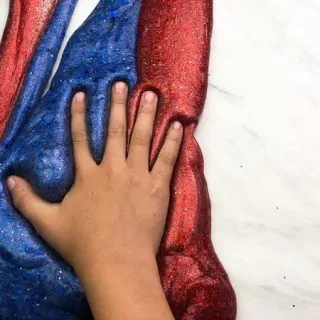
So far this 4th of July slime has been my kids absolute favorite! We really loaded both the red and blue slime up with glitter so it was awesome to play with, but be warned this slime is messy!!!
If you decide to saturate it with glitter, the glitter will transfer to your child’s hands when they play with it!
The upside is that it washes off easily with water. I let my kids play with it in a small plastic bin to keep the glitter contained to one area, but you can also send them outside to play with it so you don’t have to worry about glitter in the house.
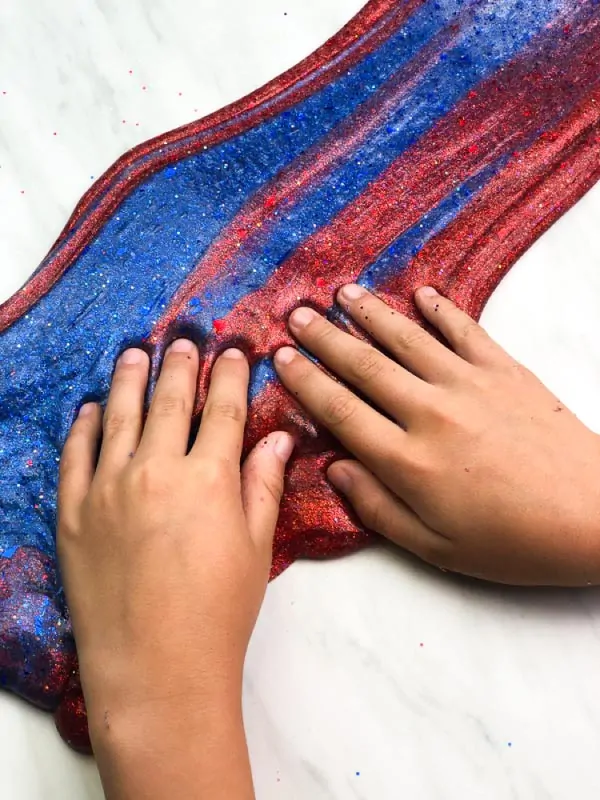
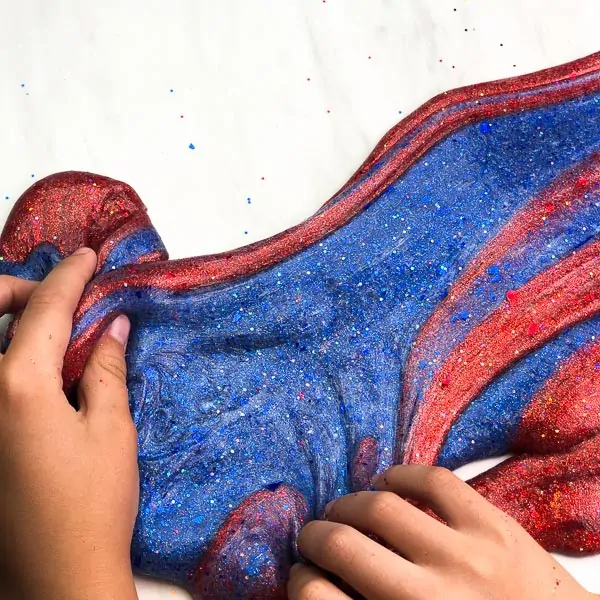
We made both the red and blue glitter slime and played with them separately (one for each kid) for a while so we could enjoy them without the color mixing.
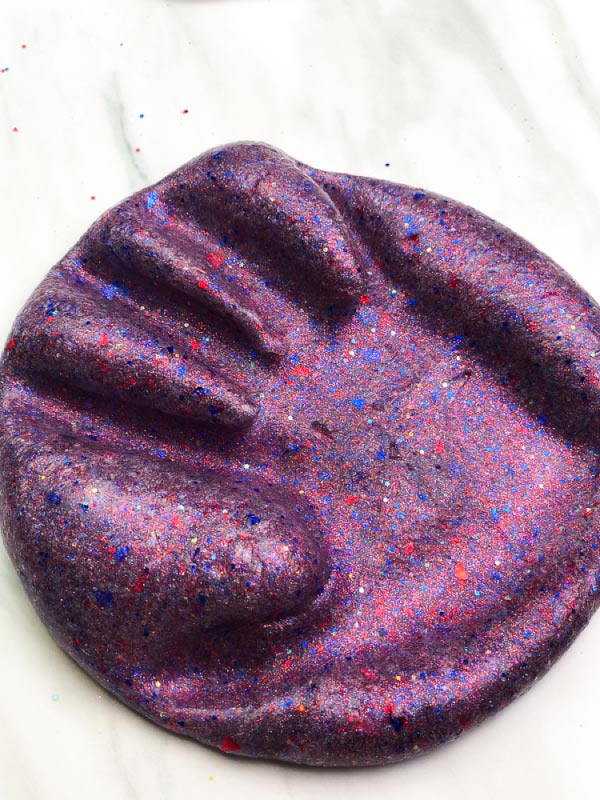
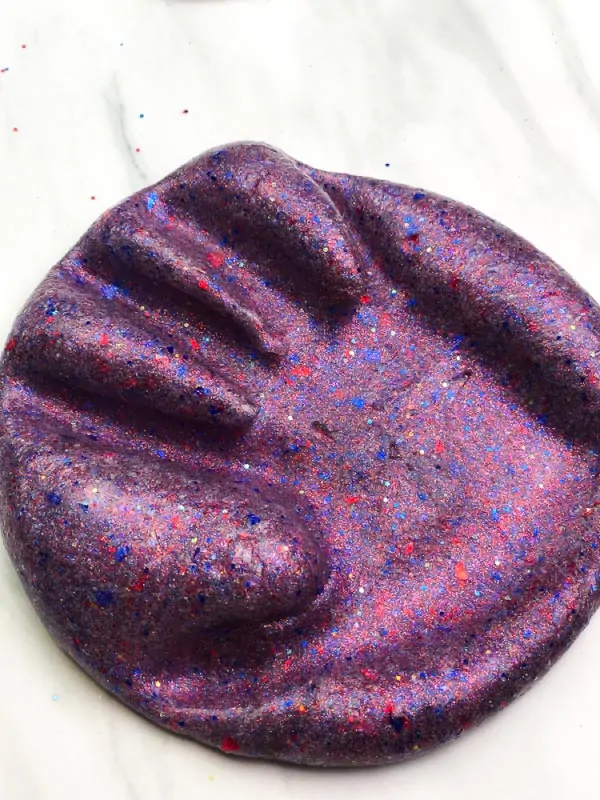
Eventually my kids wanted to mix and mash them together so we did!
It actually created a beautiful slime that looks purplish but still retains the separate blue and red glitter chunks from the acrylic paint.
Slime Recipe Notes & Substitutions
If you can’t get your hands on this amazing glitter acrylic paint and need to leave it out, there are a few things you need to be aware of.
First, the acrylic paint adds wetness to the slime, so if you do not use it you will not need the full amount of contact lens solution.
I would suggest beginning with 1.5 tablespoons and then working your way up from there if the mixture is still too sticky.
Secondly, if you don’t use that glitter acrylic paint you won’t get the same holographic, chunky glitter look that you see in the pictures.
If you have access to shredded mylar in blue or red that can be another way to add more dimension and sparkliness.
If you want to make this recipe easier, you can also substitute the baking soda and contact lens solution with Elmer’s magical liquid.
We’ve made a few slime recipes (like this princess slime and this holographic glitter slime) with this ingredient and we usually double the amount of magical liquid that it says to use on the bottle.


For this slime, we’d suggest about 1/2 cup of magical liquid, but again start a little below that amount (probably around 1/3 cup) and work you way slowly up. This will allow you to find the perfect consistency of slime.
If you decide to jump all the way to 1/2 cup of magical liquid and it ends up being too much, your slime will end up stiff and won’t ooze the way its supposed to, so take it slow.
Slime Safety Tips
This slime is not intended for children under 3 or for any child who may attempt to eat it. If any part of this slime is ingested, contact your doctor immediately.
Adult supervision is needed at all time when a child is playing with slime.

If your child has sensitive skin, have them wear gloves while playing with the slime.
Only adults should make slime. Children and adults should wash hands after playing with or touching the slime.

More Sensory Activities For Kids
- Salt Dough Fossil Dinosaur Sensory Bin
- Easy 3 Ingredient Princess Slime
- Shaving Cream & Pool Noodle Sensory Play
- Garden Sensory Bin
More Fun Summer Ideas For Kids

Fourth Of July Slime
Learn how to make this super glittery patriotic slime for kids to play with!
Materials
- 3/4 cup clear Elmer's glue
- 2 tablespoons glitter acrylic paint (in blue and red)
- 1/3 cup water
- 1/2 tsp baking soda
- 3-4 tablespoons contact solution
- 1-2 tablespoons glitter (each; red and blue)
Tools
- Mixing bowl
- Fork
- Spatula
- Measuring cups
- Measuring spoons
Instructions
- Pour the clear glue into your mixing bowl.
- Add the red paint, water, baking soda, red glitter and 3 tablespoons of contact solution to the bowl. Mix well.
- Once the mixture begins to stick to itself, use your hands to knead and stretch the slime.
- If your mixture is still too sticky to form slime, slowly add more contact lens solution. Knead again and continue adding more contact solution until your desired consistency is achieved.
- Repeat steps 1-4 again with the blue paint and blue glitter.
Notes
Your contact lens solution must contain boric acid in order to make this slime, so check the ingredients before purchasing.


Sam is the crafter and founder of Simple Everyday Mom. She has been featured in Oprah Mag, Good Housekeeping, The Spruce Crafts, Country Living, The Bump and more. Read more.