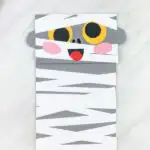
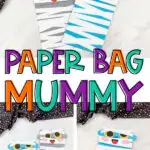
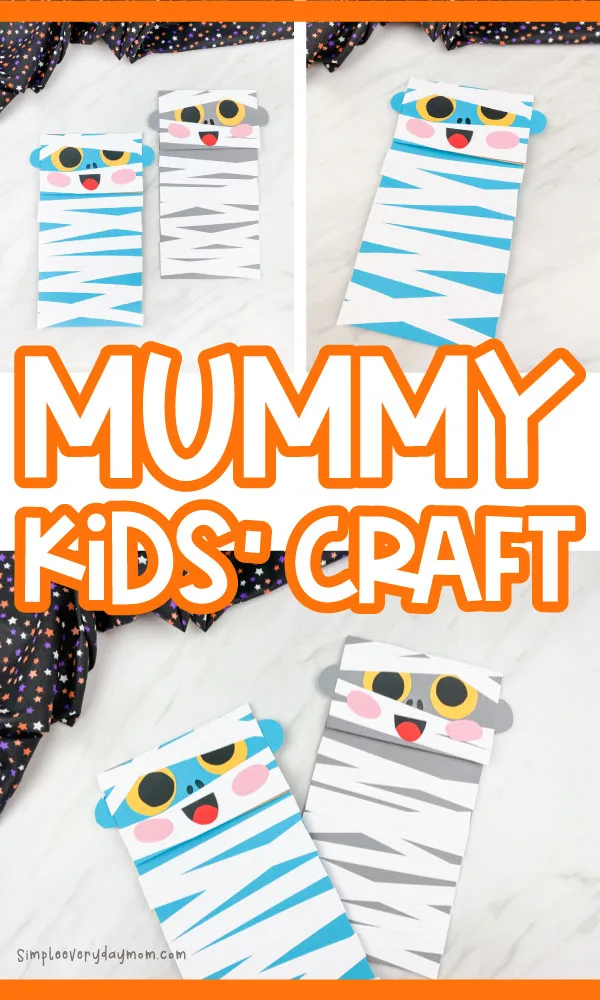
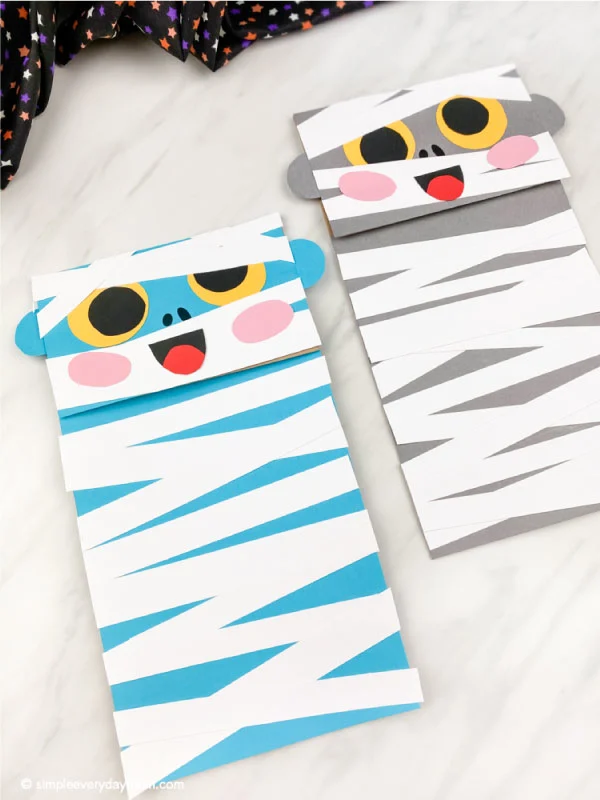
If your kids love Halloween and mummies, they’ll have a blast making this brown paper bag mummy craft!
We’ve made lots of easy Halloween crafts for kids because they’re so fun and quick to make!
Be sure to bookmark that page and save it for later so you’ll never run out of ideas.
This simple craft is easy enough to make with preschool, kindergarten, and elementary-aged children.
Just download the free printable template, watch our quick video tutorial and you’re ready to go!
Easy Mummy Craft
This post may contain affiliate links. As an Amazon Associate and a participant in other affiliate programs, I earn a commission on qualifying purchases. Read our disclosure policy.
Supplies
- Colored paper (in gray or blue, white, yellow, black, red and pink)
- Scissors
- Glue stick
- Brown paper bag
- Paper trimmer (optional)
- Mummy puppet template (download form located at the end of this page)
Directions
Download the mummy template, print and cut out the pieces.
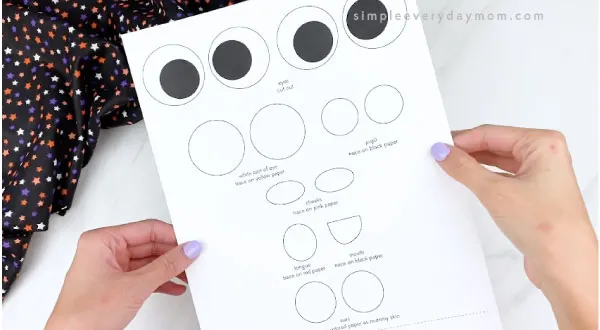
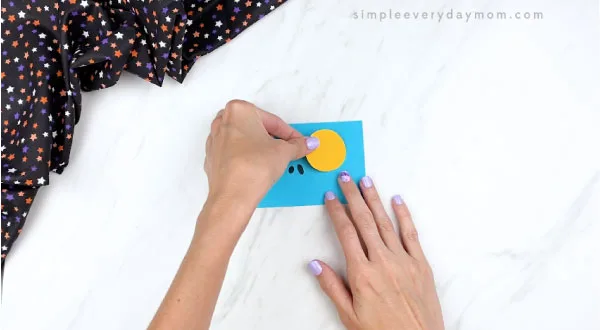
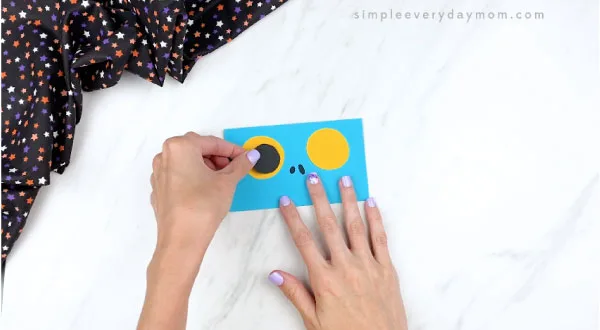
Begin to make the mummy’s eyes by gluing the pupil to the yellow outer eye. Give your mummy a crazy look by placing the pupil in different spots. Glue the finished eyes on the rectangular mummy face, one on each side of the nostrils.
Cut strips of white paper in varying lengths and widths to act as the mummy wrapping. Use a paper trimmer to speed this step up.
Glue the strips of white paper along the mummy’s face. Place them at different angles to give it a wrapped look. Be sure to leave room to see the eyes and nostrils.
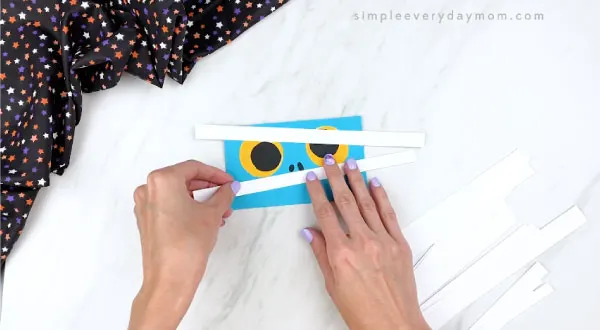
Cut off any excess white paper that hangs over the sides of the mummy’s face, then glue the mummy’s ears to the back of the face.
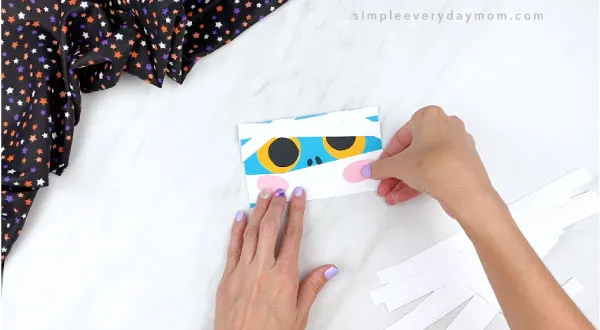
Glue the cheeks just below the eyes.
Assemble the mummy’s mouth by gluing the tongue to the mouth and trimming off the excess red paper. Glue the completed mouth on top of the mummy wrap, just below the nostrils.
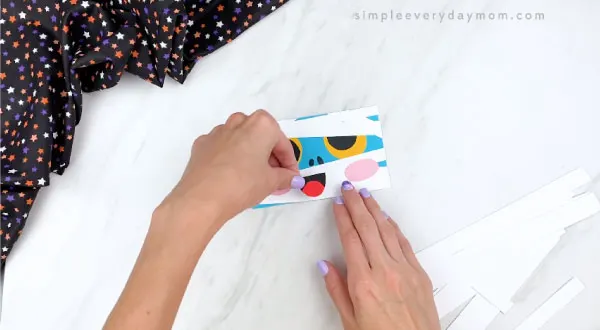
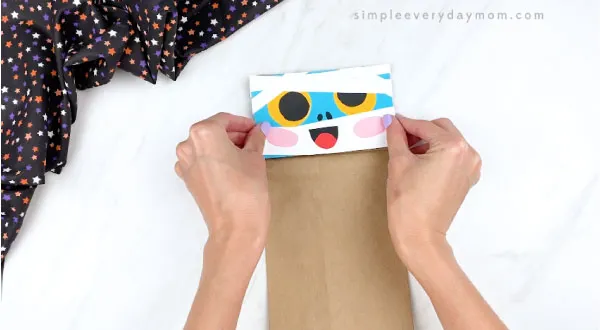
Glue the mummy face to the brown paper bag flap.
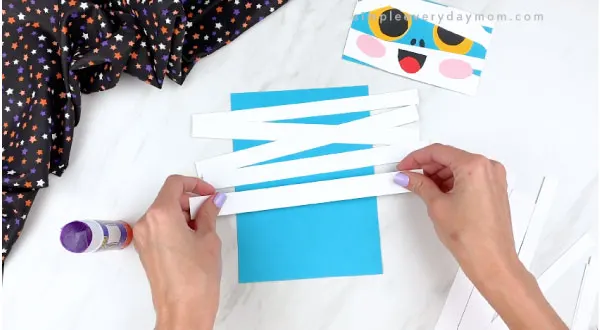
Glue the rest of the white mummy strips all over the body piece. Cut off any excess from the sides of the paper.
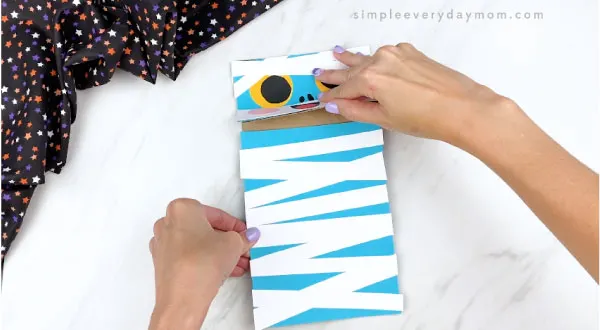
Place the larger mummy body rectangle on the lower part of the paper bag.
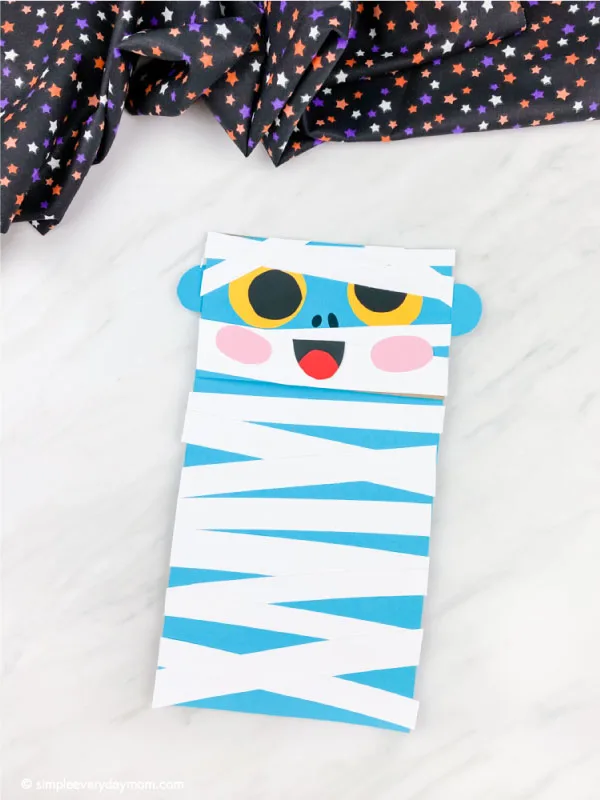
Isn’t this mummy so cute? We love creating fun and non-scary Halloween crafts for kids and this one is sure to please!
Tips For Making This Craft Even Easier
If you want to simplify this craft for the youngest of children, we have some suggestions for you.
First, we suggest having all the pieces pre cut and ready to glue. If you want your child to work on scissors skills, have most of the pieces cut and let them make a few of the mummy wraps.
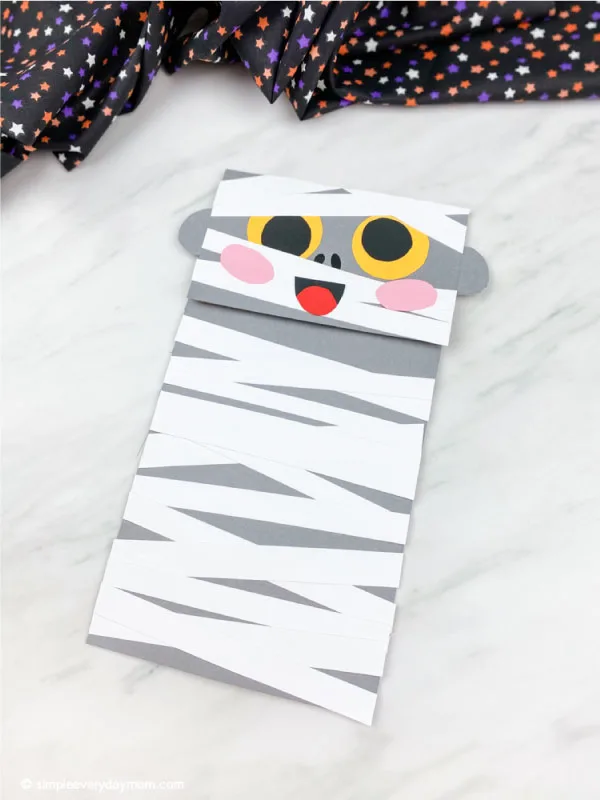
Simplify steps by leaving off the mouth and cheeks. These add a few extra details to make the mummy even more fun, but they’re definitely not necessary.
Along the same lines, you can also forgo the mummy’s ears and just do the eyes and mummy wrap!
Halloween Unit For Kids
Want to create an entire unit study around this mummy craft? If so, keep reading below for even more great ideas!
Reading aloud to a child is good for their development. It can help them develop a love of reading, learn new vocabulary, and do many more things! Because of this, we love to start off with books.
Below are some of the top-rated Halloween books for kids. Add them to your home collection or borrow them from your local library.
Room On The Broom: This has to be one of our favorite Halloween books of all time! The story follows a witch and her cat as they happen upon some animals who help the witch. There’s danger, mystery, and friendship in this adorable children’s story.
5 Minute Spooky Stories: We love Disney’s 5-minute storybooks and this one is perfect for Halloween! See how all your favorite Disney characters celebrate this spooky holiday.
Ten Timid Ghosts: This is a fun countdown book about a witch who moves into a haunted house where 10 ghosts already live. The witch scares the ghosts out one by one until they devise a scheme to get her out of their house. This Halloween children’s book is good for kids who love rhyming stories!
Crafts are not only fun for kids but actually beneficial for them as well! They can help with fine motor skills, scissor skills, creativity, and more. Add in some more crafts with some of our favorite ideas:
This Halloween play dough kit includes everything your kids need for hours of sensory play! Break it out on October 1st and let the kids have a simple brain break activity.
Instead of having your kids practice writing with boring pencils or crayons, why not spark their interest by letting them use fun candy corn worksheets like these? It’s a great way to keep things interesting while also teaching! In this mini packet, you’ll find 5 different pages that will help your child learn how to form the letter C, as well as work on fine motor skills and hand-eye coordination.
These Halloween color by number printables are an easy, no-prep activity that’s great for young kids.
Share With Us
Did you make this paper bag mummy craft with your kids or students? We’d love to see how they look!
Take a quick picture and post it on our Facebook page wall or join our private Facebook group and show us in there.
Spooky season is here and what better way to celebrate than with this delightful candy corn headband craft! This candy corn headband craft is a wonderful way for kids to improve their fine motor skills and follow instructions. The craft is simple, engaging, and easy to make!
More Halloween Ideas For Kids
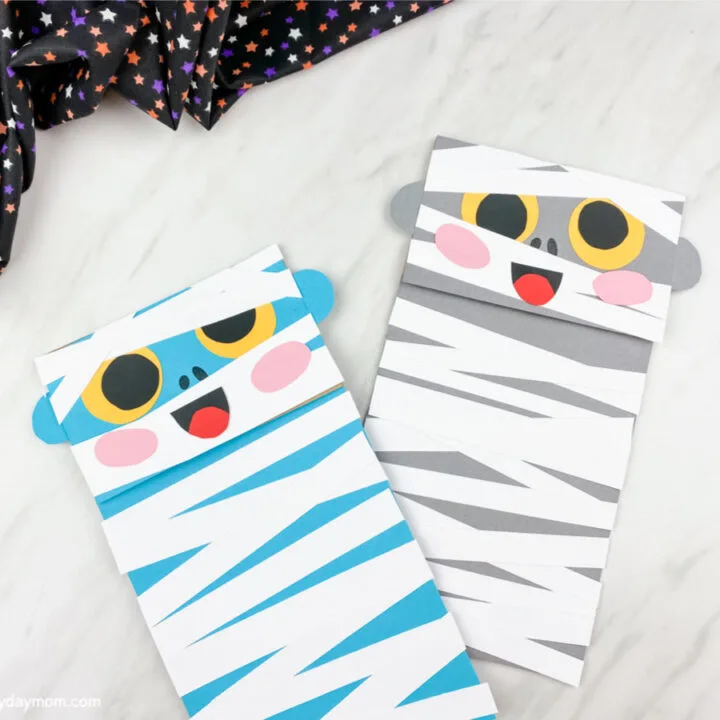
Paper Bag Mummy Craft
Learn how simple and fun it is to make this brown paper bag mummy craft for Halloween!
Materials
- Colored paper (in gray or blue, white, yellow, black, red and pink)
- Scissors
- Glue stick
- Brown paper bag
- Paper trimmer (optional)
- Mummy puppet template (download form located at the end of this page)
Instructions
- Download the mummy template, print and cut out the pieces.
- Begin to make the mummy's eyes by gluing the pupil to the yellow outer eye. Give your mummy a crazy look by placing the pupil in different spots. Glue the finished eyes on the rectangular mummy face, one on each side of the nostrils.
- Cut strips of white paper in varying lengths and widths to act as the mummy wrapping. Use a paper trimmer to speed this step up.
- Glue the strips of white paper along the mummy's face. Place them at different angles to give it a wrapped look. Be sure to leave room to see the eyes and nostrils.
- Cut off any excess white paper that hangs over the sides of the mummy's face, then glue the mummy's ears to the back of the face.
- Glue the cheeks just below the eyes.
- Assemble the mummy's mouth by gluing the tongue to the mouth and trimming off the excess red paper. Glue the completed mouth on top of the mummy wrap, just below the nostrils.
- Glue the mummy face to the brown paper bag flap.
- Glue the rest of the white mummy strips all over the body piece. Cut off any excess from the sides of the paper.
- Place the larger mummy body rectangle on the lower part of the paper bag. Trim the excess brown paper bag off so the body piece covers the entire region.
Free Mummy Template

Sam is the crafter and founder of Simple Everyday Mom. She has been featured in Oprah Mag, Good Housekeeping, The Spruce Crafts, Country Living, The Bump and more. Read more.

