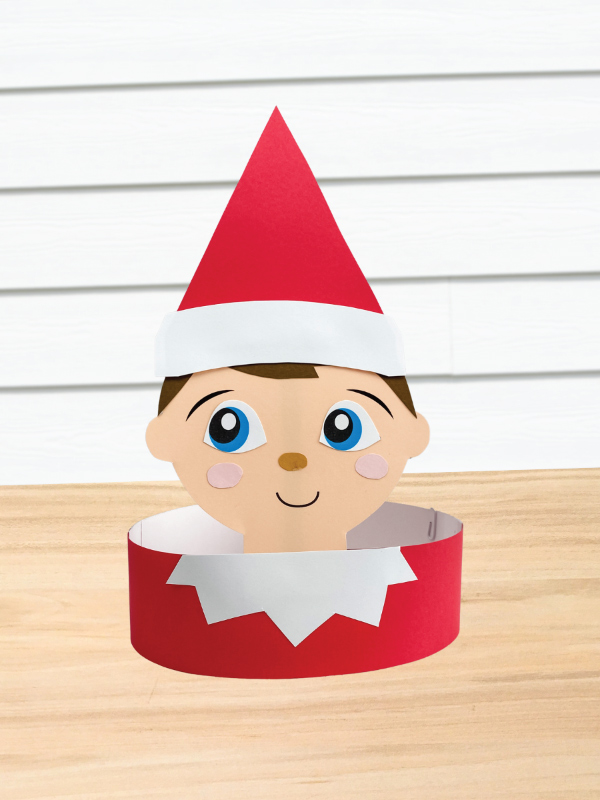
Elf On The Shelf Headband Craft
This cute elf on the shelf headband craft is a fun project to do with the kids this Christmas!
Print
Pin
Video
Materials
- Colored cardstock
- Scissors
- Glue stick
- Tape
- Markers or crayons if using the color in version
- Elf on the shelf template
Instructions
- Download the elf on the shelf template, print, and cut out the pieces you need.
- Begin to make the elf’s head by gluing the eyes just below the eyebrows, one on each side.
- Next, take the hair and glue it to the top of the head. Trim off any excess paper that hangs off the sides.
- Glue the nose in the middle of the head, just below the eyes. Alternatively, you can have your child draw on a nose instead.
- Take the cheeks and glue them, one on each side, below the eyes, and on the sides of the mouth. You can also have your child draw these on instead as well.
- Place the collar on top of the base of the neck and glue it in place.
- Now take your elf head and collar and glue it to the red headband base.
- Create the elf’s hat by gluing the hat fluff to the bottom of the hat. Trim off any excess paper that hangs off.
- Finish up making the base of the headband by gluing the elf’s hat to the top of his head.
- Place a headband extender on each side of the base and tape them in place. If your paper isn't very thick and the headband is flopping over, cut an extra piece of construction paper and glue it to the back of the headband from the bottom of the neck to the middle of the head.