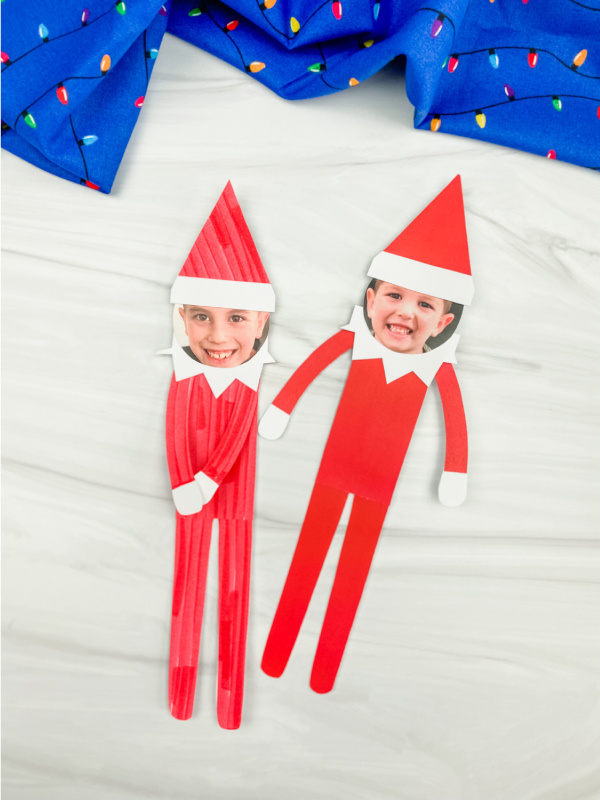
Elf On The Shelf Photo Craft
This elf on the shelf photo craft is a great way to get your kids in on some of the Christmas spirit!
Print
Pin
Video
Materials
- Photo of your child
- Colored cardstock or construction paper
- Scissors
- Glue stick
- Brads
- Marker or crayons if using the color in version
- Small hole punch
- Glue dot optional, but useful
- Elf on the shelf template
Instructions
- Download the elf template, print, and cut out the pieces you need.
- Begin to build the elf body by gluing the legs to the bottom of the body piece.
- Next, punch holes at the top of each of the arms and the top corners of the body.
- Take the brad and push it through the arm and then the body. Don't open the brad on the backside. Instead, push both prongs towards the inside of the body. This will hide them so you don't see them from the front. Repeat with the other arm.
- Create the hat by gluing the fluff to the bottom of the hat. Cut off any excess paper from the sides of the hat.
- Glue the hat to the top of your child's photo, then glue the bottom of your child's photo to the elf's collar.
- Finish off by taking a glue dot and placing it in between the brads, then secure the collar to the glue dot. You can also use glue, but it's messier and harder to get it to hold between the 2 brads.