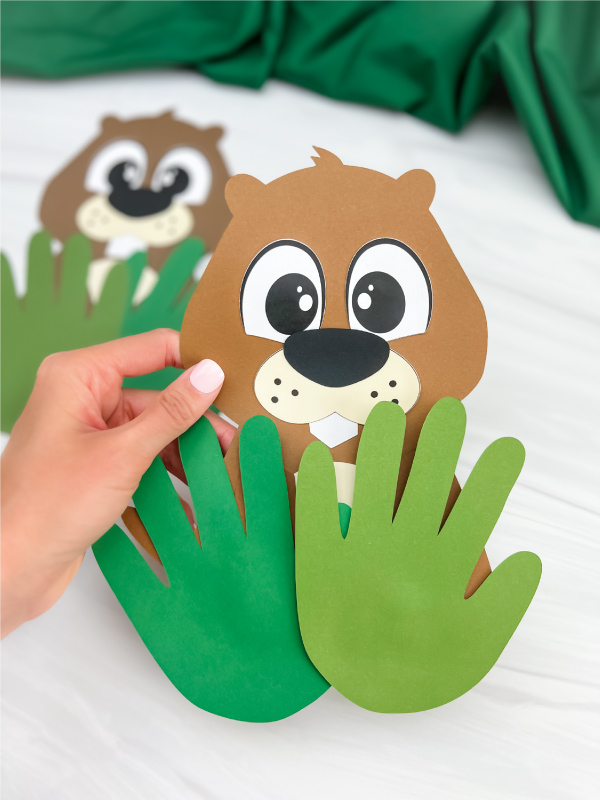
Groundhog Handprint Craft For Kids
Have the kids make their predictions if the groundhog will see his shadow while they make this groundhog handprint craft!
Print
Pin
Video
Materials
- Colored cardstock or construction paper
- Scissors
- Glue
Instructions
- Download the groundhog template, print, and cut the pieces out you need.
- Begin to make the groundhog by gluing the nose to the top and middle of the mouth piece.
- Take the tooth and glue it to the bottom and back of the mouth.
- Next, glue the eyes in the middle of the head, one on each side.
- Glue the completed nose/mouth in the middle of the head, slightly overlapping the bottom of the eyes.
- Place the belly in the middle of the body and glue it in place.
- Optionally: Glue the arms on both sides of the belly. If your child's hands are large enough, it will cover them completely, so you can leave them off if you prefer.
- Now, trace your child's hand two times on a piece of green paper. Cut each handprint out.
- Finish up by placing the handprints at the bottom of the groundhog's body, with the fingers pointed up. This will be the grass. Glue them both in place.