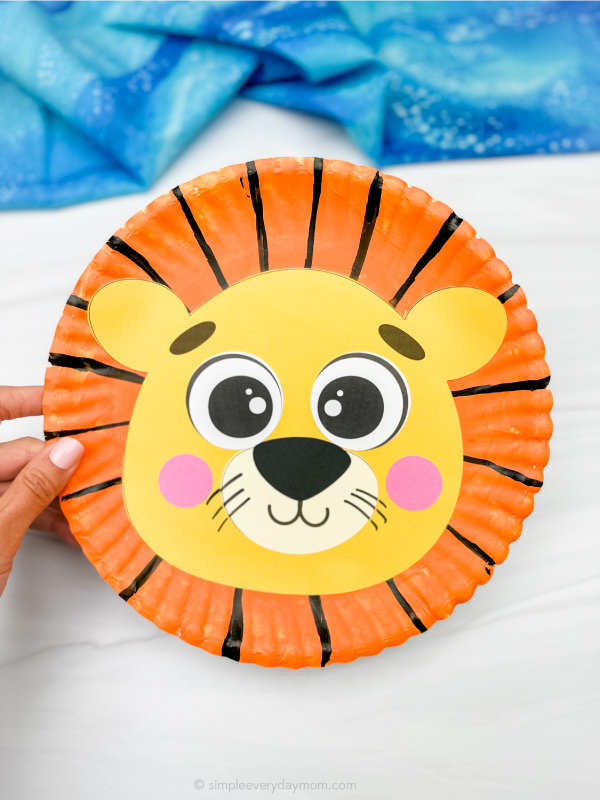
Lion Paper Plate Craft For Kids
Continue the fun of the zoo at home or in the classroom with this engaging lion paper plate craft!
Print
Pin
Video
Materials
- Paper plate
- Orange paint
- Paintbrush
- Markers
- Colored cardstock or construction paper
- Scissors
- Glue
- Lion template
Instructions
- Download the paper plate lion, print, and cut out the pieces you need.
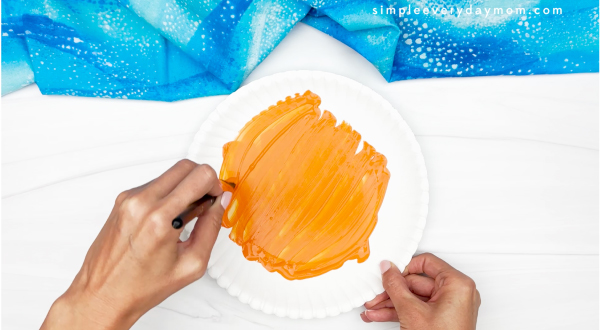
- Begin by painting the paper plate in 1-2 thin coats of orange paint. Let it dry completely before moving on.
- Once the plate is dry, use a black marker to draw thick lines from the outside of the paper plate to the middle of the paper plate.
- Take the eyes and glue them below each of the eyebrows.

- Next, take the mouth and glue it in the middle of the face, just overlapping the bottom of the eyes.
- Place the nose at the top of the mouth line and glue it in place.
- Glue the cheeks on both sides of the mouth.
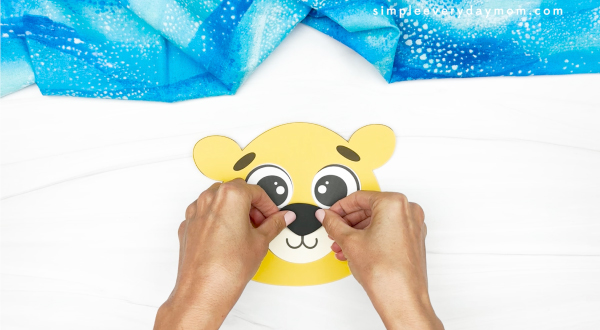
- Optionally, use the black marker to draw the whiskers on both sides of the nose.
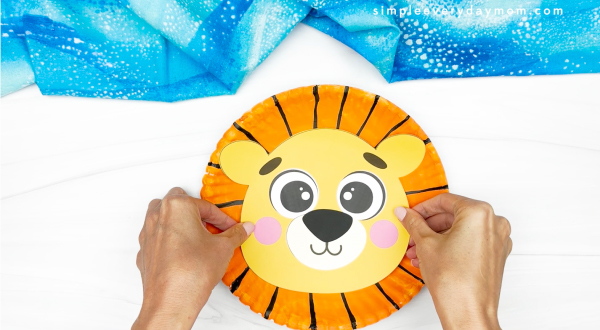
- Finish up by gluing the face to the middle of the paper plate mane.