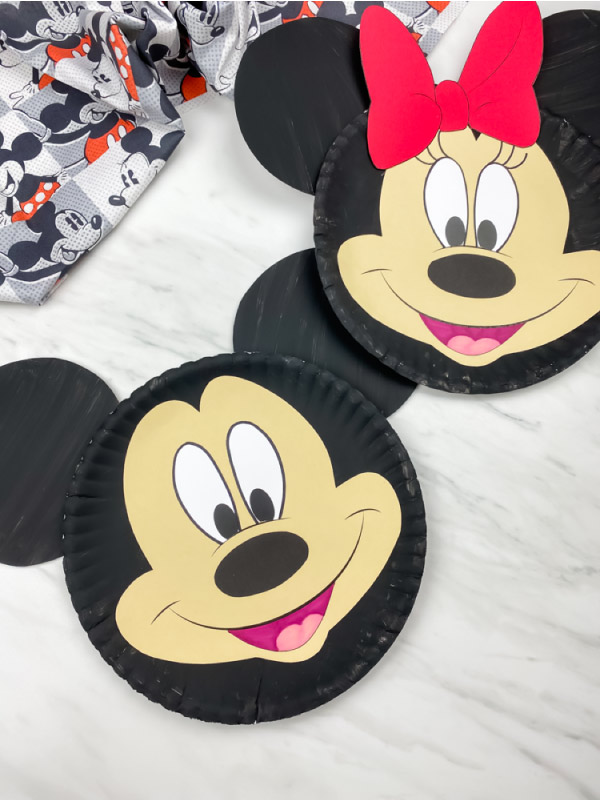
Mickey Mouse Paper Plate Craft
Make this cute and easy Mickey Mouse paper plate craft with the kids!
Print
Pin
Video
Materials
- Paper plates
- Black paint
- Colored card stock in cream, black and red
- Markers in black, pink and dark pink
- Glue stick
- Tape optional
- Minnie & Mickey Mouse template download form located at the end of the post
Instructions
- Download the Mickey and Minnie Mouse template, print and cut out the pieces.
- Begin by painting one whole paper plate black. Paint two other paper plates black in the center of the plate only (just outside the center circle line). Let dry completely. Glue the black nose just slightly below the curved nose line.
- Place Mickey’s eyes on his face, with the bottoms of the eyes on the curved nose line.
- Use the black marker to outline each of Mickey's eyes.
- Finish Mickey's mouth by using the light pink marker to draw in his tongue. Next, use the dark pink marker to fill in the rest of his mouth.
- Cover the backside of Mickey's face with glue and position it in the middle of the black paper plate. Glue down.
- Finish off by using the tape or glue stick to glue Mickey’s ears to the top, and backside of the paper plate.