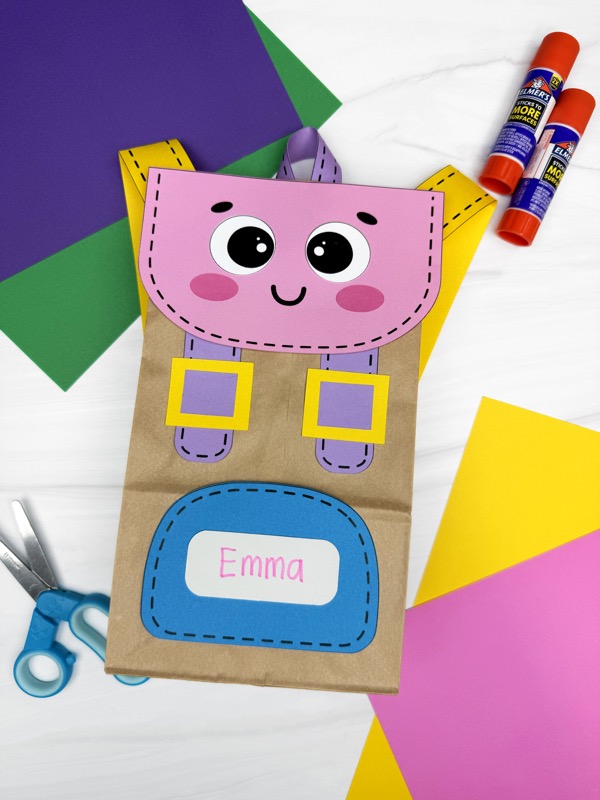
Paper Bag Backpack Craft
This back-to-school paper bag backpack craft lets kids turn a simple paper bag into a colorful 3D creation with our template.
Print
Pin
Video
[adthrive-in-post-video-player video-id="ajN8CDk5" upload-date="2025-08-18T20:47:54+00:00" name="Paper Bag Backpack Craft" description="Back to school season brings lots of excitement for young learners! Channel that energy into creativity by having them make this paper bag backpack craft. Kids will turn a simple paper bag into a colorful backpack with the help of our free template.
This project is easily customizable with different colors and would be a great prop for pretend school days for kids to imagine themselves packing up for class." player-type="default" override-embed="default"]
Materials
- Colored cardstock or construction paper
- Scissors
- Glue
- Brown paper bags
- Markers
- Backpack Template
Instructions
- Download the template, print it, and cut out the pieces you need.
- Begin by placing the paper bag flat with the opening at the top.
- Next glue the front pocket near the bottom center of the bag.
- Then attach the name patch on the pocket and have your child write their name on it.
- After that glue the buckle straps above the pocket, spaced evenly.
- Next glue the outer buckles onto each strap.
- Then place the inside buckles in the center of the outer buckles.
- Afterward glue the flap across the top front of the bag.
- Next glue the eyes on the flap, underneath the eyebrows.
- Then glue the cheeks just below the eyes.
- If you want a 3D backpack that stands, lightly stuff the bag with crumpled paper, fold the paper bag back over and tape it in place.
- Next attach the handle by gluing both ends to the back of the top edge so it forms a loop.
- Now, attach the backpack straps to the back and sides of the paper bag so they extend from behind the bag.