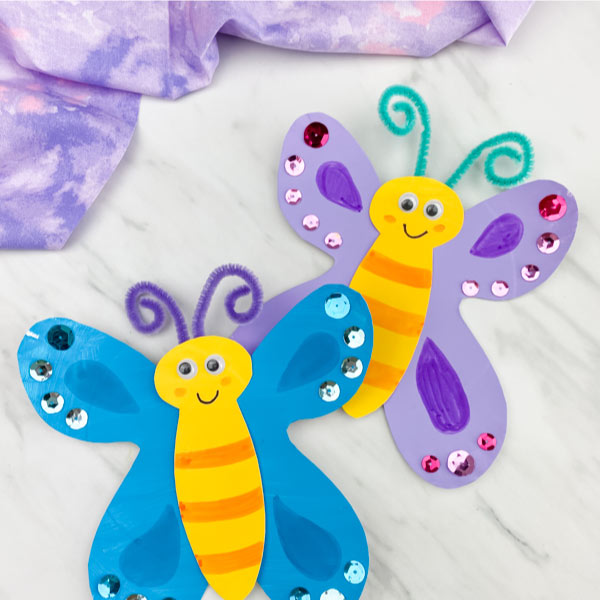
Paper Plate Butterfly Craft
Make this cute and easy paper plate butterfly craft with the kids this spring!
Print
Pin
Video
Materials
- Paper plates
- Paint in bright colors
- White card stock
- Colored pipe cleaners
- Googly eyes
- Markers
- Glue stick
- Tape
- Stickers/embellishments optional
- Butterfly craft template download form located at the end of this page
Instructions
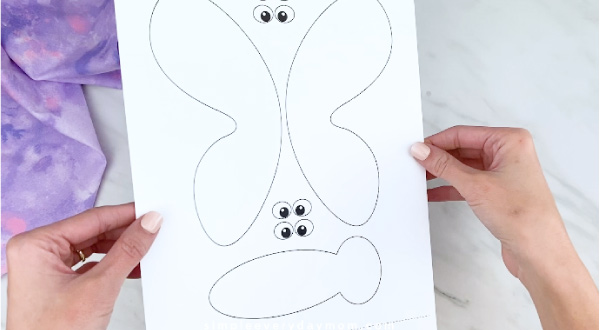
- Download the butterfly template, print, and cut out the pieces.
- Paint one paper plate in the color you want the butterfly wings to be. Paint the second paper plate yellow for the body. Let dry completely.
- Place the wing template on the first paper plate, trace it, and cut out the wings.
- Place the body template on the yellow paper plate, trace it, and cut out the body.
- Place the wings with the insides almost touching each other. Place glue along the back of the butterfly's body and glue it on top of the wings.
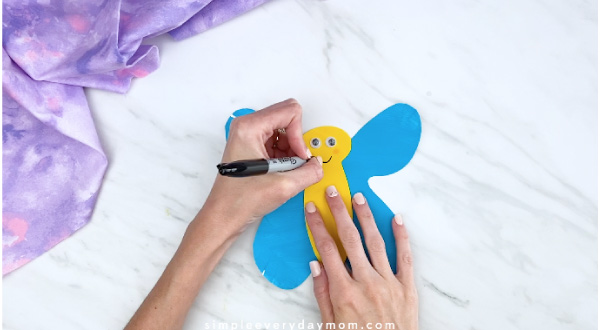
- Glue the googly eyes to the top of the head.
- Use the markers to draw on cheeks and a smile. Draw on any details on the butterfly's body or wings.
- Add any embellishments to the wings.
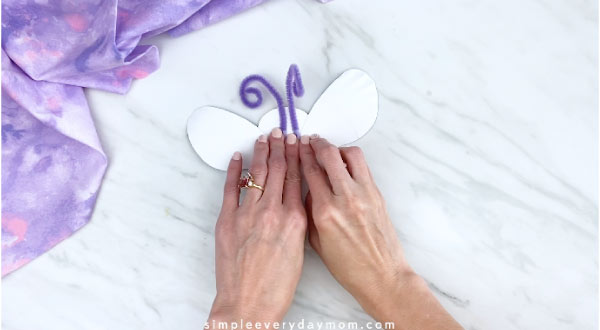
- Cut a pipe cleaner in half and wrap on end loosely around the marker. Uncurl and shape it to look like an antenna.
- Flip the butterfly over and tape the antennae to the back.