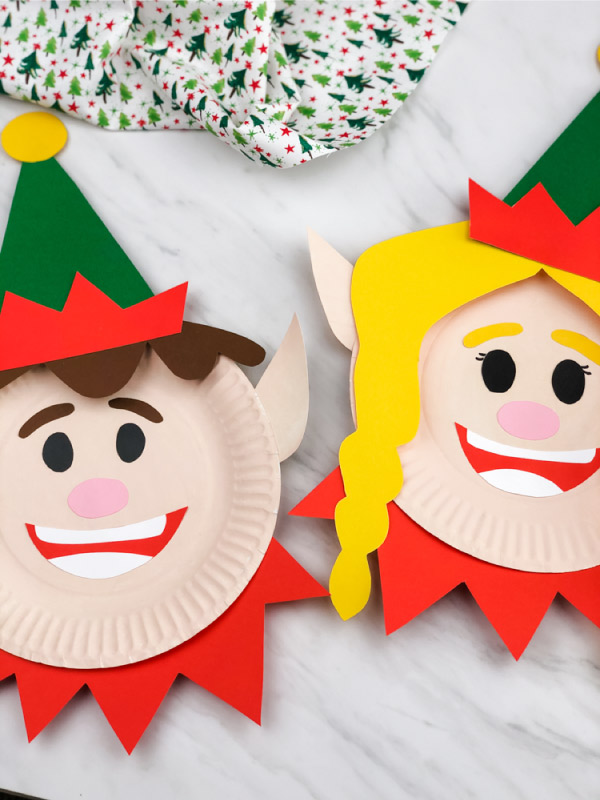
Paper Plate Elf Craft For Kids
Make this fun and easy paper plate elf craft with the kids this Christmas season! It's a simple activity thats's great for enhancing creativity!
Print
Pin
Video
[adthrive-in-post-video-player video-id="jHhaYi2k" upload-date="2019-11-23T00:00:00.000Z" name="Paper Plate Elf Craft For Kids" description="This paper plate elf craft for kids is a fun and simple Christmas activity to do at home or in the classroom. Download the free printable template today!"]
Materials
- Paper plate
- Skin colored acrylic paint
- Colored card stock
- White card stock
- Glue stick
- Tape
- Black marker if making a girl elf
- Paper plate elf template
Instructions
- Download the paper plate elf template, print it, and cut out the pieces.
- Paint two paper plates with the skin-colored paint and let them dry completely.
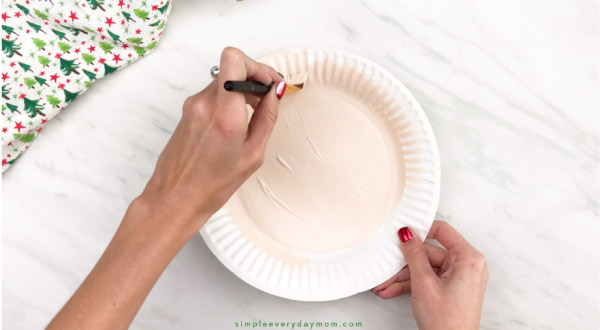
- Glue the eyebrows towards the top of the center circle of the paper plate.
- Position the eyes below the eyebrows and glue them in place. If you're making a girl elf, use a black marker to draw on two eyelashes.
- Place the pink nose in the middle of the paper plate and glue it in place.
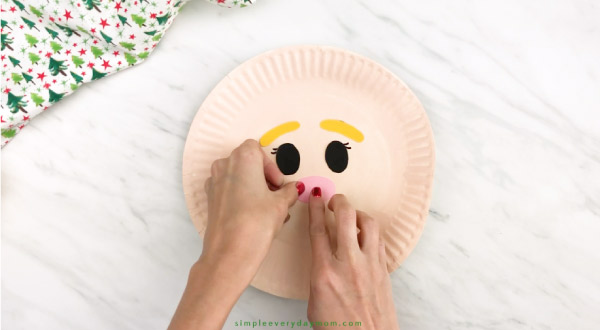
- Assemble the elf's mouth by gluing the top and bottom teeth on the mouth piece. Cut off any excess.
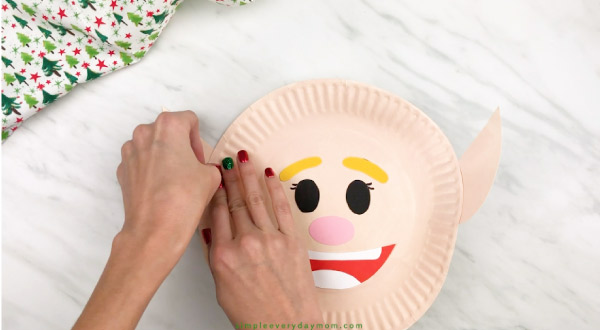
- Glue the completed mouth just below the nose.
- Trace the elf's ear template onto the second paper plate you painted, then cut out the two ears. Glue the ears on either side of the paper plate, around eye level.
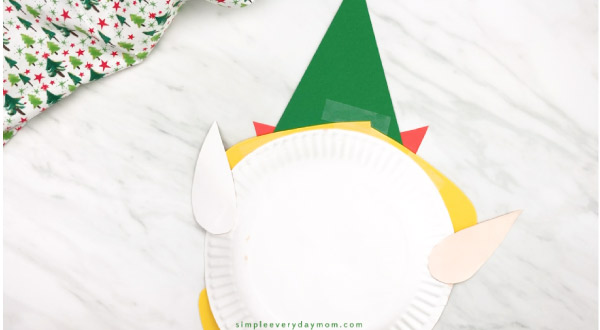
- Make the elf's hat by gluing the bottom red piece of the hat to the green triangle. Glue the yellow pom to the top of the elf's hat.
- If you're making a boy elf, skip to number 11. If you're making a girl elf, place the braids on each side of the paper plate, then flip over and tape the hair to the back of the paper plate.
- If you're making a boy elf, glue the completed elf hat onto the boy's hair. Place the completed hair/hat combo on the top of the paper plate, flip over and tape in place on the back of the paper plate.
- Place the completed elf hat on top of the braid, flip over and tape in place.
- Flip the paper plate over then tape the red elf collar to the bottom of the paper plate.