Paper Plate Giraffe Craft For Kids
This paper plate giraffe craft is a fun zoo animal craft kids will love creating!
Print
Pin
Video
Materials
- Paper plates
- Acrylic paint
- Paintbrush
- Pencil
- Scissors
- Black marker
- Colored cardstock brown or orange
- Glue
- Tape optional
- Giraffe template
Instructions
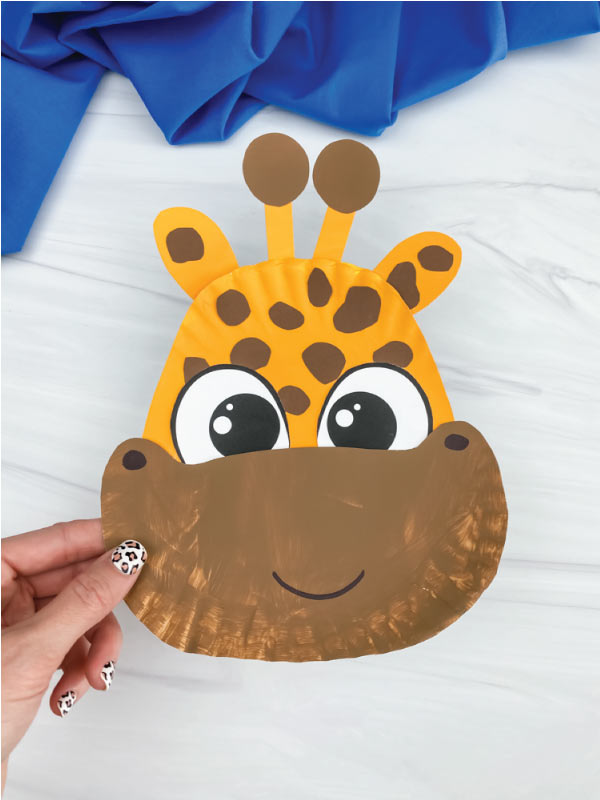
- Download the giraffe template, print, and cut out the pieces you need.
- Begin by painting the paper plates. If you're using the painted paper plates for all of your pieces, then paint one paper plate yellow and one paper plate brown or orange.
- If you're using colored cardstock for your other pieces (ears + horns), paint the upper half of one paper plate yellow and the bottom half of the paper plate brown/orange. Let dry completely before moving on.
- Place the upper head and lower head templates on the paper plates, trace and cut out. Do the same with the ears and horns if you're making them from the paper plates.
- Use your scissors and the brown/orange cardstock to cut out different shapes for the giraffe's head. Glue these spots all over the top part of the giraffe head and on the ears.
- Glue the giraffe's eyes near the bottom of the giraffe head.
- Take the black marker and draw on the giraffe's nostrils and mouth, like in the pictures below. Next, glue the giraffe's mouth/nose area on the top of the head, slightly covering the eyes.
- Use tape or glue (we prefer tape) to secure the giraffe's ears to the back of the paper plate.
Assemble the horns by gluing the circle part to the rectangle part. Tape or glue the completed horns to the back of the paper plate and in between the ears.