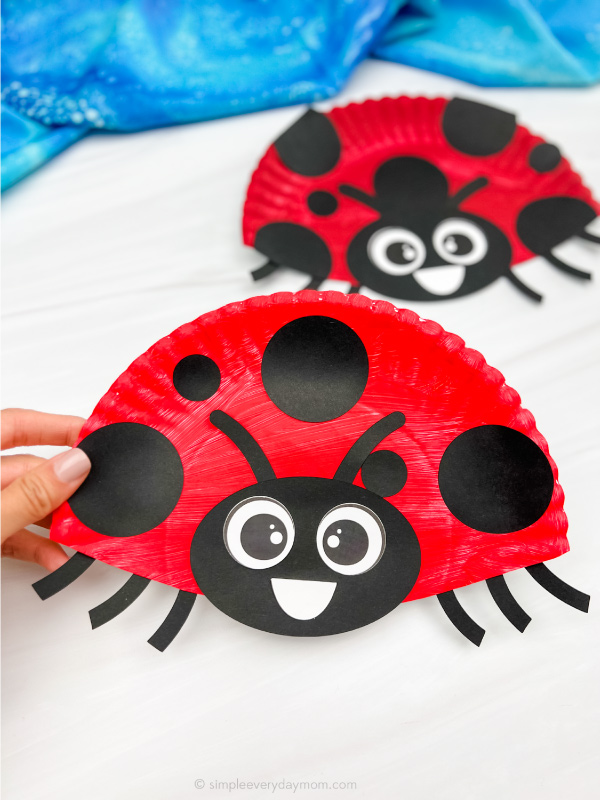
Paper Plate Ladybug Craft For Kids
These helpful insects are one of our favorites, so we made a fun paper plate ladybug craft for the kids to do!
Print
Pin
Video
Materials
- Paper plate
- Red Paint
- Paintbrush
- Colored cardstock or construction paper
- Scissors
- Glue
- Pencil
- Ladybug template
Instructions
- Download the ladybug template, print, and cut out the pieces you need.
- Paint a paper plate with 1-2 thin coats of red acrylic paint and let it dry completely.
- Place the ladybug’s body template on the dry paper plate, trace it with the pencil, and cut it out. Arrange the black circles along the body of the ladybug.
- Next, create the head of the ladybug by gluing the mouth to the middle and bottom of the head.
- Place the ladybug’s eyes, one on each side of the head, above the mouth, and glue them down.
- Position the completed head at the bottom of the ladybug’s body so it’s slightly hanging off the paper plate and glue it in place.
- Glue the antennae to the middle and top of the ladybug’s head.
- Finish up by gluing the feet to the bottom of the ladybug’s body, with three legs on each side of the head.