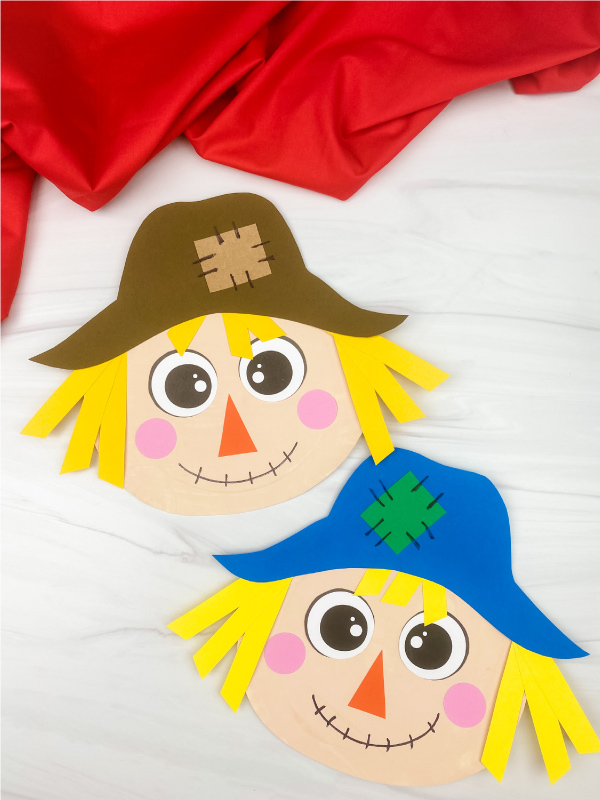
Paper Plate Scarecrow Craft For Kids
It's fall so it's time to snuggle up inside and enjoy the change of season. This paper plate scarecrow craft is a fun project that your kids will love!
Print
Pin
Video
Materials
- Paper plate
- Scissors
- Paint
- Paintbrush
- Colored cardstock or construction paper
- Pencil
- Glue stick
- Black marker
- Scarecrow template
Instructions
- Download the scarecrow template, print, and cut out the pieces you need.
- Begin by painting the paper plate in 1-2 thin coats of cream colored paint. Let it dry completely before moving on.
- Place the head template on the paper plate, trace, and cut out the head.
- Take the eyes and glue them near the middle of the head. Next, glue the nose in between and slightly lower than the eyes.
- Position the cheeks slightly below the eyes and glue them in place.
- Use the black marker to draw the smile between the cheeks. Draw vertical lines along the mouth to make it look like a scarecrow.
- Create the scarecrow's hair by gluing 3 of the longer yellow strips together. Do that for both sides.
- Glue the scarecrow's hair behind the hat, on both ends.
- Take the scarecrow's bangs and glue them behind the hat, in the middle.
- Place the hat/hairpiece on the top of the head and glue it in place.
- Finish off the scarecrow by gluing the patch to the hat and using the black marker to draw stitch marks around it.