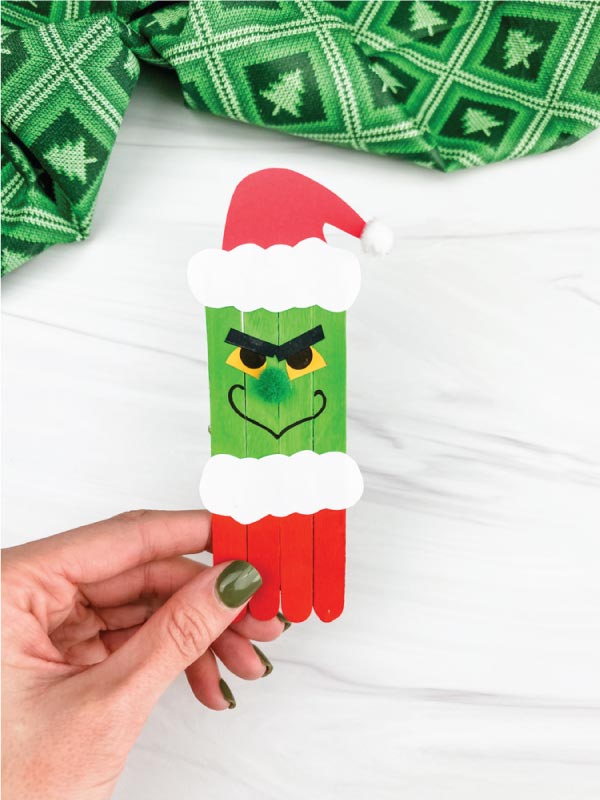
Popsicle Stick Grinch Craft For Kids
Make this cute popsicle stick Grinch craft with the kids this Christmas season!
Print
Pin
Video
Materials
- Popsicle sticks
- Acrylic paint Red and green
- Colored cardstock or construction paper
- Black marker
- 1 cm pom poms
- Glue stick
- Permanent glue dots or hot glue gun
- Scissors
- Bakers twine optional; for making into an ornament
- Tape optional; for making into an ornament
- Grinch template
Instructions
- Download the Grinch template, print, and cut out the pieces you need.
- Begin to make the Grinch by cutting a popsicle stick into thirds with the scissors. Line up 4 popsicle sticks. Stretch out a glue dot onto the short popsicle stick pieces you just cut. Glue these to the 4 popsicle stick group at the top, bottom, and middle of the sticks.
- Flip the secured popsicle stick base over and paint a little over half of the length Grinch green. Paint the remaining bottom section red. Let dry completely before moving on. It only takes about 10 minutes to dry if you do 1-2 thin coats of acrylic paint.
- Next, assemble the Santa hat by gluing the fluff to the bottom of the hat. Take a mini white pom pom and glue it to the tip of the hat. Place the completed hat on top of the green part of the popsicle sticks and glue it in place.
- Take the eyes and glue them a bit below the hat. Be sure to leave room for the eyebrows to go above the eyes. Cut out 2 small thin rectangles and glue them on as eyebrows or use a black marker to draw on angry eyebrows.
- Use the black marker to draw on the Grinch's mouth.
- Now, glue the mini green pom pom between the eyes.
- Finish it off by gluing the Santa suit fluff on the popsicle sticks where the red and green paint meet.
- Optional: Make this Grinch craft into an ornament by cutting a length of baker's twine, looping it, and taping it securely to the back.