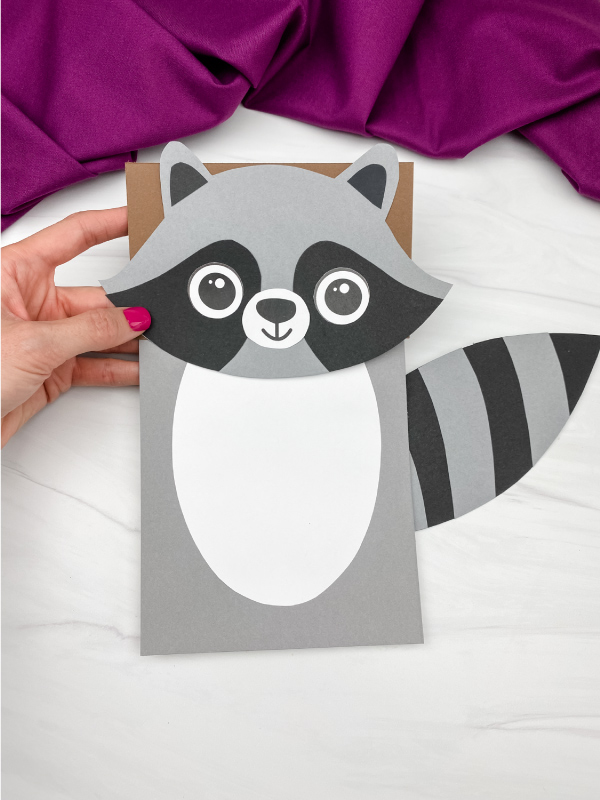
Raccoon Paper Bag Puppet Craft
This woodland animal craft is a simple and fun project for kids that are perfect for storytime!
Print
Pin
Video
Materials
- Brown paper bag
- Colored cardstock or construction paper
- Scissors
- Glue
- Raccoon template
Instructions
- Download the raccoon template, print, and cut out the pieces you need.
- Optional: Glue a background piece to the flap portion of the brown paper bag. To go with the woodland theme, we suggest using brown or green.
- Begin to make the raccoon's head by gluing the eye spots on the bottom, outside of the head.
- Next, glue the eyes to the eye spots.
- Take the mouth and nose piece and glue it in between the eyes.
- Finish off the head by gluing the inner ears to the outer ears.
- Take the completed head and glue it to the flap portion of the paper bag. We like the look of it hanging off the bottom edge a bit.
- Create the raccoon's body by gluing the belly to the top of the body.
- Now glue the completed body to the main portion of the brown paper bag.
- Make the raccoon's tail by gluing the stripes on it. Cut off the excess paper.
- Finish the raccoon by gluing the tail to the back of the paper bag.