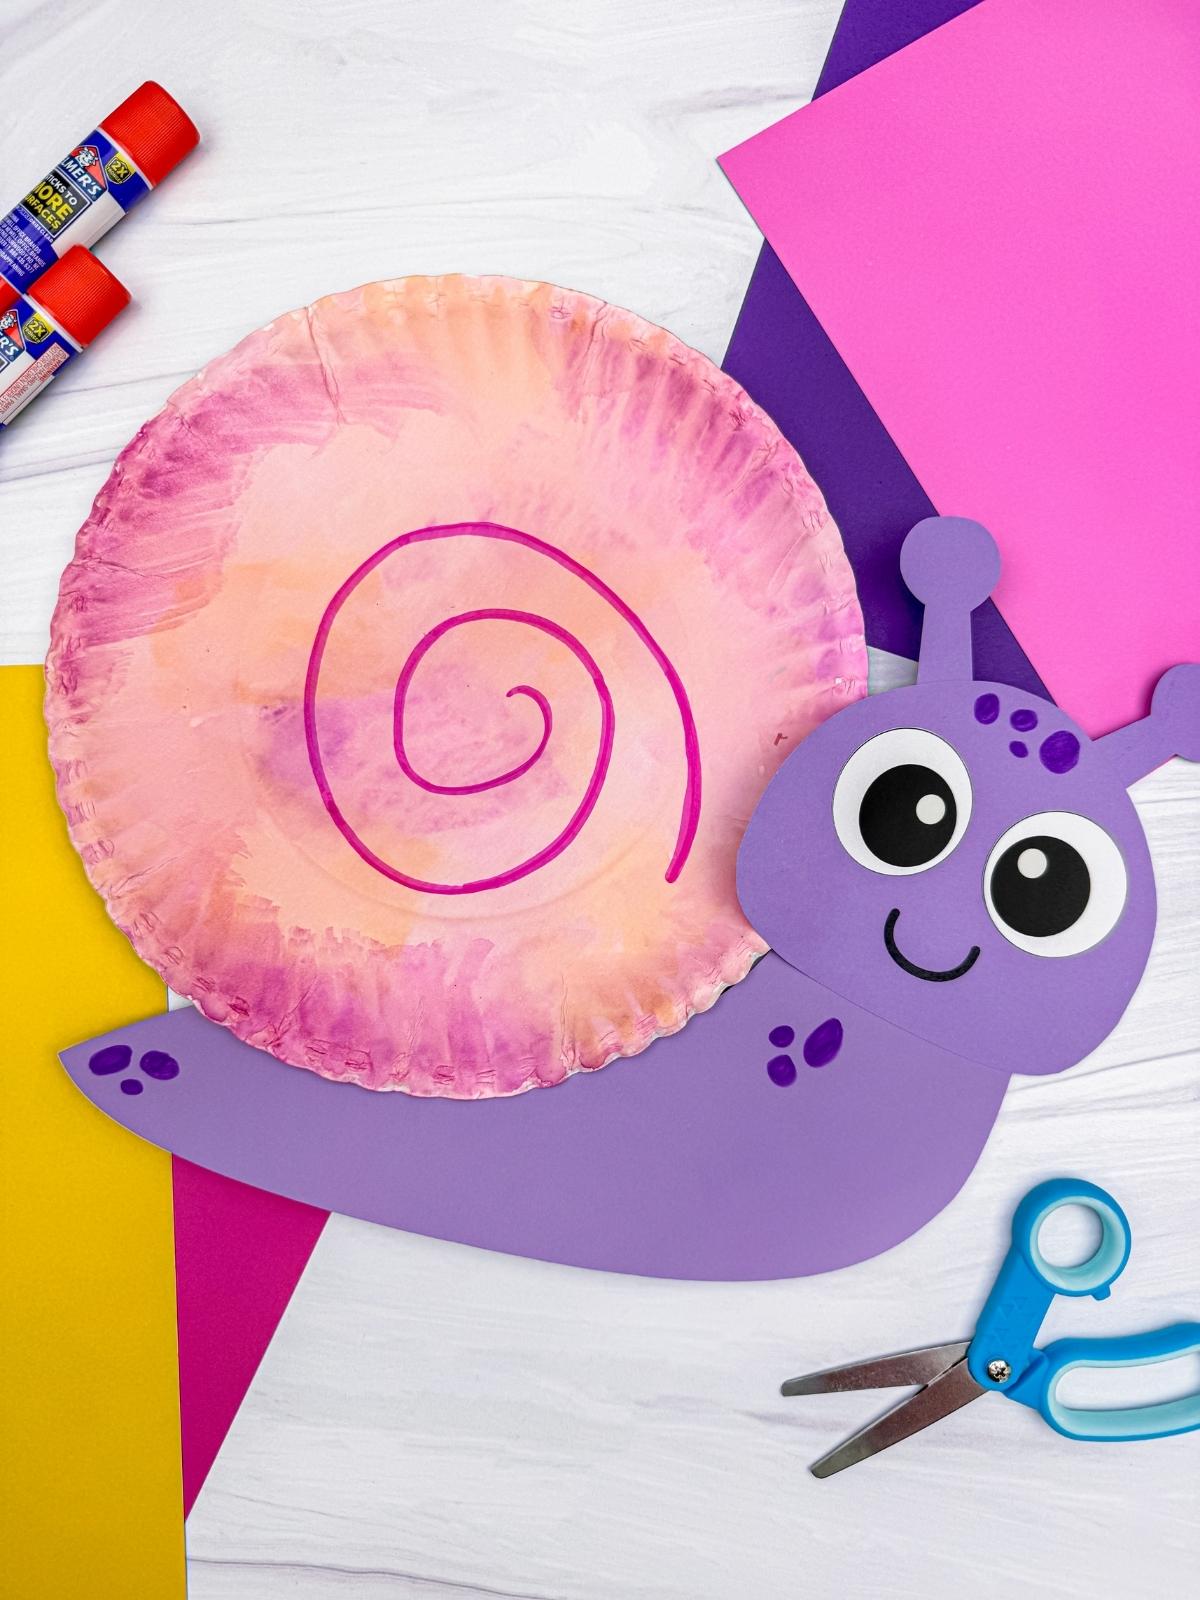
Snail Paper Plate Craft
The snail paper plate craft lets kids celebrate spring by turning a simple paper plate into a colorful and imaginative snail.
Print
Pin
Video
[adthrive-in-post-video-player video-id="GF2JZcKg" upload-date="2026-03-14" name="Snail Paper Plate Craft" description="Kids will love having a hands-on way to celebrate spring by making this snail paper plate craft. They’ll create a snail with its shell made by turning an everyday item like a paper plate into something imaginative and colorful.
For 1st to 2nd graders, try painting the shell with bleeding tissue paper for a soft watercolor effect. For ages 4 to 7, use a colored party plate or paint to keep things simple and fun. Plan for about 45 minutes if you include drying time, or around 15 minutes when you skip the paint to make this snail art project." player-type="default" override-embed="default"]
Materials
- Colored cardstock
- Scissors
- Glue
- Bleeding tissue paper (regular tissue paper will not work; make sure it's bleeding tissue paper)
- Paintbrush
- Paper Plate
- Markers
- Tape
- Snail Template
Instructions
- Print the template and gather the materials for this fun activity.
- Begin by tearing small pieces of tissue paper and arranging them on the paper plate.
- Lightly spray the tissue paper with water.
- Brush over the tissue paper with water and let the plate dry completely. Once dry, peel off the tissue paper. Alternatively, paint the paper plate with acrylic paint or use a colored party plate.
- Glue the antennae behind the top of the snail’s head, leaving a small space between them.
- Next, glue the eyes onto the snail’s head, just above the smile.
- Draw spots on the snail’s head with a marker.
- Glue the head onto the top of the body piece.
- Using a marker, draw spots or small details on the snail’s body.
- Draw a spiral on the paper plate starting from the center and moving outward.
- Finally, turn the snail body and paper plate over and tape the paper plate shell to the back of the snail on the head and body.