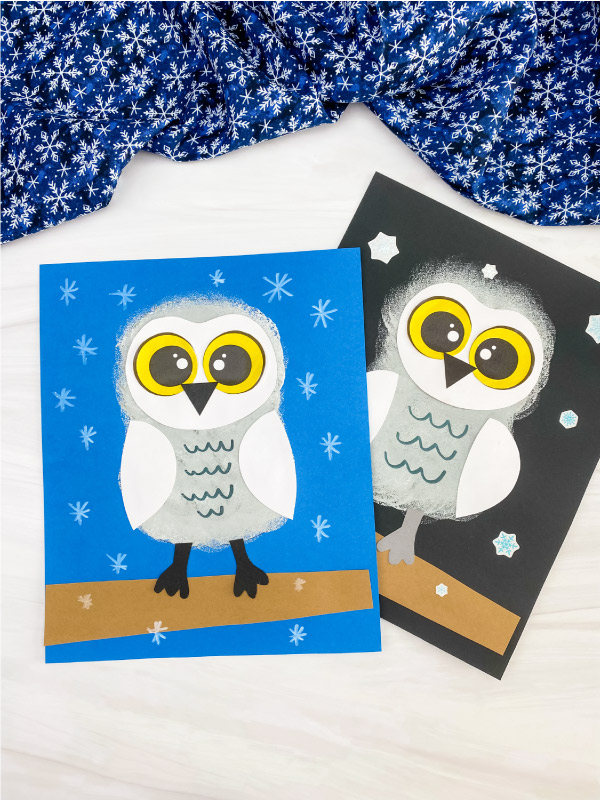
Sponge Painted Snowy Owl Craft For Kids
This snowy owl craft is perfect for the winter season. Download the template, paint the body, then glue on its parts to finish it off!
Print
Pin
Video
[adthrive-in-post-video-player video-id="cAAUgZlG" upload-date="2021-12-29T00:00:00.000Z" name="Sponge Painted Snowy Owl Craft For Kids" description="This snowy owl craft is perfect for the winter season. Download the template, paint the body, then glue on its parts to finish it off! Your kids will love this cute project. It's great as an art or school project too! Hang it in their room or on the fridge when they're done."]
Materials
- Sponge dabber
- White and/or light gray paint
- Scissors
- Colored cardstock or construction paper
- Glue stick
- White gel marker or snowflake stickers optional
- Snowy owl template
Instructions
- Download the snowy owl template, print, and cut out the pieces you need.
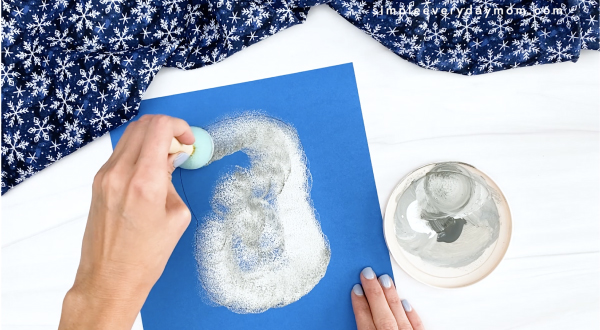
- Use the sponge dabber to fill the snow owl's body with white and/or light gray paint. Let it dry completely before moving on.
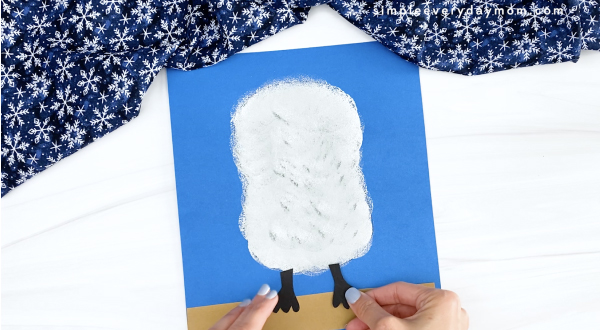
- Take the branch piece and glue it just above the dashed line, near the bottom of the page.
- Next, glue the feet so they're right below the owl's body and on top of the branch.
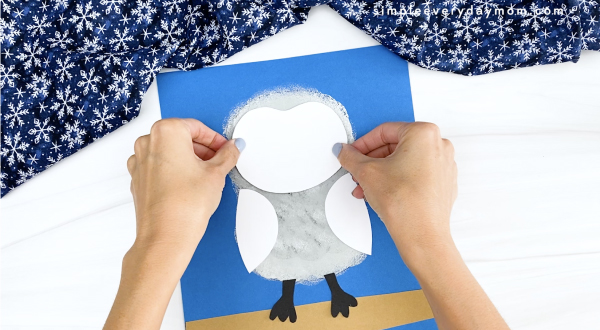
- Glue the wings, one on each side of the main portion of the owl's body.
- Create the head by gluing the face in the middle of the head.
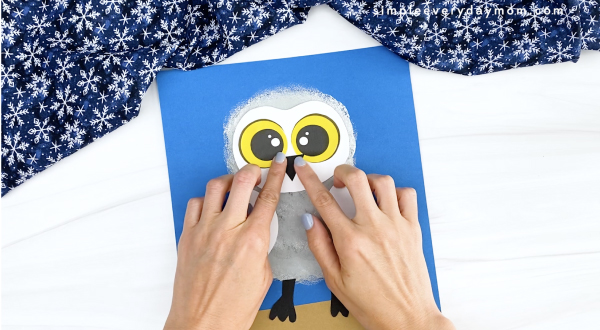
- Position the eyes in the middle of the face and glue them in place.
- Finish off the face by gluing the beak in between the eyes.
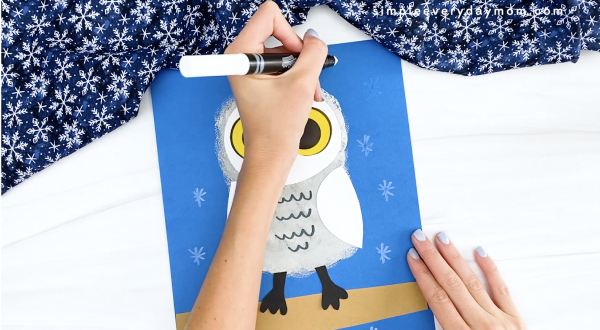
- Use a black marker to draw on belly feathers.
- Optionally: Use a white gel marker or stickers to make snowflakes all over the paper.