Torn Paper Acorn Craft For Kids
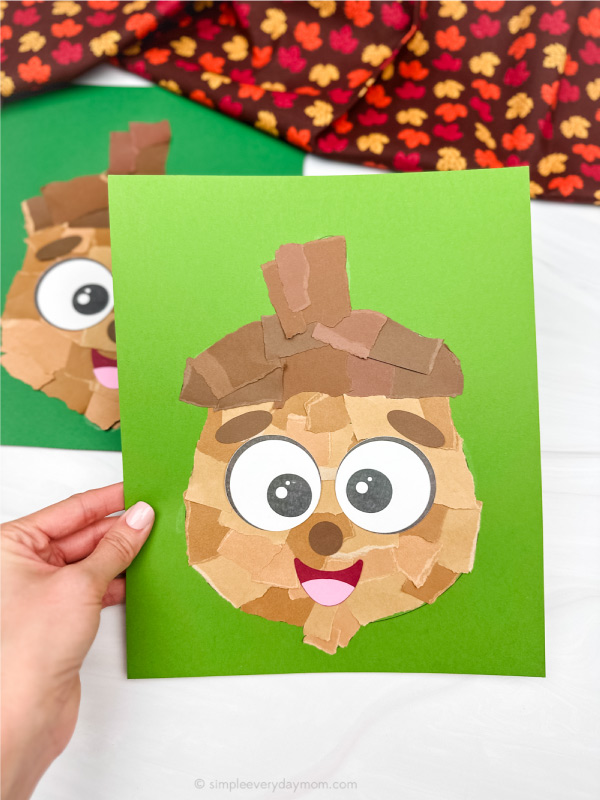
We think your kids will love this torn paper acorn craft! It's a cute and simple craft that is made with torn pieces of brown paper carefully glued onto an acorn template.
Print
Pin
Video
[adthrive-in-post-video-player video-id="KDpKKB6p" upload-date="2023-09-04T00:00:00.000Z" name="Torn Paper Acorn Craft For Kids" description="This torn paper acorn craft is so fun for fall! It's a cute and simple craft that is made with torn pieces of brown paper carefully glued onto an acorn template.
As your child tears and glues the paper to create their adorable acorn, it will build up their tiny hand muscles, improve hand-eye coordination, and enhance fine motor skills. To get started, download and print our free template, gather some brown paper in various shades, and grab the glue. Follow the easy steps and watch as your child's acorn comes to life, complete with a happy smile that reflects the joy of the season."]
Materials
- Colored cardstock or construction paper
- Scissors
- Glue
- Acorn template
Instructions
- Download the acorn template, print, and cut out the pieces you need.
- Begin by tearing different shades of brown paper into smaller pieces. Separate the papers into 2 piles: one for lighter brown and one for darker brown. Spread glue over a small section of the lower part of the acorn background paper.
- Use the lighter brown pieces to fill in the entire lower part of the acorn.
- Next, spread glue over the acorn cap section, then glue the darker brown pieces onto the glue. Repeat until the entire acorn is filled.
- Take the eyes and glue them, one on each side of the acorn, a little below the acorn cap.
- Glue the eyebrows above both eyes. Alternatively, you can draw the eyebrows on with a marker.
- Place the circle nose in between and slightly below the eyes and glue it in place.
- Position the mouth slightly below the nose and glue it down.
- Finish up by gluing the tongue to the bottom of the mouth.