
Torn Paper Elf Craft For Kids
This holiday season, invite your little ones to join the ranks of Santa’s workshop by creating this torn paper elf craft! This fun project is a jolly way for kids to express their creativity bringing their own boy or girl elf to life.
Print
Pin
Video
Materials
- Colored cardstock or construction paper
- Scissors
- Glue
- Marker
- Elf Template
Instructions
- Download the elf template, print, and cut out the pieces you need.
- Begin by spreading glue over a whole section of elf background paper.
- Next, start tearing the paper into small pieces. Then, begin putting them on the whole section of the elf background.

- Take the bangs piece and glue it to the front of the elf’s head.
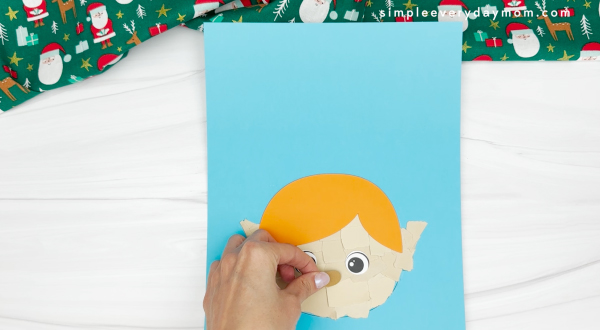
- Glue both eyes just below the hair.
- Place the nose in the middle of the head, just below both eyes.
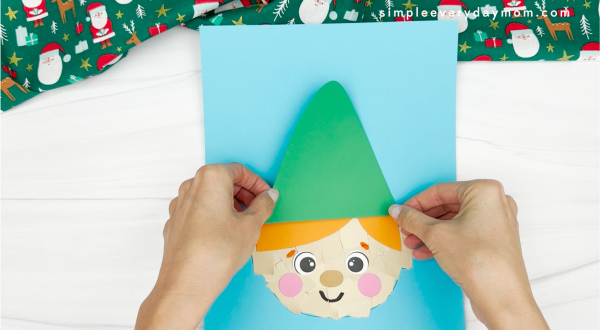
- Position the cheeks on both sides of the mouth and glue them in place. If you're making a girl elf, glue the braids to the sides of the head, just below the ears.
- Using a marker, draw the eyebrows and the mouth. Next, take the hat and glue it to the top of the hair, and continue by gluing the hat trim to the base of the hat.
- Finish up by gluing the bell to the tip of the hat.