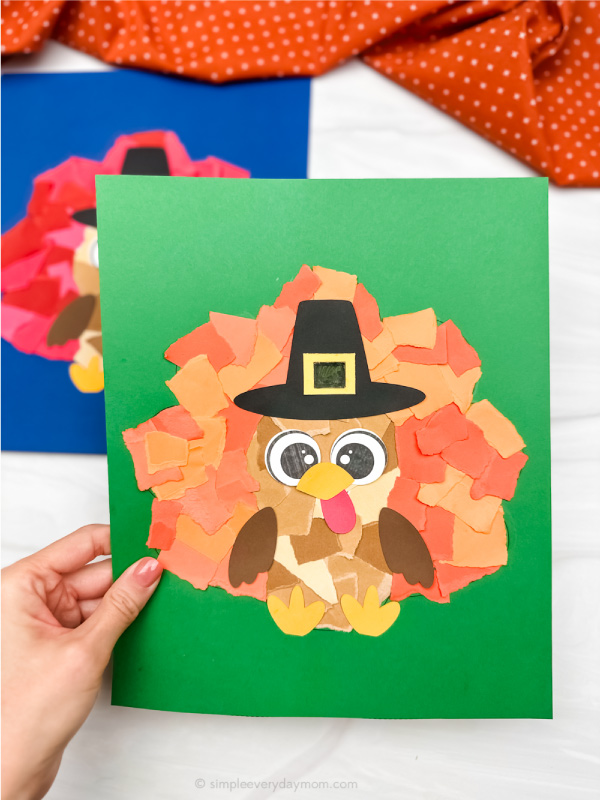
Torn Paper Turkey Craft For Kids
Your little turkeys will have a blast making this torn paper turkey craft! It’s a fun project that comes together by tearing colorful paper and gluing it onto the free template we provide.
Print
Pin
Video
Materials
- Colored cardstock or construction paper
- Scissors
- Glue
- Turkey template
Instructions
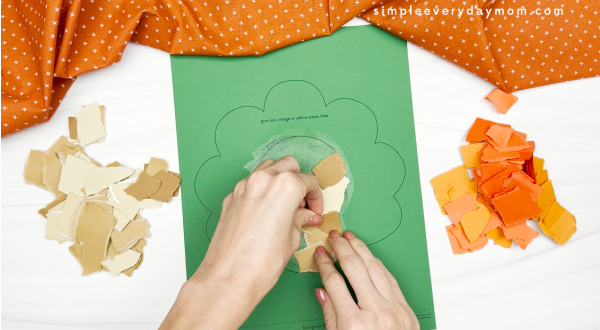
- Download the turkey template, print, and cut out the pieces you need.
- Spread glue over a small section of the middle part of the turkey background paper.
- Use the lighter brown pieces of paper to fill in the entire middle part of the turkey.
- Next, glue the orange small pieces all over the turkey feathers until it is completely filled.
- Glue the eyes to the middle and top of the turkey.
- Position the snood below the eyes and use glue to attach it.
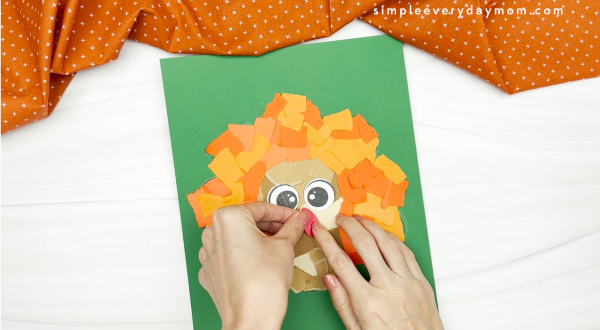
- Take the beak and glue it below the eyes covering the snood.
- Attach the wings on both sides of the body.
- Next, glue the legs to the bottom part of the body
- Position the hat on the top of the turkey’s head and glue it down.
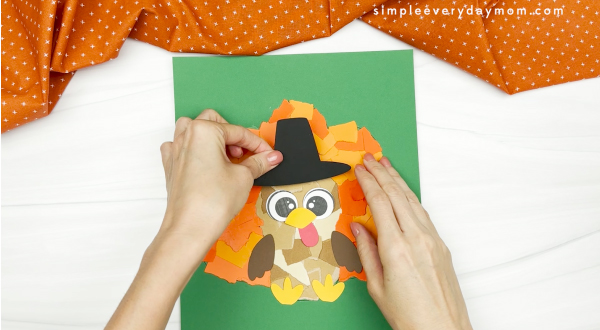
- Finish up by gluing the hat buckle to the middle and bottom of the hat.