Turkey Art Project Craft For Kids
We're gearing up for the holiday here with lots of fall and Thanksgiving-themed crafts and activities. Get your little turkeys excited for Thanksgiving with this really fun turkey art project.
Print
Pin
Video
Materials
- White art paper or thick cardstock
- Watercolors
- Paintbrush
- Scissors
- Glue
- Turkey printable
Instructions
- Download the turkey template and print it out on white art paper or thick cardstock.
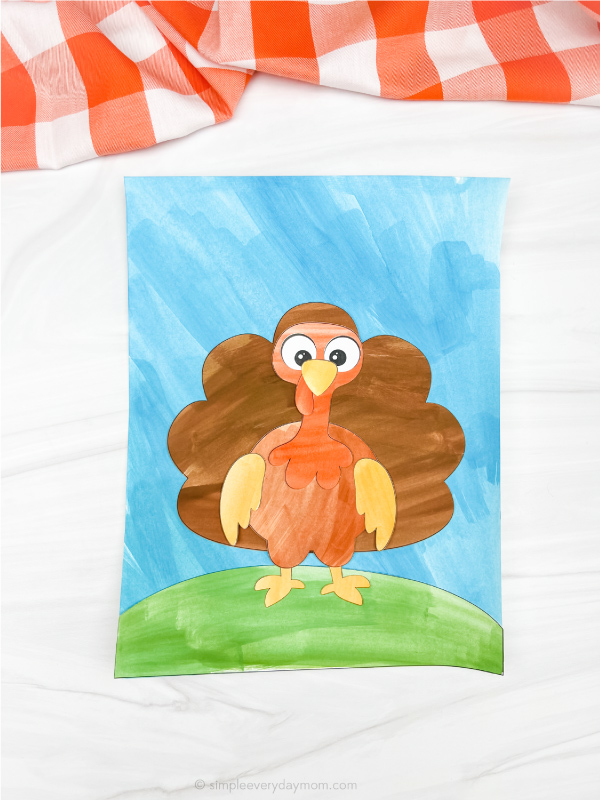
- Let the kids paint in all the pieces, then let them dry completely. Cut out all the pieces. If you want to use a watercolored background, then take a 2nd piece of white art paper and paint it for the sky background.
- Create the turkey by gluing the eyes to the middle of the head.
- Place the top of the snood right below the eyes and glue it in place. Then glue the beak on top of the snood.
- Next, take the turkey's head and neck piece and glue it to the main body.
- Position the wings on either side of the body and glue them in place.
- Glue the feet to the back and bottom of the turkey's body.
- Finally, glue the turkey's body in the middle of the feathers.
- Place the hill at the bottom of the background paper and glue it in place.
- Finish up by gluing the turkey to the top of the hill.