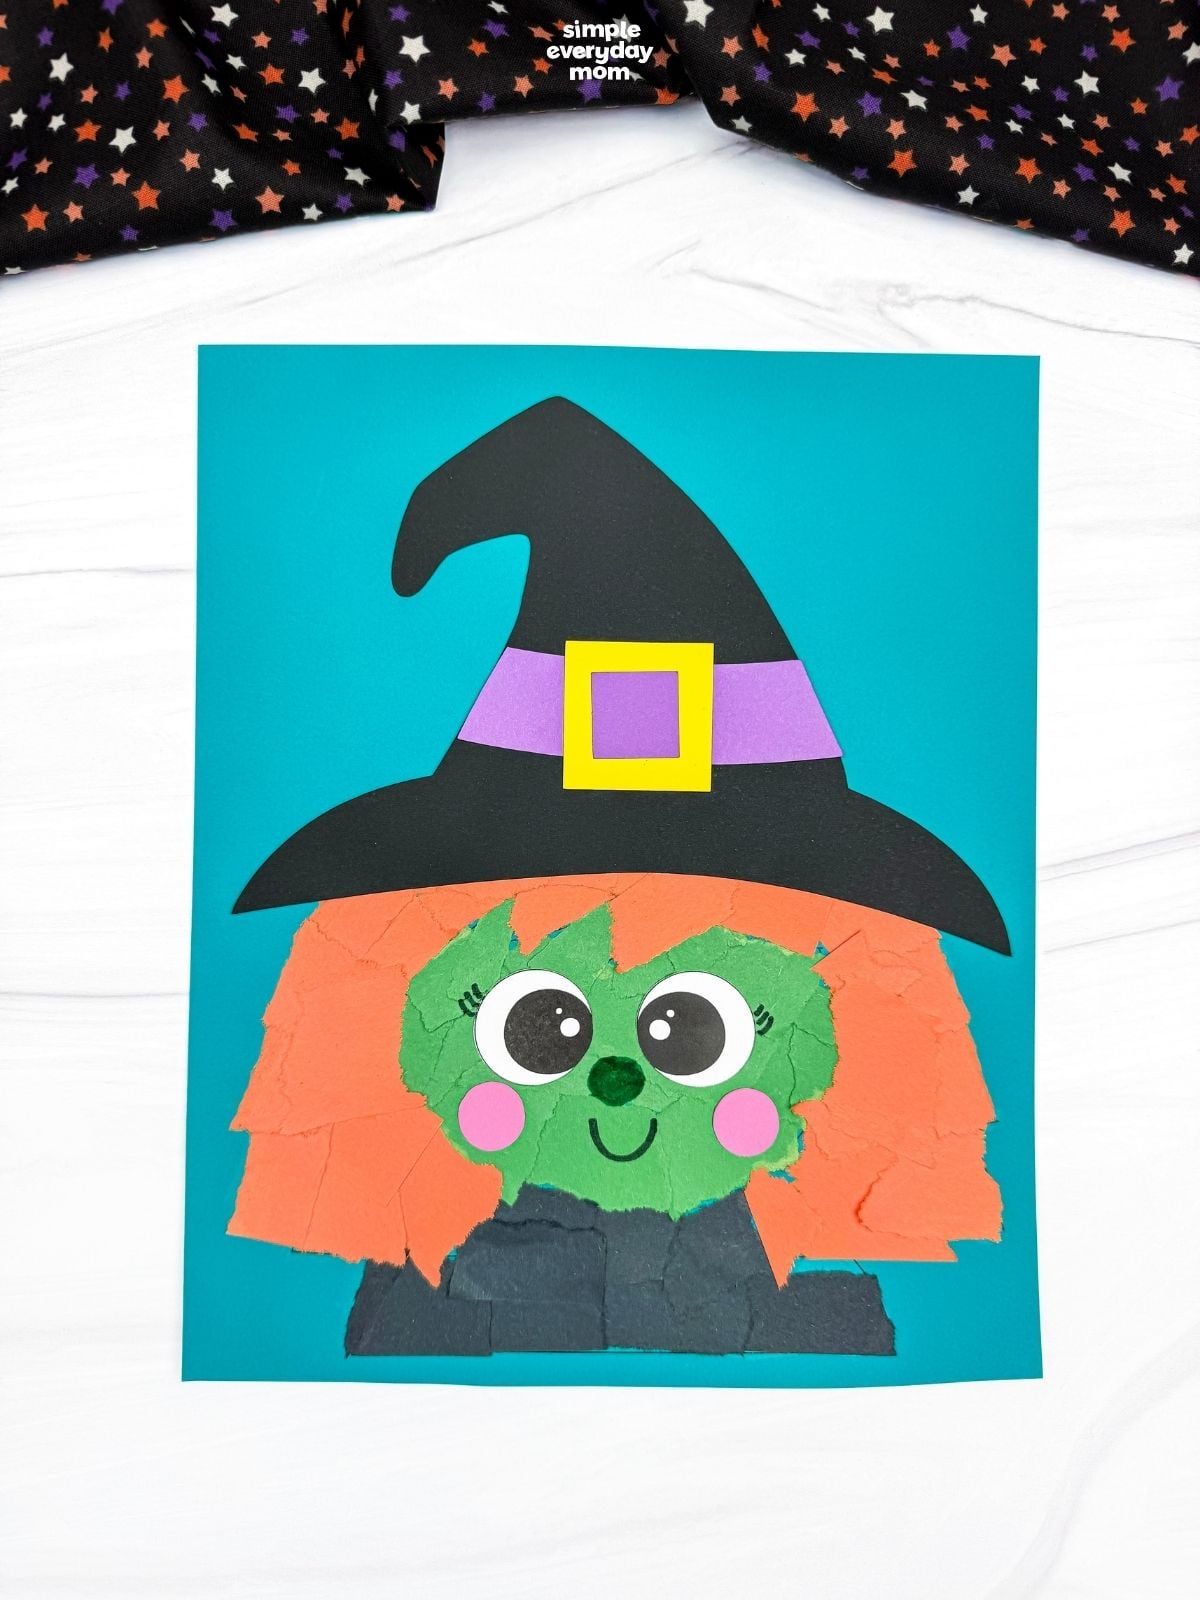
Witch Torn Paper Craft
This witch torn paper craft is a fun Halloween activity that helps kids build fine motor skills while creating a friendly witch using colorful ripped paper.
Print
Pin
Video
Materials
- Colored cardstock or construction paper
- Scissors
- Glue
- Markers
- Witch template
Instructions
- Print the template and gather the materials for this fun activity.
- Begin by gluing torn paper pieces inside the witch's face outline.
- Glue torn paper pieces around the face to create the witch's hair.
- Fill in the shirt outline with torn paper pieces, gluing them down.
- Glue the eye pieces side by side near the top of the face.
- Use a marker to draw the witch's nose below the eyes.
- Draw eyelashes along the outer edges of the eyes and a smile below the nose.
- Glue the cheek pieces on both sides of the face, below the eyes.
- Look for the hat piece and glue it above the hair, slightly overlapping the top.
- Glue the hat band across the lower section of the hat, just above the brim.
- Glue the outer buckle onto the center of the hat band.
- Finally, glue the inner buckle in the center of the outer buckle to complete the craft.