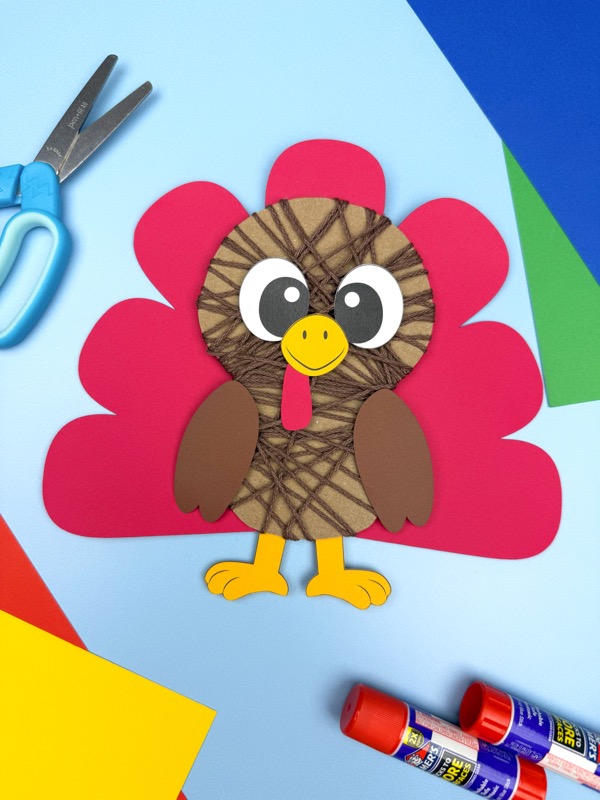
Yarn Turkey Craft
This DIY turkey is a fun way for little hands to practice hand-eye coordination and develop fine motor skills.
Print
Pin
Video
Materials
- Colored cardstock or construction paper
- Thin cardboard (like from a cereal box)
- Yarn
- Tape
- Scissors
- Glue
- Pencil
- Turkey Template
Instructions
- Download the template, print it, and cut out the pieces you need.
- Take the body outline, trace it on the cardboard, and cut it out.
- Tape the end of the yarn to the back of the body outline.
- Wrap the yarn all around the body outline until it’s covered to your child's liking. Cut the yarn and tape the end to the back of the body.
- Glue the wings on each side of the body.
- Next, glue the eyes onto the turkey’s face.
- Attach the snood to the turkey's face, in between and just below the eyes.
- Now glue the beak to the top of the snood.
- Glue the feet to the back and bottom of the body.
- Finish by gluing the turkey on top of its feathers.