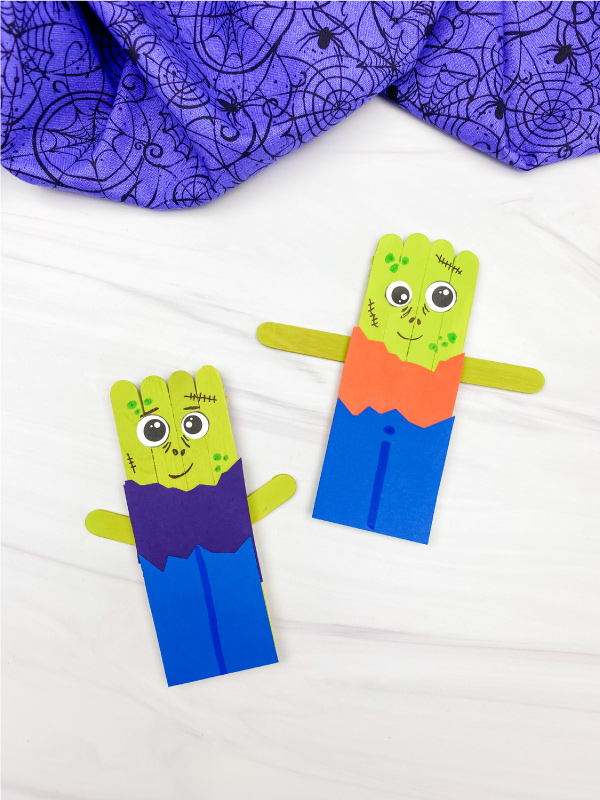
Zombie Popsicle Stick Craft
Have some spooky Halloween when while making this cute zombie popsicle stick craft!
Print
Pin
Video
Materials
- Popsicle sticks
- Glue dots
- Scissors
- Paint
- Paintbrush
- Glue stick
- Markers
- Colored cardstock or construction paper
- Zombie template
Instructions
- Download the zombie template, print, and cut out the pieces you need.
- Cut a popsicle stick into thirds with the scissors. Line up 4 popsicle sticks evenly. Stretch out three glue dots to go onto the back of each of the cut popsicle sticks. Use this to secure the 4 popsicle sticks together. We recommend putting the middle piece slightly higher than the middle so you can easily glue the arms into place.
- If you don't want to use glue dots, replace them with hot glue and do the same steps as above.
- Paint the 4 popsicle sticks and an additional popsicle stick (for the zombie's arms) in a shade of green. Let dry completely.
- Take the shorts and use a marker to draw on the button at the top and the line down the center.
- Place the zombie's torn shirt near the middle of the popsicle sticks and glue it in place.
- Position the zombie shorts on top of the shirt and lined up with the bottom and secure it in place with glue.
- Next, glue the eyes onto the head portion of the popsicle sticks.
- Use a black marker to draw on undereye circles, nostrils, and stitch marks. Use a dark green marker to draw on skin spots.
- Optionally: Add arms to your zombie. For straight arms, simply glue the additional popsicle stick you painted in step one to the back of the popsicle sticks with a glue dot. For angled arms, cut the popsicle stick in half and attach each arm with a glue dot.