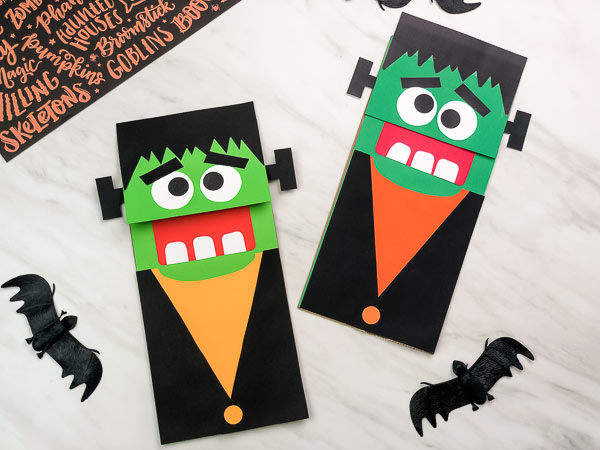
Brown Paper Bag Frankenstein Craft
This brown paper bag Frankenstein craft is a fun DIY Halloween activity kids of all ages will enjoy!
Print
Pin
Video
Materials
- Brown paper lunch bags standard sized; not giant
- Colored paper in orange, black, & green
- Glue stick
- Frankenstein template
- .5" circle punch optional
Instructions
- Download and print out the Frankenstein template. Cut out all the pieces and set aside.
- Measure the width and height of the bottom portion of your brown paper bag and cut out a rectangle that size from the green paper. Glue the green rectangle onto the paper bag.
- Measure the width and height of the top part of the brown paper bag and cut out a rectangle that size from the green paper. Glue this rectangle onto the top section of the bag.
- Glue the orange shirt section of Frankenstein to the bottom of the brown paper bag puppet.
- Construct Frankenstein's jacket by gluing one half of the black piece onto the left side of the orange shirt. Next glue the other black piece onto the opposite side of the paper bag.
- Cut a small circle or use a circle punch (I used a .5" punch) to make one orange circle. Glue onto the middle of the jacket pieces, at the bottom.
- Round the corners of Frankensteins mouth, if you want. Glue this pieces below the paper bag flap and just above the shirt line.
- Glue Frankenstein's teeth along the bottom of his mouth.
- Glue the hair onto the top of the paper bag, with about a 1" overhang on the top (so there is enough room for the rest of the face).
- Position the eyeballs just about the flap line and glue in place.
- Glue the eyebrows to the top of the eyeballs.
- Lift up the flap and secure the bolts on either side of Frankenstein's head with glue.