Frankenstein Puppet Craft For Kids [Free Template]
All activities require adult supervision. By using this site, you agree to our terms of use. This post may contain affiliate links. As an Amazon Associate and a participant in other affiliate programs, I earn a commission on qualifying purchases. Read our disclosure policy.
Do you and your family love celebrating Halloween in a non-scary, kid-friendly way?
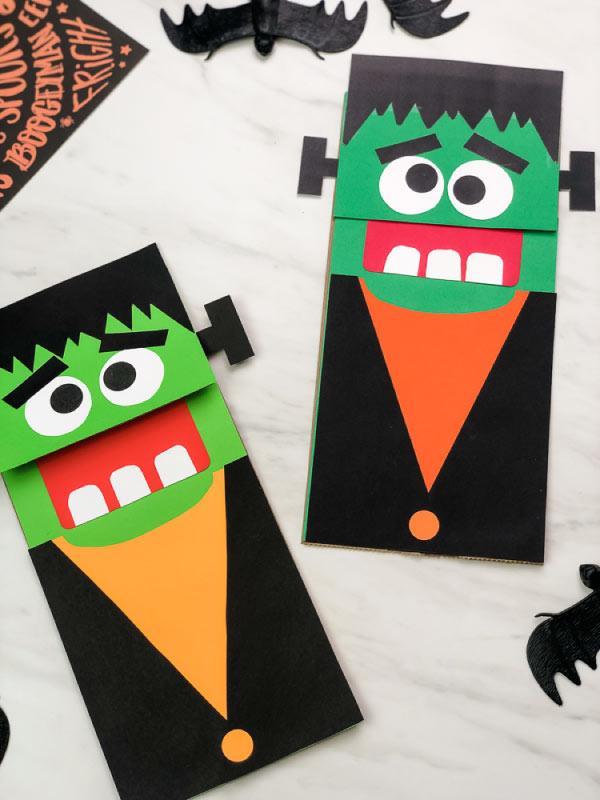
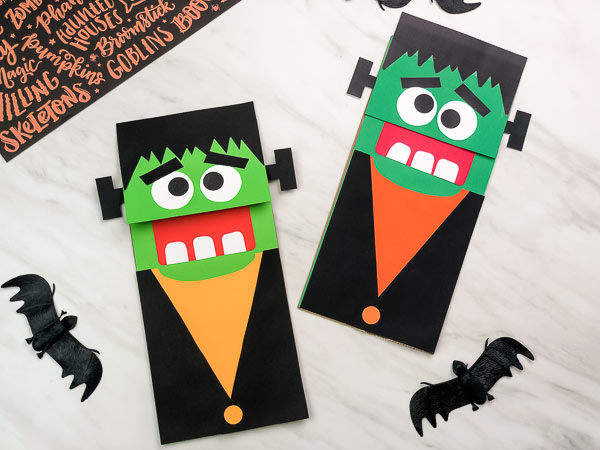
If so, you’ll appreciate this cute brown paper bag Frankenstein craft for kids.
It’s a fun and simple Halloween craft the kids can play with, use to tell spooky stories with, or just hang on the fridge with pride!
Read on below to see how to make this easy craft at home with your kids and celebrate the Halloween season!
Also, be sure to look through all of our Halloween crafts for kids for even more projects for the kids to do.
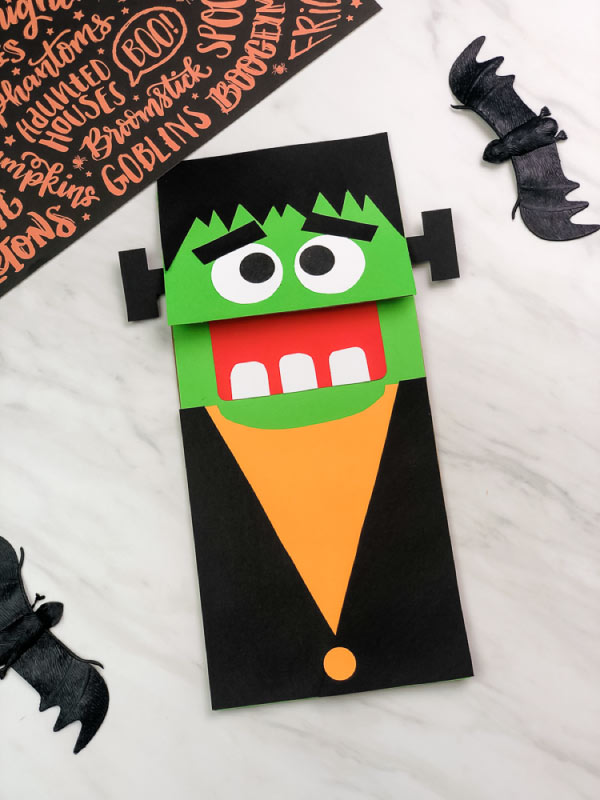
Paper Bag Frankenstein Craft

Frankenstein Puppet Supplies
- Brown paper lunch bags (standard sized; not giant)
- Scissors
- Frankenstein template (form at end of post)
- Colored paper (in orange, black, & green)
- Glue
Directions
Download and print out the Frankenstein template. Cut out all the pieces and set them aside.
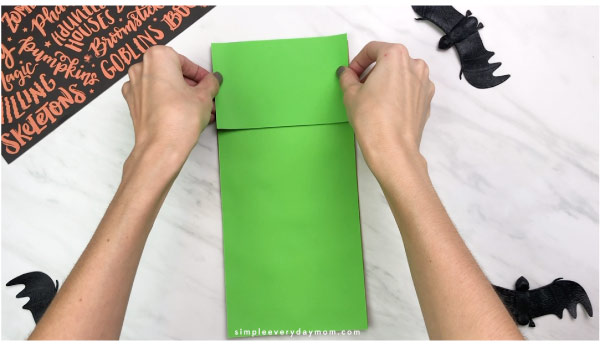
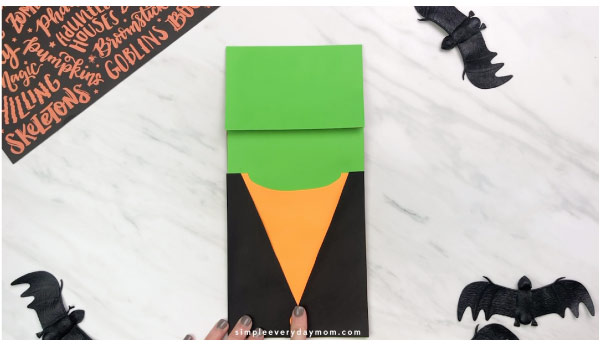
Measure the width and height of the bottom portion of your brown paper bag and cut out a rectangle that size from the green paper. Glue the green rectangle onto the paper bag.
Measure the width and height of the top part of the brown paper bag and cut out a rectangle that size from the green paper. Glue this rectangle onto the top section of the bag.
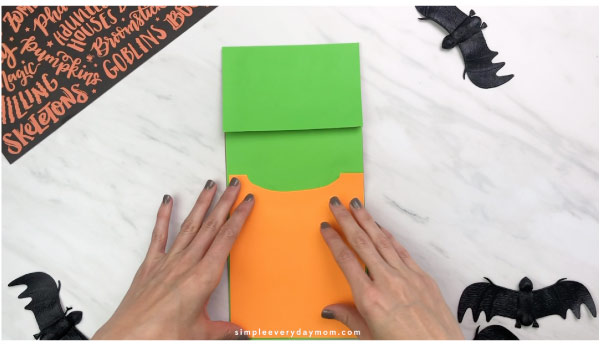
Glue the orange shirt section of Frankenstein to the bottom of the brown paper bag puppet.
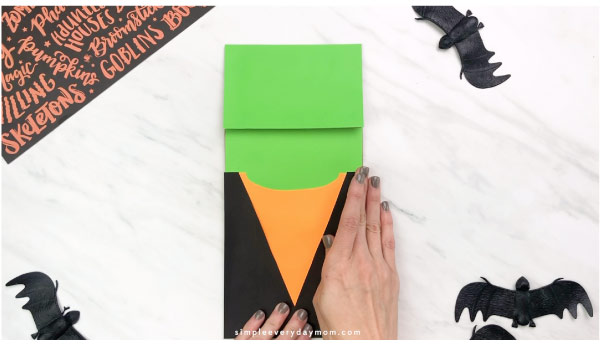
Construct Frankenstein’s jacket by gluing one half of the black piece onto the left side of the orange shirt. Next glue the other black piece onto the opposite side of the paper bag.
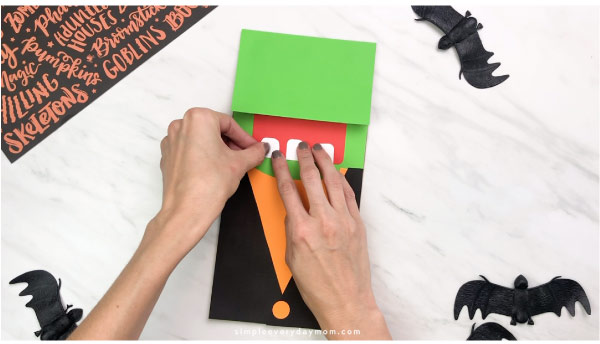
Cut a small circle or use a circle punch (I used a .5″ punch) to make one orange circle. Glue onto the middle of the jacket pieces, at the bottom.
Round the corners of Frankensteins mouth, if you want. Glue this pieces below the paper bag flap and just above the shirt line.

Glue Frankenstein’s teeth along the bottom of his mouth.
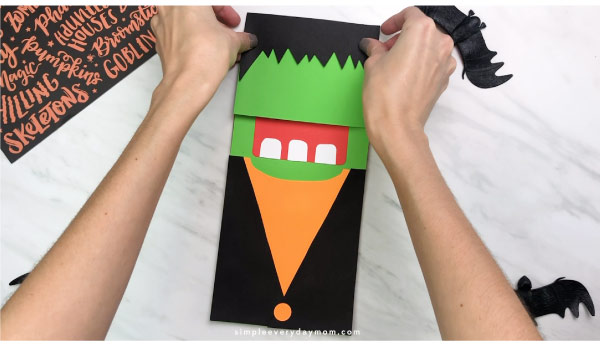
Glue the hair onto the top of the paper bag, with about a 1″ overhang on the top (so there is enough room for the rest of the face).
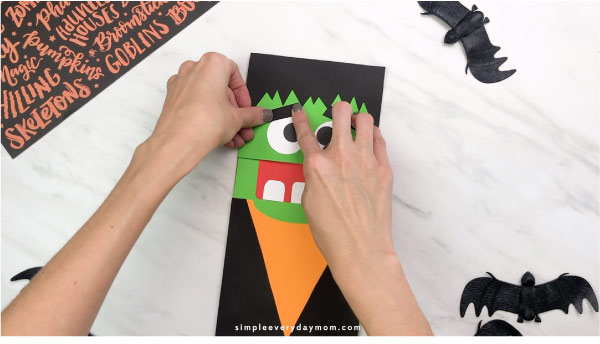
Position the eyeballs just about the flap line and glue in place.
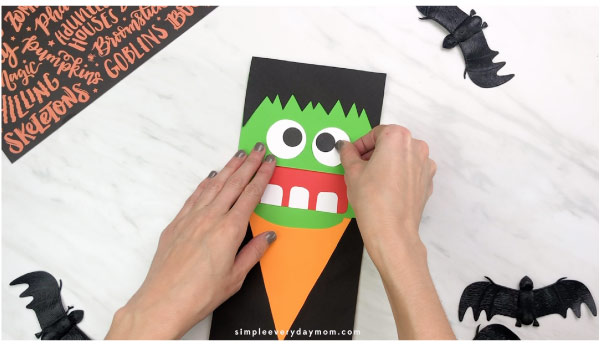
Glue the eyebrows to the top of the eyeballs.
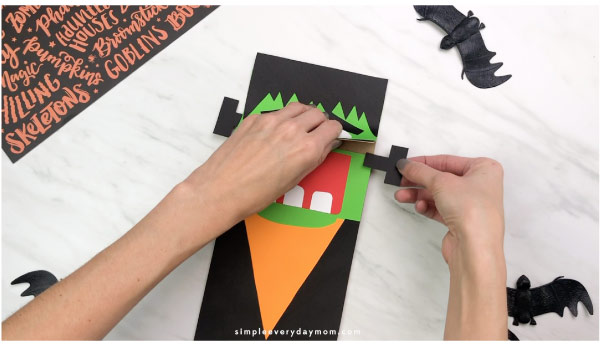
Lift up the flap and secure the bolts on either side of Frankenstein’s head with glue.
Once everything is dry, you’re all set!
Halloween Fun
Want some more fun and educational Halloween printables for your kids? We’ve got you covered! Our Halloween printables bundle has a little bit of everything – from color by number pages to pattern block mats & more. Your kids will have a blast practicing their fine motor skills, counting, letter recognition, and more. It’s packed with 77 pages of fun so there’s lots of variety and learning potential. Your kids will never get bored!

Fun Ways To Use This Craft
Making this Frankenstein puppet craft is half the fun in itself, but there are more ways you can use this craft after you’ve finished!
You can have kids work on storytelling and sequencing without them even knowing it, by encouraging them to use the puppet. If you have more than one child, have them take turns using their Frankenstein to tell spooky stories to each other. We recommend doing this during the day, not at night, so there’s no bedtime apprehension 🙂
Another useful way to use this puppet is to work on fine motor skills. Have your child use the Frankenstein mouth to pick up different Halloween objects and place them in a bowl. You could use things like Halloween candy, fake plastic spiders, or anything else you have on hand!
If you’re doing this fine motor activity with younger kids, start with large objects. These will be easier to pick up and will cause less frustration. If they’re getting good at picking up large objects, gradually decrease the size to increase the difficulty.

Of course, you can also let your child have open-ended playtime with Frankenstein as well. Watch their imagination and creativity come to life when they play independently with this craft!
Share With Us
Did you make this brown paper bag Frankenstein craft with your kids or students? We’d love to see how they turned out!
Share your pictures with us on our Facebook page or in our private Facebook group.
More Halloween Activities For Kids
- Handprint Bat Craft For Kids
- Halloween Sensory Bin For Kids
- Mickey Mouse Pumpkin Craft
- Halloween Cup Craft
More Halloween Ideas For Kids
Brown Paper Bag Frankenstein Craft
Video
Equipment
- Scissors
Materials
- Brown paper lunch bags standard sized; not giant
- Colored paper in orange, black, & green
- Glue stick
- Frankenstein template
- .5″ circle punch optional
Instructions
- Download and print out the Frankenstein template. Cut out all the pieces and set aside.
- Measure the width and height of the bottom portion of your brown paper bag and cut out a rectangle that size from the green paper. Glue the green rectangle onto the paper bag.
- Measure the width and height of the top part of the brown paper bag and cut out a rectangle that size from the green paper. Glue this rectangle onto the top section of the bag.
- Glue the orange shirt section of Frankenstein to the bottom of the brown paper bag puppet.
- Construct Frankenstein’s jacket by gluing one half of the black piece onto the left side of the orange shirt. Next glue the other black piece onto the opposite side of the paper bag.
- Cut a small circle or use a circle punch (I used a .5" punch) to make one orange circle. Glue onto the middle of the jacket pieces, at the bottom.
- Round the corners of Frankensteins mouth, if you want. Glue this pieces below the paper bag flap and just above the shirt line.
- Glue Frankenstein’s teeth along the bottom of his mouth.
- Glue the hair onto the top of the paper bag, with about a 1" overhang on the top (so there is enough room for the rest of the face).
- Position the eyeballs just about the flap line and glue in place.
- Glue the eyebrows to the top of the eyeballs.
- Lift up the flap and secure the bolts on either side of Frankenstein’s head with glue.
Did you make this?
Don’t forget to leave a comment below and make sure to follow on Pinterest, Facebook and TikTok for more!
Free Frankenstein Template

Meet Sam
Sam is the crafter and founder of Simple Everyday Mom. She has been featured in Oprah Mag, Good Housekeeping, The Spruce Crafts, Country Living, The Bump, and more.


my sped class would love this
Oh good! Glad to hear that!