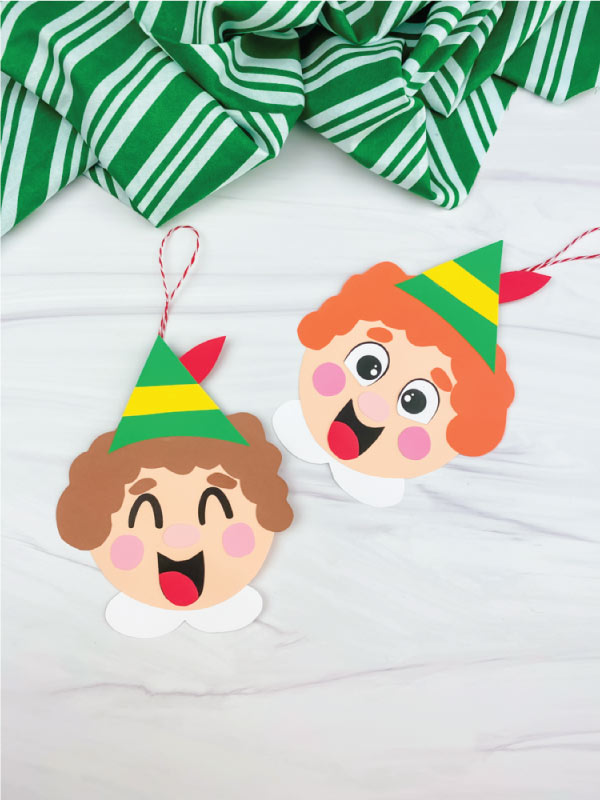
Buddy The Elf Ornament Craft For Kids
Make this cute Buddy the Elf ornament craft with the kids this Christmas! It's a fun homemade ornament to hang on the tree!
Print
Pin
Video
Materials
- Colored cardstock
- Scissors
- Glue
- Red baker's twine
- Tape
- Markers optional
- Laminator optional
- Laminating sheets optional
- Elf ornament template
Instructions
- Download the elf ornament template, print, and cut out the pieces you want to use.
- Begin by gluing Buddy's hair to the top of this head.
- Cut out small ovals for his eyebrows or use a matching colored marker to draw them on right beneath his hair.
- If you're using the face template without eyes, glue them on just below the eyebrows.
- Place his nose below his eyes and glue in place. Next, glue the cheeks below both eyes. You can also skip this step and just draw them on instead.
- Create his mouth by gluing the red tongue to the bottom of the mouth. Use scissors to trim off the excess paper, then glue below the nose.
- Make his elf hat by gluing the yellow band to the middle of the hat. Trim off the excess paper. Glue the red feather to the side of the hat.
- Take the completed hat and glue it to the top of his hair.
- Glue Buddy's collar behind his head, on the bottom.
- If you're going to laminate your ornament, do it now. We recommend laminating if you want to reuse this ornament every year (or preserve it!). Cut out around the laminated edges.
- Take a piece of red baker's twine a tie it into a loop. Flip the ornament over and tape it to the top, back of his head.