Buddy The Elf Ornament Craft [Free Template]
All activities require adult supervision. By using this site, you agree to our terms of use. This post may contain affiliate links. As an Amazon Associate and a participant in other affiliate programs, I earn a commission on qualifying purchases. Read our disclosure policy.
If there’s one name that comes to mind when you think of elves, it has to be Buddy the Elf!
He’s everyone’s favorite Christmas elf and now you can make him into an animated decoration for the tree with this Buddy the Elf ornament craft.
We love creating elf crafts for kids, but this one is our new favorite!
Unlike most of our other crafts, we would recommend making this craft with older kids unless you can help your child cut out the pieces.
But, almost every child can help glue this ornament together and get it ready for hanging!
Watch our quick video tutorial below to see how to make one (or several) for your home.
Kids’ Ornament Craft
Supplies
- Colored cardstock
- Scissors
- Glue
- Red baker’s twine
- Tape
- Markers (optional)
- Laminator (optional)
- Laminating sheets (optional)
- Elf ornament template (enter your email in the form at the end of the page to have the link emailed to you)
Directions
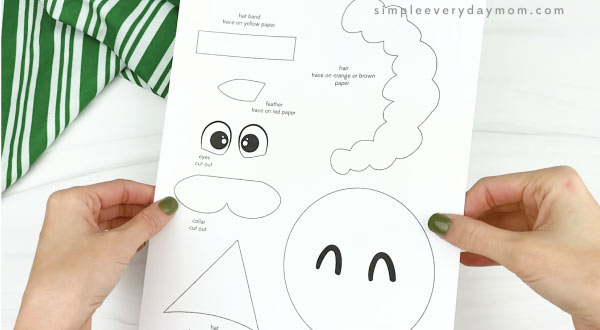
Download the elf ornament template, print, and cut out the pieces you want to use.
Begin by gluing Buddy’s hair to the top of this head.
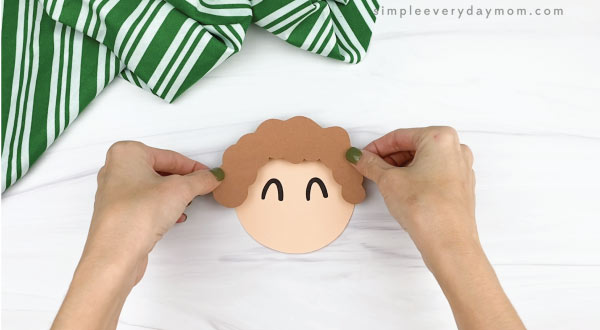
Cut out small ovals for his eyebrows or use a matching colored marker to draw them on right beneath his hair.
If you’re using the face template without eyes, glue them on just below the eyebrows.
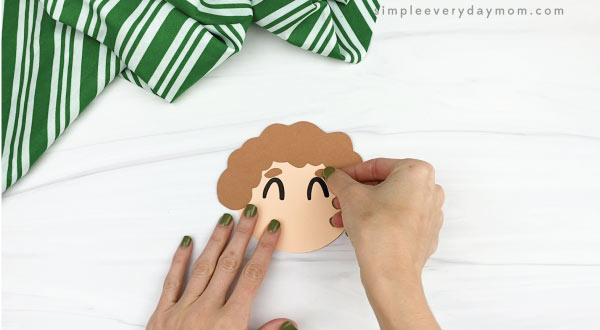
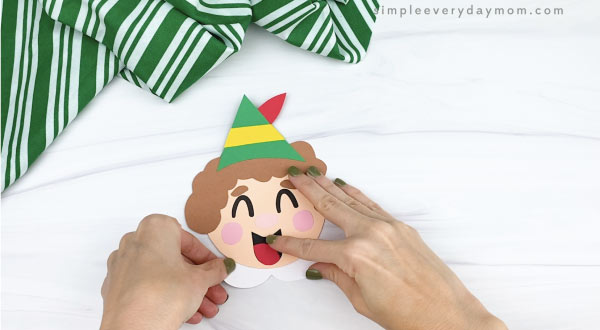
Place his nose below eyes and glue in place. Next, glue the cheeks below both eyes. You can also skip this step and just draw them on instead.
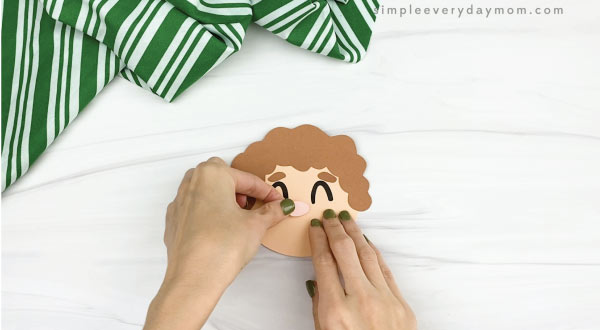
Create his mouth by gluing the red tongue to the bottom of the mouth. Use scissors to trim off the excess paper, then glue below the nose.
Make his elf hat by gluing the yellow band to the middle of the hat. Trim off the excess paper. Glue the red feather to the side of the hat.
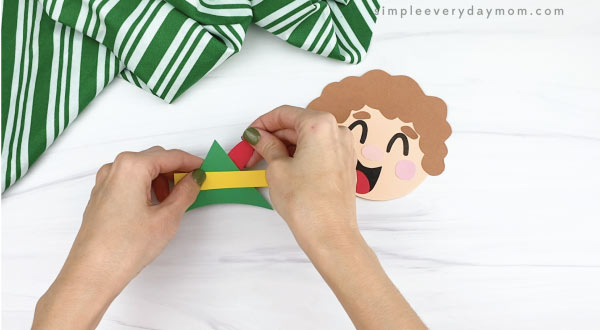
Take the completed hat and glue it to the top of his hair.

Glue Buddy’s collar behind his head, on the bottom.
If you’re going to laminate your ornament, do it now. We recommend laminating if you want to reuse this ornament every year (or preserve it!). Cut out around the laminated edges.
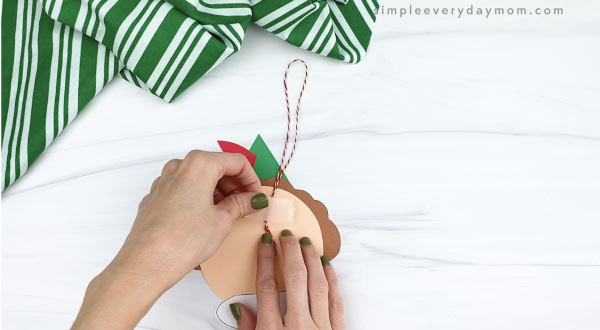
Take a piece of red baker’s twine a tie it into a loop. Flip the ornament over and tape it to the top, back of his head.
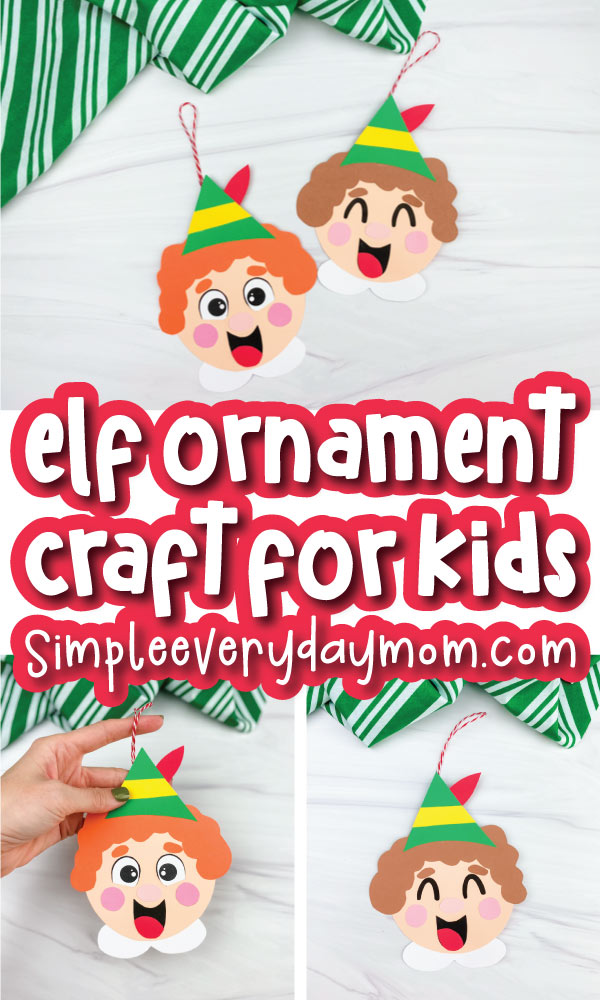
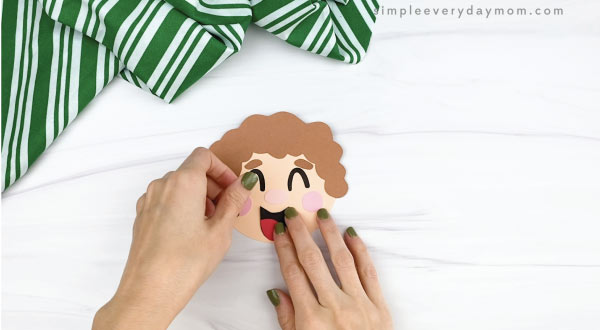
Isn’t that so cute?! We love just how happy his expression is; it’s just like the real Buddy the Elf!
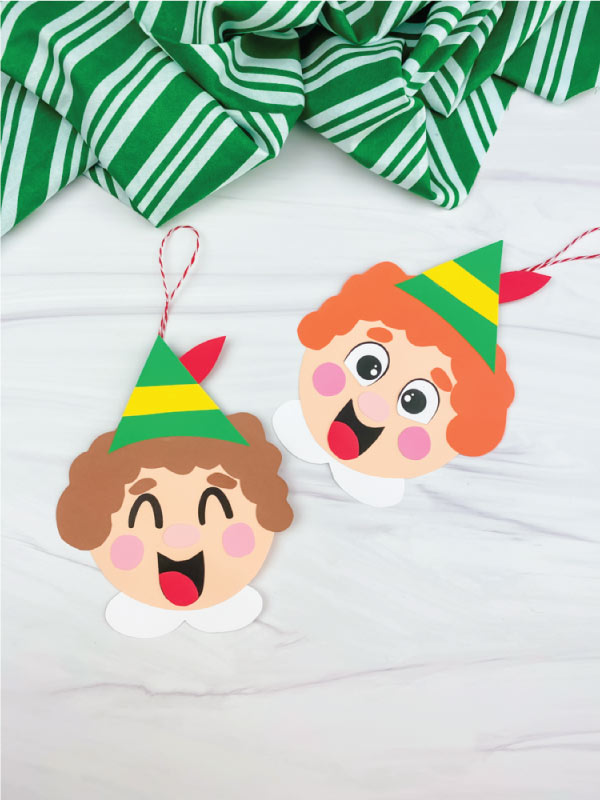
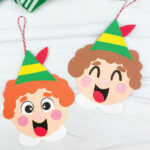
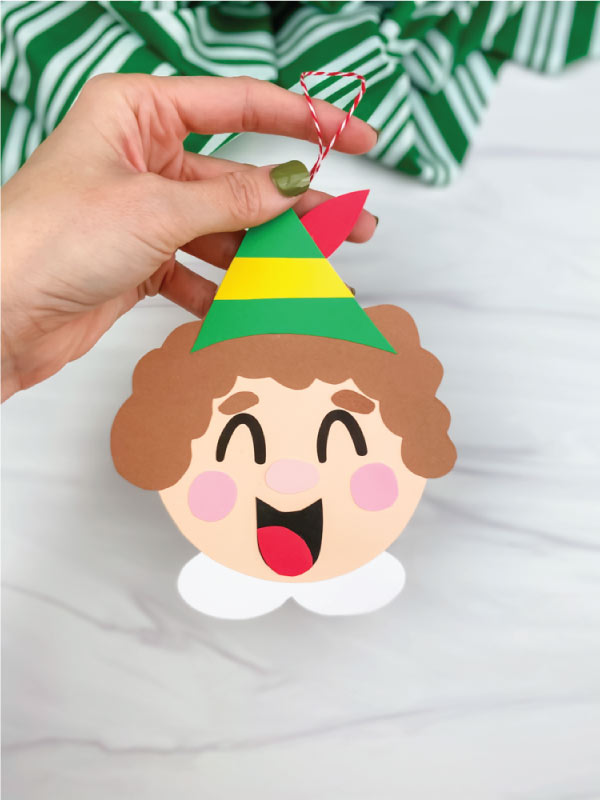
In case you’re wondering, we made two versions of this craft. One is with smiling eyes closed and one is with large, happy eyes. Try out both and see which one your child likes better!
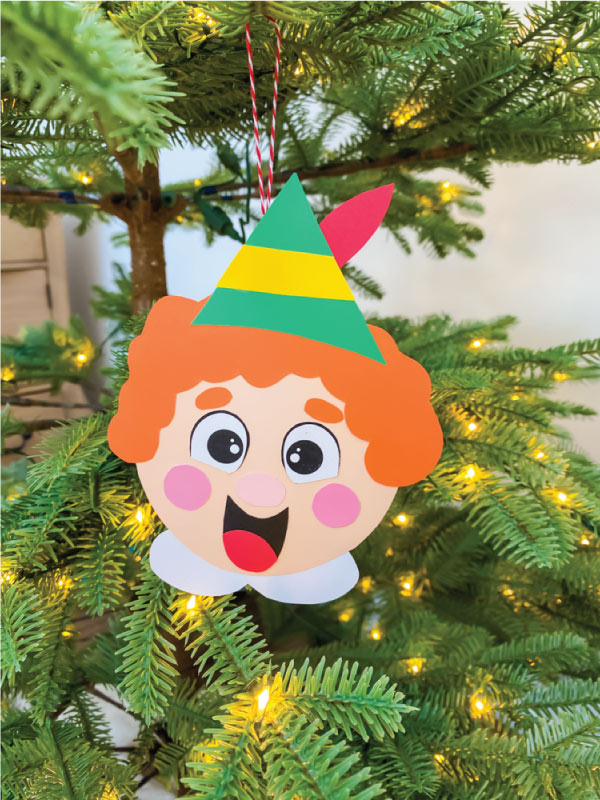
We also made one Buddy with orange hair and one with brown hair. Personally, we prefer the orange hair because it’s more colorful, but feel free to pick either one.
Share With Us
Share With Us
Did you make this project with your kids or students? We’d love to feature them on our social media!
For a chance to have your child’s project featured, simply snap a picture of the completed project and post it to our Facebook page, email it to us directly by clicking here, or use #simpleeverydaymom on your social media!
More Christmas Crafts For Kids
Get Our Favorite Christmas Crafts!
Buddy The Elf Ornament Craft For Kids
Video
Materials
- Colored cardstock
- Scissors
- Glue
- Red baker’s twine
- Tape
- Markers optional
- Laminator optional
- Laminating sheets optional
- Elf ornament template
Instructions
- Download the elf ornament template, print, and cut out the pieces you want to use.
- Begin by gluing Buddy’s hair to the top of this head.
- Cut out small ovals for his eyebrows or use a matching colored marker to draw them on right beneath his hair.
- If you’re using the face template without eyes, glue them on just below the eyebrows.
- Place his nose below his eyes and glue in place. Next, glue the cheeks below both eyes. You can also skip this step and just draw them on instead.
- Create his mouth by gluing the red tongue to the bottom of the mouth. Use scissors to trim off the excess paper, then glue below the nose.
- Make his elf hat by gluing the yellow band to the middle of the hat. Trim off the excess paper. Glue the red feather to the side of the hat.
- Take the completed hat and glue it to the top of his hair.
- Glue Buddy’s collar behind his head, on the bottom.
- If you’re going to laminate your ornament, do it now. We recommend laminating if you want to reuse this ornament every year (or preserve it!). Cut out around the laminated edges.
- Take a piece of red baker’s twine a tie it into a loop. Flip the ornament over and tape it to the top, back of his head.
Did you make this?
Don’t forget to leave a comment below and make sure to follow on Pinterest, Facebook and TikTok for more!
Free Elf Ornament Template

Meet Sam
Sam is the crafter and founder of Simple Everyday Mom. She has been featured in Oprah Mag, Good Housekeeping, The Spruce Crafts, Country Living, The Bump, and more.


So cute! Can’t wait to get the template and use with my class.
Thank you! Hope your class has a blast with it!
comment
Are you looking for the template? If so, all you need to do is enter your email in the form at the end of this page and the link will be sent to you ?