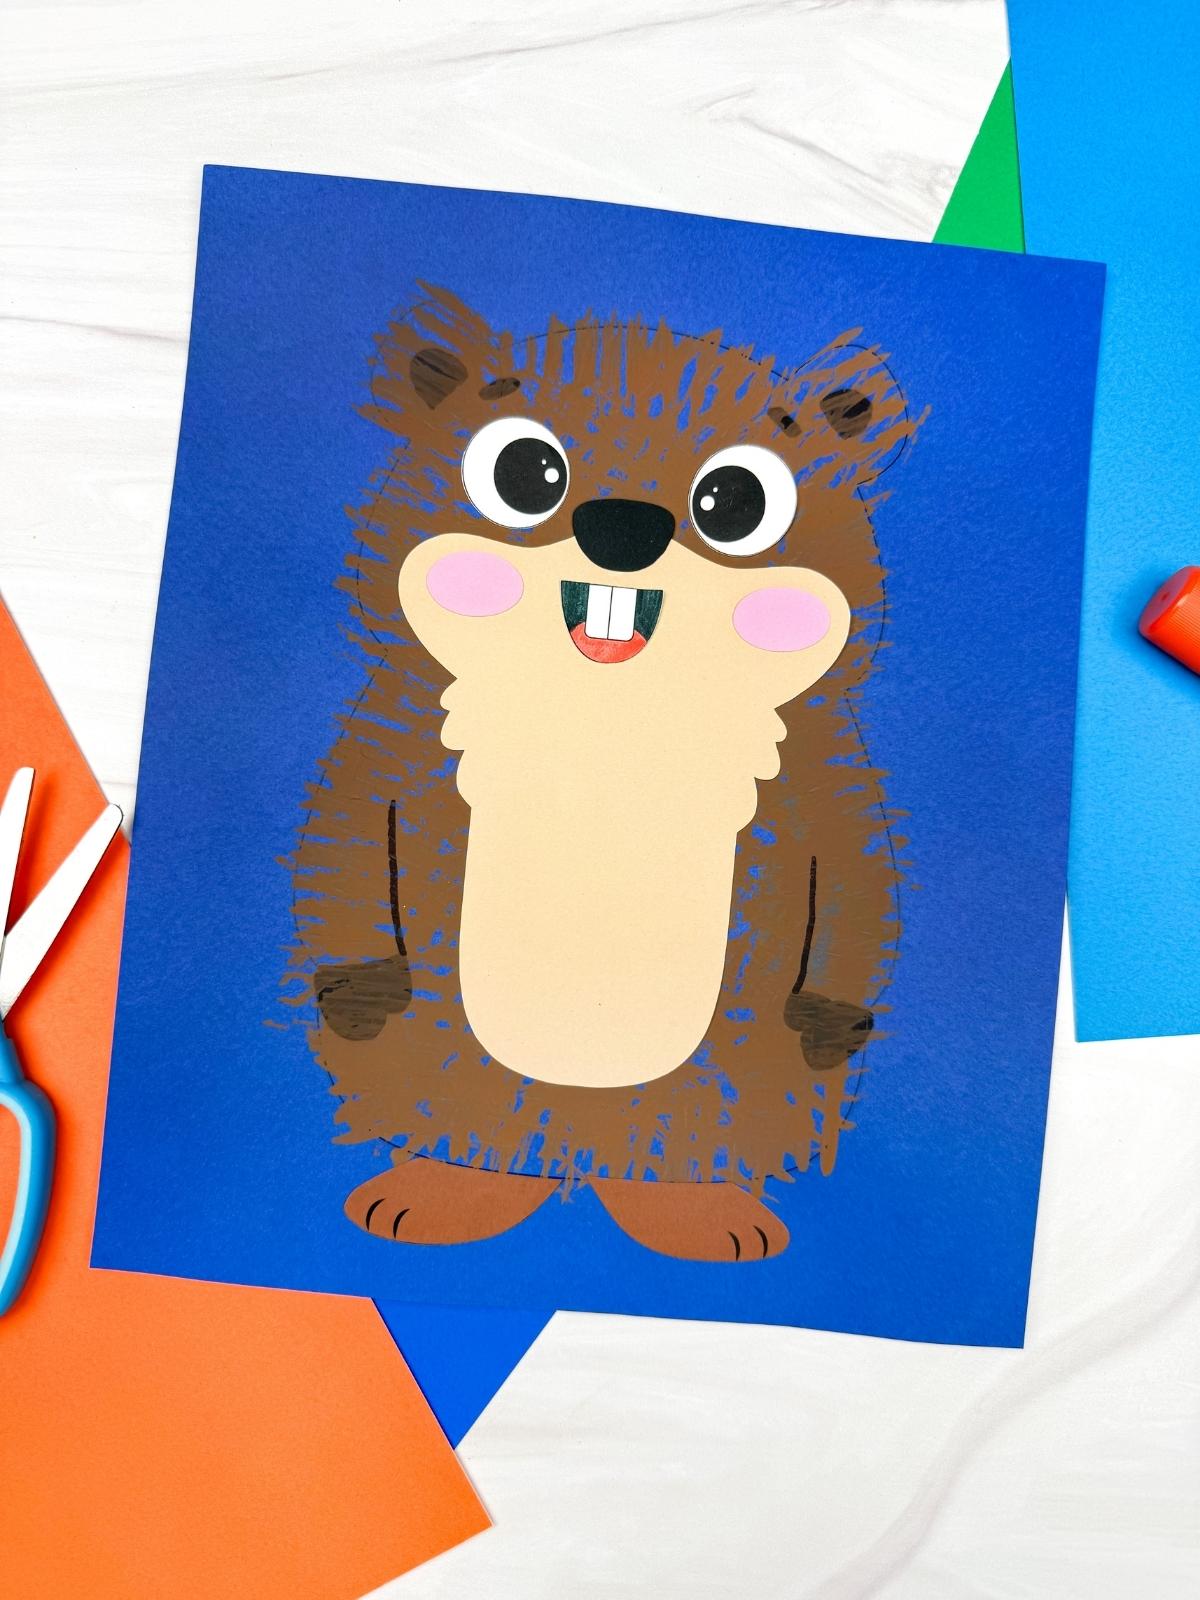
Groundhog Fork Painted Craft
Groundhog Fork Painting is a fun February craft that lets kids bring a famous little groundhog to life using simple painting techniques.
Print
Pin
Video
Materials
- Colored cardstock or construction paper
- Scissors
- Glue
- Paper Plate
- Paint
- Fork
- Markers
- Groundhog Template
Instructions
- Print the template and cut out the pieces you need.
- First, dip a fork into paint and stamp it across the groundhog background to create a textured groundhog shape. Repeat until it's completely filled.
- Let dry completely before moving on.
- Next, glue the belly piece in the center of the painted groundhog.
- Glue the eyes just above the top of the belly piece, on each side of the face.
- Now, glue the nose to the top bump of the belly piece.
- Color in the mouth with crayons or markers, then glue it in the middle of the groundhog, beneath the nose.
- Take the cheeks and glue them on both sides of the mouth.
- Glue the feet to the bottom of the groundhog’s body.
- Finally, draw the arms and any small details, like paws and eyebrows, to finish the groundhog.