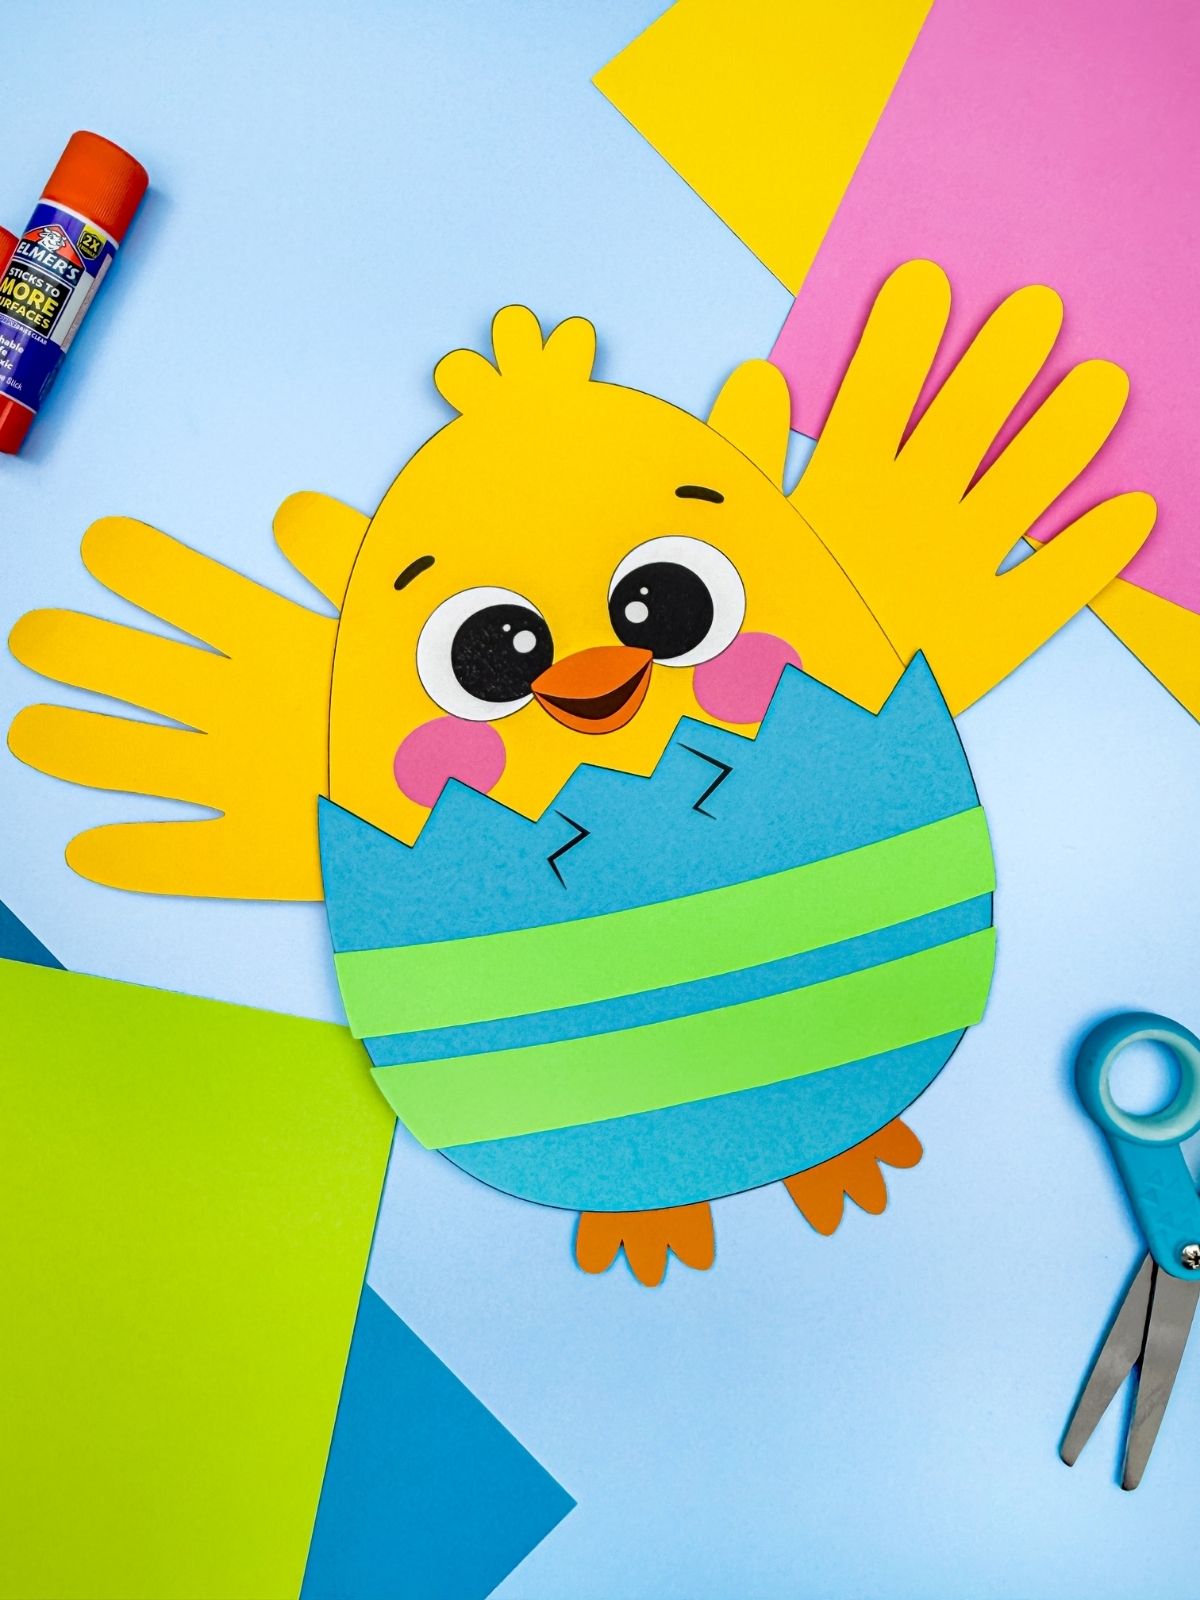
Handprint Easter Chick
This Handprint Easter chick craft lets kids create an adorable chick hatching from an egg, complete with handprint wings for a fun and personal touch.
Print
Pin
Video
[adthrive-in-post-video-player video-id="VhtoJmxh" upload-date="2026-03-28T23:05:01+00:00" name="Handprint Easter Chick Craft" description="Little hands make the sweetest keepsakes, and this handprint Easter chick is sure to bring smiles to parents’ faces. This hands-on art activity has children create an adorable chick hatching out of a colorful egg, complete with wings made from their own handprints.
In about 25 minutes, you’ll have a piece of Easter art that works beautifully as spring classroom decor or a sweet display at home. Kids around 4-7 years old will improve fine motor strength, cutting and gluing, and exploring creative expression when they make this adorable chick." player-type="default" override-embed="default"]
Materials
- Colored cardstock or construction paper
- Scissors
- Glue
- Easter Chick Template
Instructions
- Print the template and gather the materials for this fun activity.
- Begin by gluing the cheek pieces to each side of the head, closer to the bottom of the head.
- Glue the eye pieces in the center of the face, underneath the eyebrows.
- Take the beak and glue it between the eyes.
- Glue the egg piece to the bottom of the chick.
- Take the stipes and glue them across the egg to decorate it.
- Grab the feet pieces and glue it behind the bottom of the egg.
- Trace your child’s hands on paper two times, cut out the handprints, and glue one on each side of the back of the chick, slightly behind the head to form the wings.