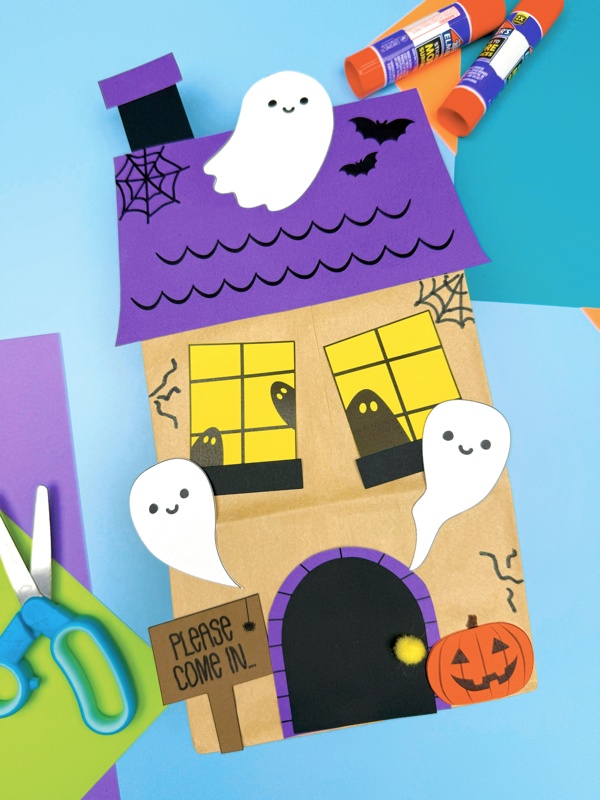
Haunted House Paper Bag Craft
This Haunted House Paper Bag Craft is a fun Halloween activity for kids. Start with a lunch sack and decorate it with ghosts, bats, spiderwebs, and jack-o-lanterns.
Print
Pin
Video
Materials
- Colored cardstock or construction paper
- Brown paper bag
- Scissors
- Glue
- Marker
- Tape
- Haunted House Paper Bag Template
- 1 cm pom pom optional
Instructions
- Download the template, print it, and cut out the pieces you need.
- Begin by folding down the open top of the paper bag.
- Glue the roof piece to the top flap of the bag.
- Attach the door outline near the bottom, then glue the black door piece on top of it. Optionally, glue a small pom pom on one side to act as a door handle.
- Place the pumpkin piece beside the door and draw a stem on it with a marker.
- Glue the “please come in” sign on the other side of the door.
- Add the window pieces with ghosts, one on each side just below the roof.
- Take the window sills and glue them under the window pieces.
- Draw spiderwebs and cracks on the paper bag with a marker.
- Attach the ghost pieces by gluing them onto the paper bag.
- Glue the chimney to the back and top of the roof.
- Now, glue the top of chimney piece to the top of the roof.
- Stuff some crumpled paper inside the bag to make it stand up.
- Finish by sealing the folded top of the bag with tape to hold everything in place.