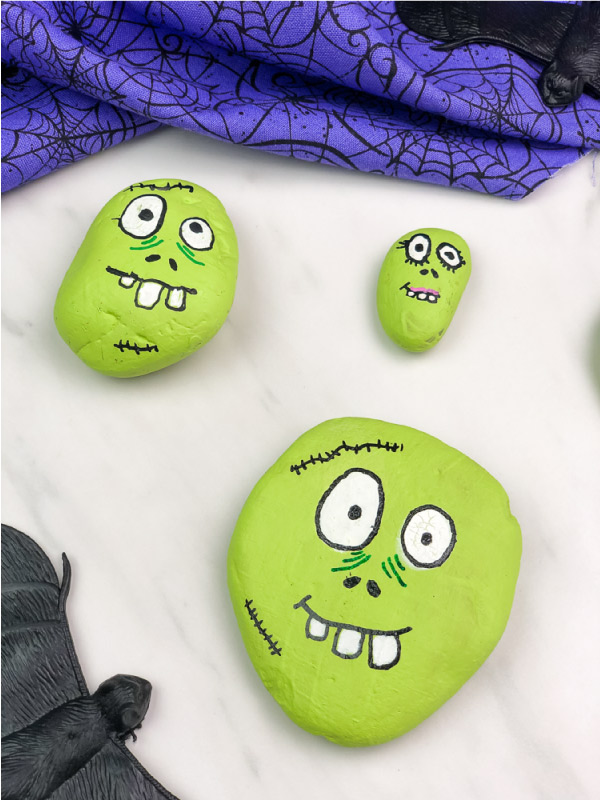
Kids' Zombie Painted Rocks For Halloween
Learn how to make these easy zombie painted rocks for kids this Halloween!
Print
Pin
Video
[adthrive-in-post-video-player video-id="kcwR6GAq" upload-date="2019-09-19T00:00:00.000Z" name="Easy Zombie Halloween Painted Rocks For Kids" description="Learn how to make your own zombie Halloween painted rocks with the whole family! It's a fun Halloween activity for kids!"]
Materials
- Paint Pens
- Rocks
- Green Acrylic Paint
- Clear Sealant optional
Instructions
- Coat each rock in 3-4 thin layers of green acrylic paint. Alternatively, you could also use a green paint pen, but I find you get a smoother and more vibrant base (and save your paint pen's ink) when using acrylic paint. Let the paint dry completely before moving on.
- Using the white paint pen, draw on the eyes. It's best to do white first, so you don't get any other paint on the brush pen's tip.
- Use the green paint pen to draw any undereye wrinkles or forehead wrinkles you'd like your zombie rock to have.
- Use the black paint pen to create the nostril holes, the mouth and any stitches you want to make. Let dry completely.
- Carefully fill in the teeth with the white paint pen.
- Use the black paint pen to draw the pupils and outline the eyes.
- Optional: Use the pink paint pen to draw brains or an upper lip for lady zombies.
- Optional: Use a spray sealant to preserve your Halloween rocks.