Easy Zombie Halloween Painted Rocks For Kids
All activities require adult supervision. By using this site, you agree to our terms of use. This post may contain affiliate links. As an Amazon Associate and a participant in other affiliate programs, I earn a commission on qualifying purchases. Read our disclosure policy.
It’s almost Halloween time!!!!!
We love almost everything about Halloween.
We love the creative costumes, the trick or treating in neighborhoods, and the fun activities to do with the family.
But there’s one aspect we don’t love. The over the top gross and scary stuff.
With young kids, you just don’t want them to see that sort of stuff.
Sometimes you just have to make up your own fun Halloween crafts for kids so you can be sure it’s age-appropriate.
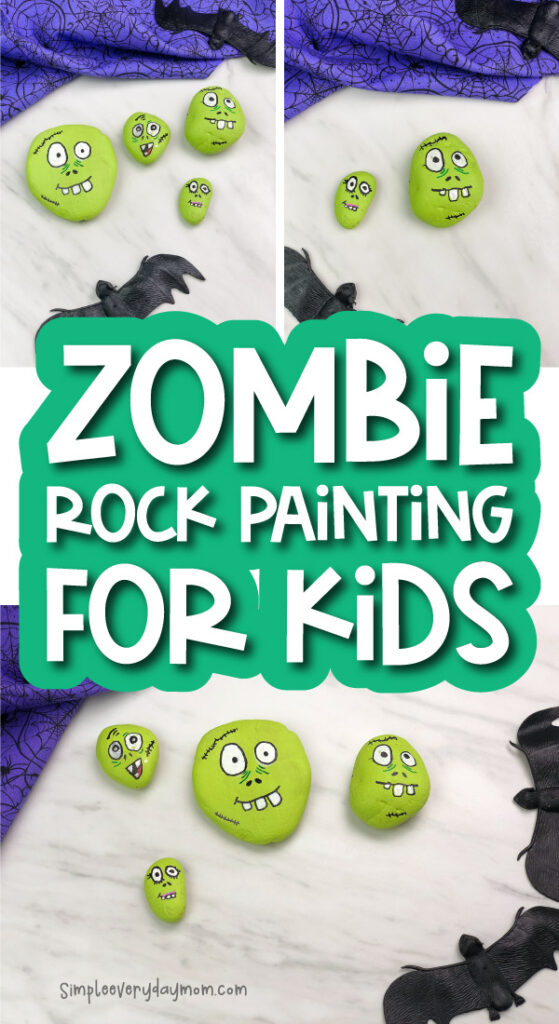
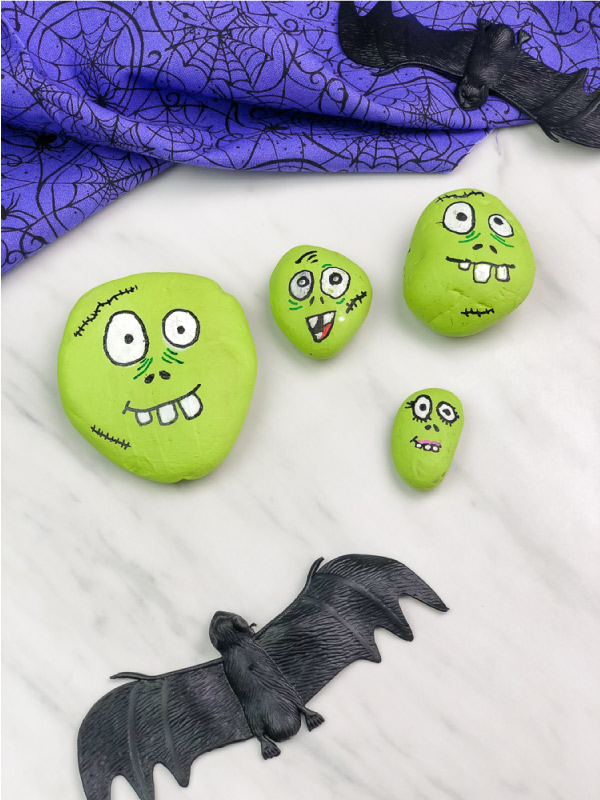
Recently, as a family we made these funny zombie Halloween painted rocks. They’re a simple and fun activity for the kids to do during the Halloween season.
Read on below or watch our step-by-step video to see how simple they are to make with your kids!
Also, check out all of our Halloween crafts for kids for more ideas.
Halloween Painted Rock Idea
Rock Painting Supplies
- Paint Pens (these ones are my favorite!)
- Rocks
- Green Acrylic Paint
- Paintbrush
- Clear Sealant (optional)
Zombie Rock Directions
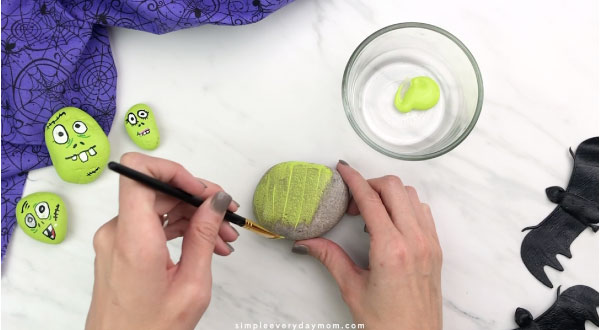
Coat each rock in 3-4 thin layers of green acrylic paint. Alternatively, you could also use a green paint pen, but I find you get a smoother and more vibrant base (and save your paint pen’s ink) when using acrylic paint. Let the paint dry completely before moving on.
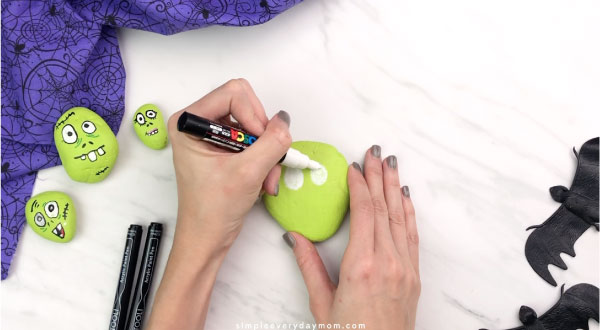
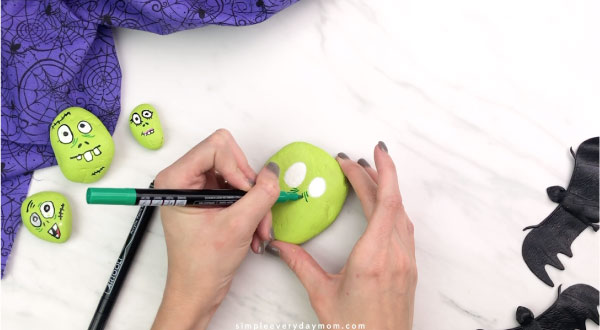
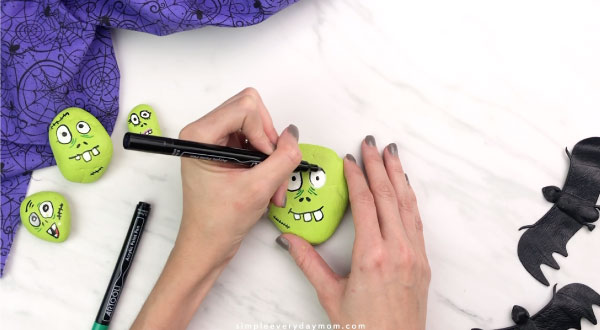
Using the white paint pen, draw on the eyes. It’s best to do white first, so you don’t get any other paint on the brush pen’s tip.
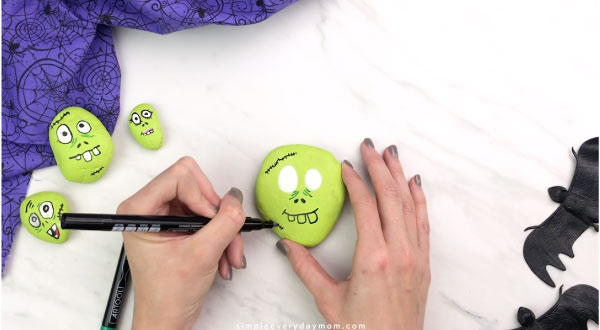
Use the green paint pen to draw any undereye wrinkles or forehead wrinkles you’d like your zombie rock to have.
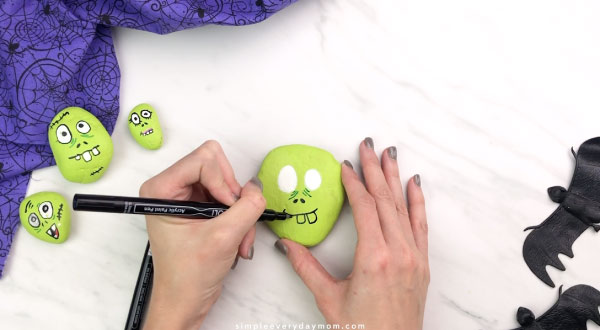
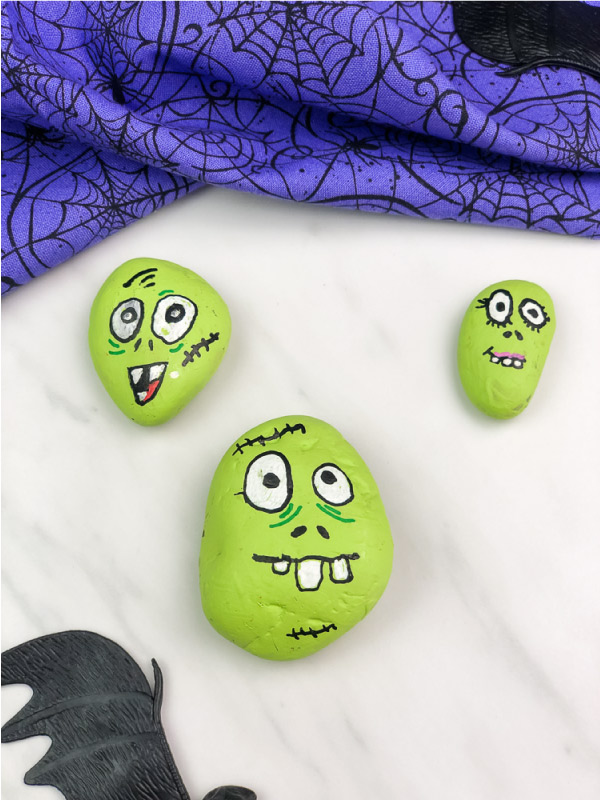
Use the black paint pen to create the nostril holes, the mouth and any stitches you want to make. Let dry completely.
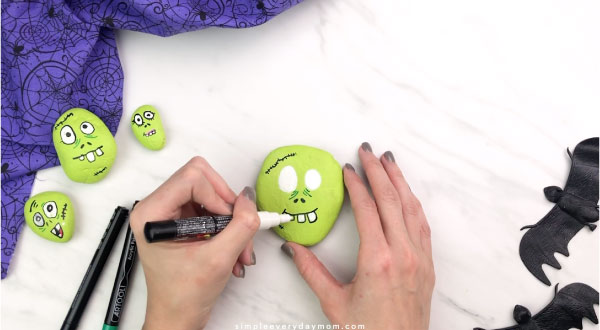
Carefully fill in the teeth with the white paint pen.
Use the black paint pen to draw the pupils and outline the eyes.
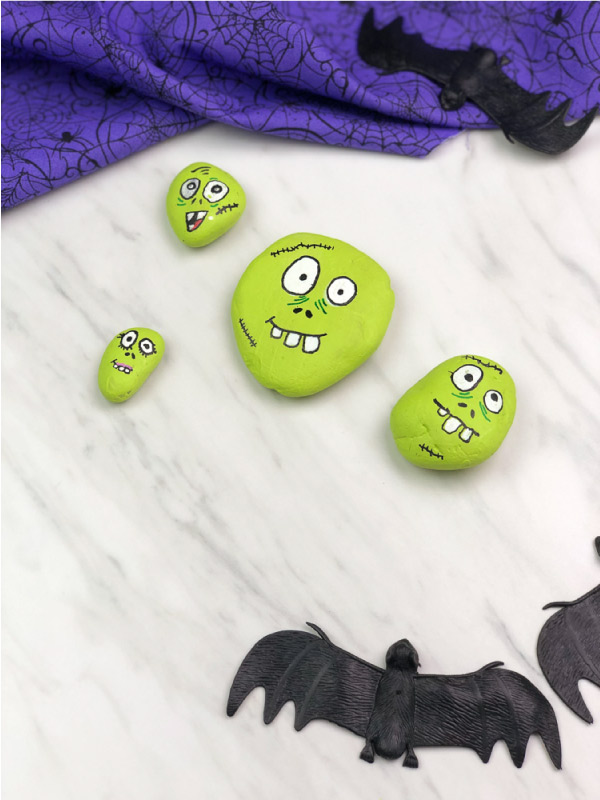
Optional: Use the pink paint pen to draw brains or an upper lip for lady zombies.
Optional: Use a spray sealant to preserve your Halloween rocks.
That’s all there is to this simple Halloween craft!
What Age Range Is This Activity For?
Unlike many of our other Halloween activities for kids, this one is geared towards older children in elementary school.
Since kids will be using pens to paint on the rocks, they’ll need to be able to manipulate small objects, draw basic shapes and follow directions.
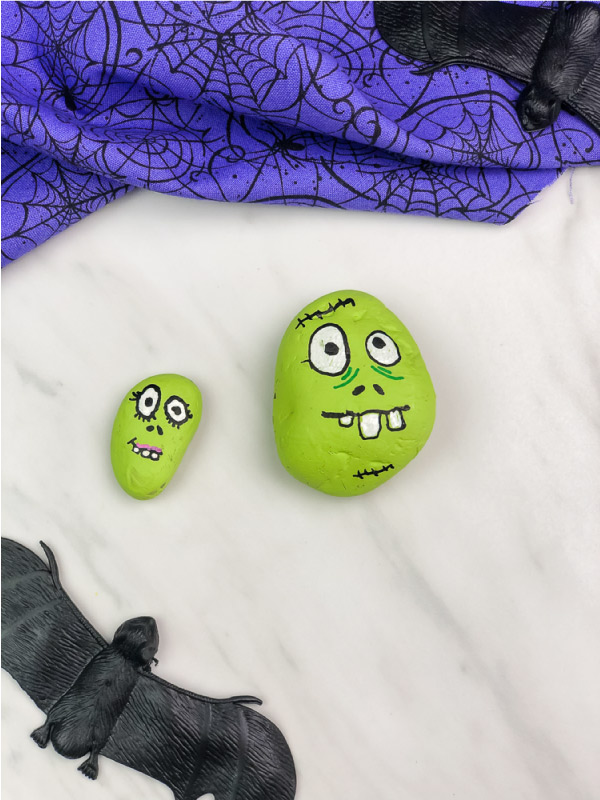
In the picture above, I drew the zombie rock on the far left and my 7 year old drew the zombie rock that’s in the middle. As you can see, there’s not much of a difference between my artistic talent and that of my 7-year-olds.
Adapting This Activity For Younger Kids
If you want to do this craft with your whole family, but you have little kids who can’t draw yet, no problem!
To make our 4 year old feel involved, we also gave him a few green painted rocks and let him make his own decorations.
Obviously, his rocks didn’t look like zombies, but he was still excited to use the paint pens and be a part of our activity!
Give this Halloween activity a shot; I’m sure your family will love it too!
Share With Us
Did you make these zombie-painted rocks with your kids?
We love seeing how they turn out so snap a picture and share it to our Facebook wall or in our private Facebook group.
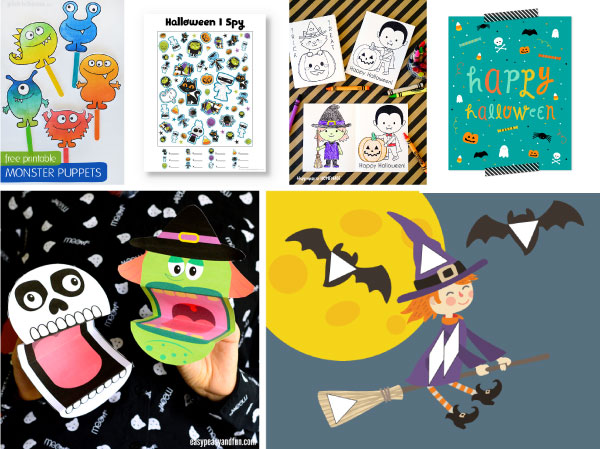
More Fun Halloween Crafts For Kids
More Halloween Ideas For Kids
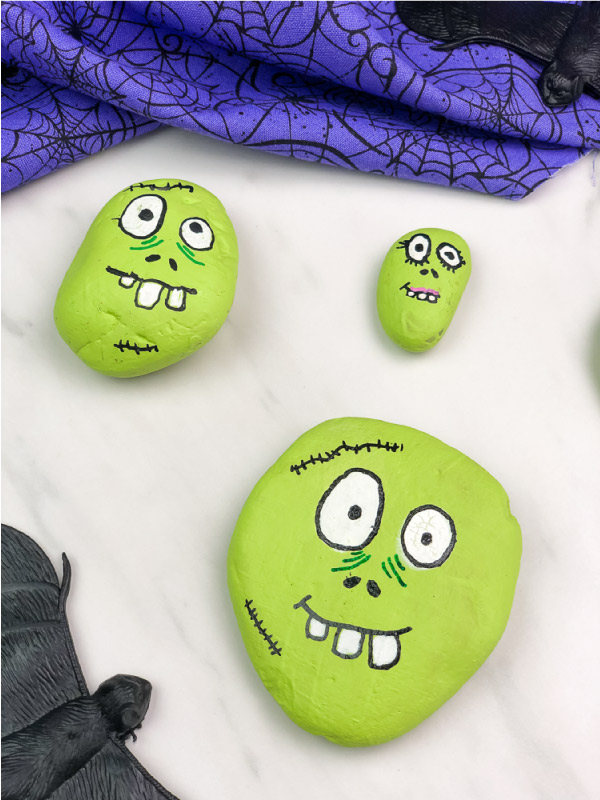
Kids’ Zombie Painted Rocks For Halloween
Video
Equipment
- Paintbrush
Materials
- Paint Pens
- Rocks
- Green Acrylic Paint
- Clear Sealant optional
Instructions
- Coat each rock in 3-4 thin layers of green acrylic paint. Alternatively, you could also use a green paint pen, but I find you get a smoother and more vibrant base (and save your paint pen’s ink) when using acrylic paint. Let the paint dry completely before moving on.
- Using the white paint pen, draw on the eyes. It’s best to do white first, so you don’t get any other paint on the brush pen’s tip.
- Use the green paint pen to draw any undereye wrinkles or forehead wrinkles you’d like your zombie rock to have.
- Use the black paint pen to create the nostril holes, the mouth and any stitches you want to make. Let dry completely.
- Carefully fill in the teeth with the white paint pen.
- Use the black paint pen to draw the pupils and outline the eyes.
- Optional: Use the pink paint pen to draw brains or an upper lip for lady zombies.
- Optional: Use a spray sealant to preserve your Halloween rocks.
Did you make this?
Don’t forget to leave a comment below and make sure to follow on Pinterest, Facebook and TikTok for more!

Meet Sam
Sam is the crafter and founder of Simple Everyday Mom. She has been featured in Oprah Mag, Good Housekeeping, The Spruce Crafts, Country Living, The Bump, and more.


I’m interested in knowing what brand is your paint pens for the Zombie project.
Of course! We used both Posca paint pens and Artistro for this project, but we prefer the Posca ones.