Fox Paper Bag Craft For Kids [Free Template]
All activities require adult supervision. By using this site, you agree to our terms of use. This post may contain affiliate links, sponsored links, and ads. As an Amazon Associate and participant in other affiliate programs, I earn from qualifying purchases.. Read our disclosure policy.
There are just a few short weeks until the official first day of fall and we couldn’t be more excited around here!
Cooler weather, pumpkin spice everything, and more family time are just a few of the things we’re looking forward to this year.
Since we have a solid two weeks off of school for fall break, we’ve been thinking up lots of crafts to do during the break.
Besides pumpkins and leaves, the thing that comes to mind with fall is all the adorable woodland animals!
There are so many cute fall animals to choose from, but one of our favorites is the fox!
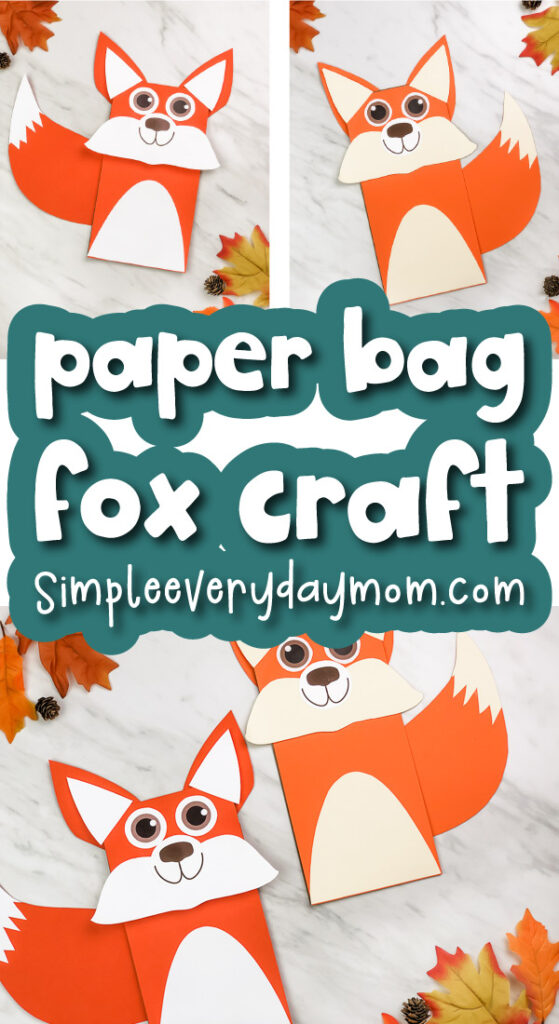
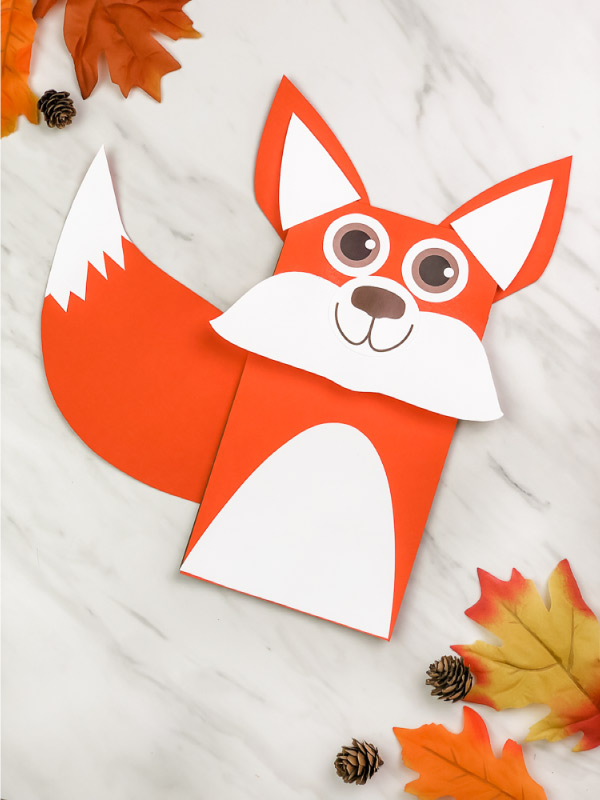
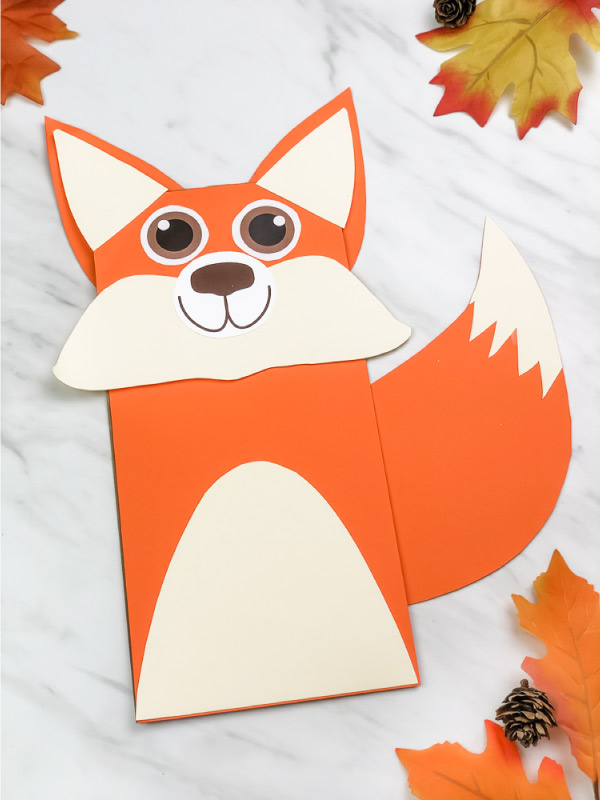
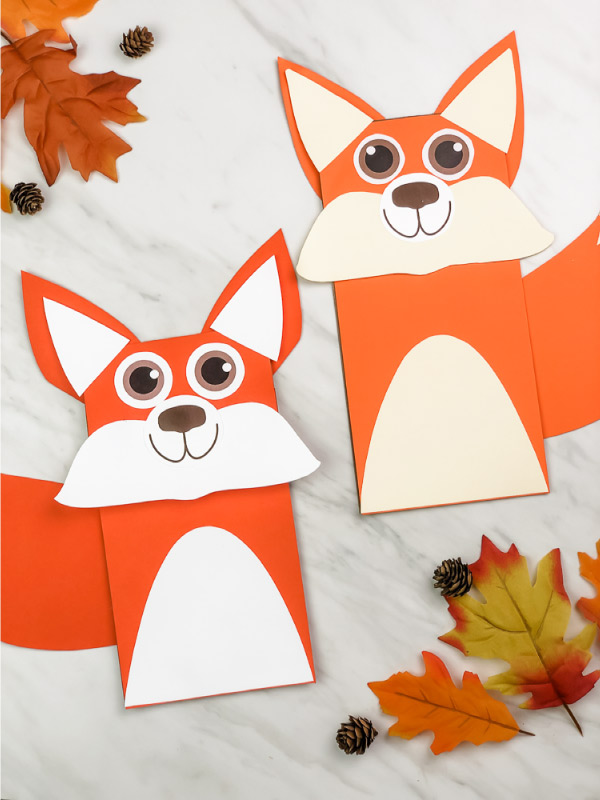
Today, we’re sharing exactly how to make these fun fox paper bag craft for kids.
They’re awesome for pretend play and for keeping the kids occupied when you need a few minutes to finish up tasks.
Read or watch below to see how easy they are to make! Also, be sure to check out all of our paper bag puppets for more ideas!
Fox Paper Bag Puppet For Kids
Fox Craft Supplies
- Brown Paper Bag (or orange paper bag)
- Printable Fox Template (enter email in the form at the bottom of the post)
- Orange, White & Cream cardstock
- Scissors
- Glue
Fox Paper Bag Puppet Directions
1. Download the fox template.
2. Print the first page on white cardstock, the second page on cream cardstock, and the third page on orange cardstock. Cut out all the pieces.
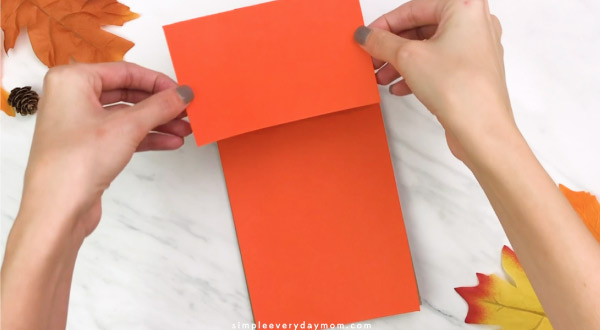
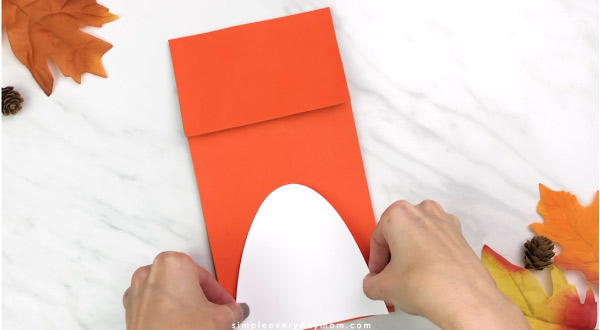
3. Measure and cut a rectangle out of orange cardstock for the fox’s body. Mine was about 5″x8.5″. Glue to the lower part of the paper bag, underneath the flap.
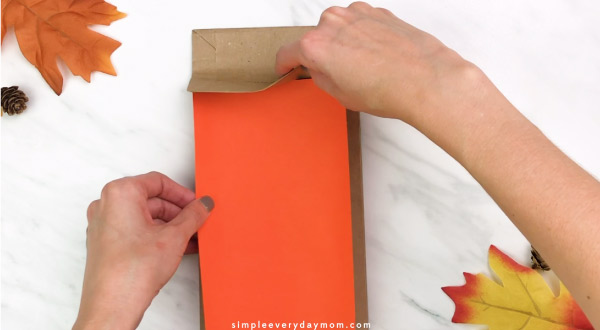
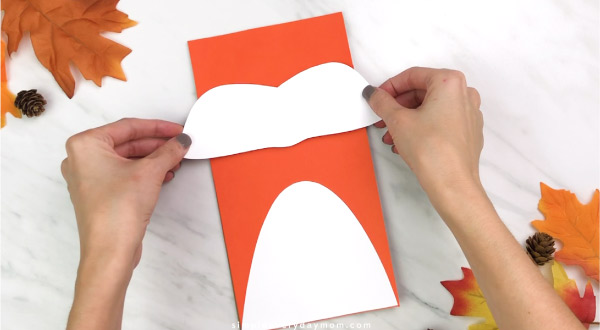
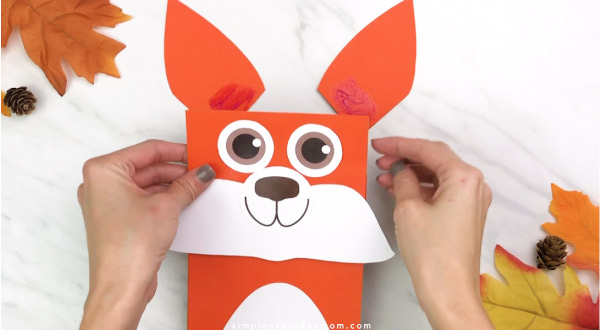
4. Measure and cut a rectangle out of orange cardstock for the fox’s head. I used a standard sized brown paper bag and my rectangle was about 5″x3″. Glue to the top flap.
5. Glue the belly to the bottom of the paper bag.
6. Glue the fox’s chin area to the lower portion of the fox head so only about 1/3 of it is on resting on the head.
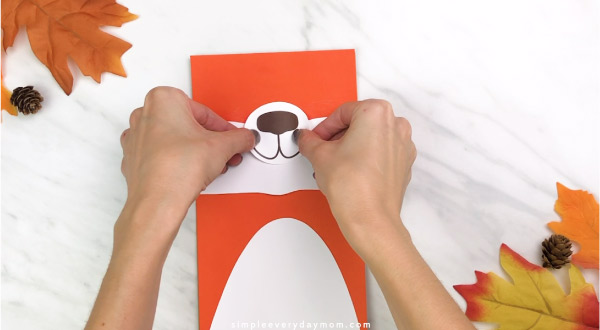
8. Glue the nose and mouth piece on top of the chin, half on the chin and half on the orange face of the paper.
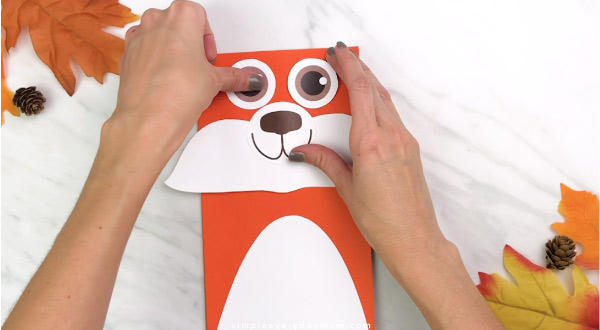
9. Glue the eyes above the nose.
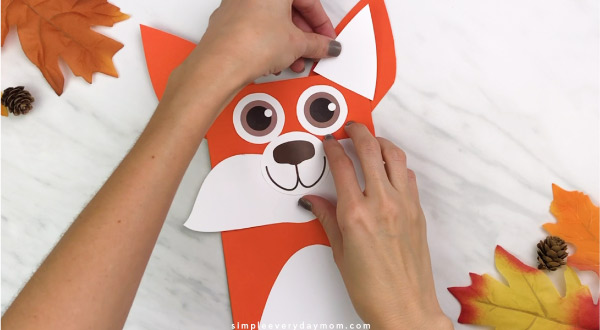
10. Glue the orange part of the fox’s ear to the back of the brown paper bag.
11. Glue the cream inside ear to the front of the fox’s face. Be sure not to glue the portion of the inner ear to the outer ear or the puppet won’t open properly.
11. Glue the tip of the tail onto the orange tail and trim the excess.
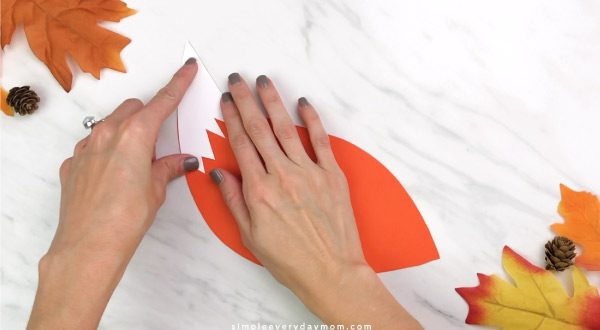
12. Position the tail in place and glue to the back of the paper bag.
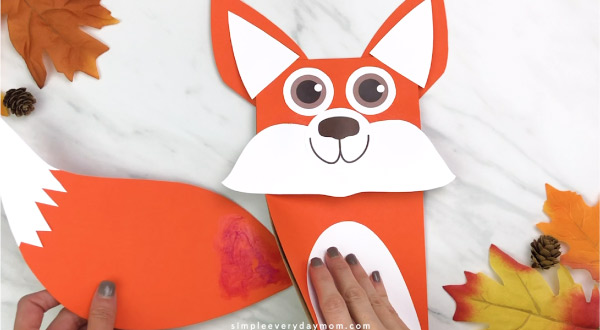
You’re done!
This fox craft sounds a little wordy when you read it, but if there’s any part that wasn’t clear, just watch the video and you’ll understand what exactly what to do!
Adapting This Craft For Younger Kids
Even though this paper bag puppet craft is pretty straightforward and easy, there are a few things to make it even simpler for young children!
The biggest challenge with doing this craft with young children is cutting all the pieces out. If they’re young, they likely don’t have the scissor skills they need yet to cut out all the fox template pieces.
To solve this problem, have all the pieces cut out ahead of time. This way, when you start the craft, they can help from the beginning. All they’ll need to do is start gluing!
We also recommend using a glue stick, as opposed to liquid glue to reduce the mess and stickiness.
More Animal Activities
Want to keep the fun going with your kids? We’ve got some great ideas for you! Choose one or more of these activities to have them learning and having fun.
Reading to your children is one of the best things you can do for them. Not only will they develop an appreciation for reading, but learn how to focus and increase their vocabulary.
One of our favorite things to do whenever we start a new unit is to begin with books. Grab these popular books from your library or grab them from Amazon to add to your home collection!


Bear Can’t Wait– If your child loves the Bear series of books, they’ll want to read the newest one where Bear plans a special surprise for Hare!
A Walk Through the Woods– This beautiful and intricate children’s book will keep children engaged and wanting to turn the page!
Owl Babies– Kids will relate to the message of this cute little book. In it, owl babies are waiting and worrying, will Mommy return? There’s a great resolution and fun illustrations as well.
What could be more entertaining than crafting? Not only does it exercise your child’s creativity, but also helps with their fine motor skills and provides hours of fun! Try adding in animal crafts like these:
Hedgehog Toilet Paper Roll Craft – This easy recycled craft is perfect for kids. They can make it from paper and it’s great for woodland animal themes. It’s a fun way to teach them about animals while they have some creative fun too.
Paper Plate Owl Craft – This owl craft is so much fun! Not only can kids learn about the letter O, but they’ll also get to paint, cut, and glue a super adorable owl. It’s perfect for a rainy day activity or as a classroom project.
Brown Bear Paper Bag Puppet – This is a great little craft for kids – it’s easy, fun and you can make a whole bunch of them in no time! Plus they’ll love giving their new friend a name.

These animal do a dot printables are perfect for kids who love animals. The activities are great for reinforcing counting skills, letter recognition, and more. Plus, they’re just plain fun!
Looking for a fun way to keep the kids entertained? This woodland animal play dough kit is perfect! It comes with everything you need, and it’s a great activity for kids of all ages. So get creative and have some fun!
Share With Us
We love using this fox paper bag puppet in the fall, but it works any time of year.
If you make this fox craft with your kids or students we’d love to see it! Snap a picture of it and post it to our Facebook wall or in our private Facebook group.
Don’t forget to download your free fox template at the bottom of this post.
Paper Bag Fox Craft For Kids
Video
Equipment
- Scissors
Materials
- Brown Paper Bag
- Printable Fox Template
- Orange White & Cream cardstock
- Glue
Instructions
- Download the fox template.
- Print the first page on white cardstock, the second page on cream cardstock and the third page on orange cardstock. Cut out all the pieces.
- Measure and cut a rectangle out of orange cardstock for the fox’s body. Mine was about 5"x8.5". Glue to the lower part of the paper bag, underneath the flap.
- Measure and cut a rectangle out of orange cardstock for the fox’s head. I used a standard sized brown paper bag and my rectangle was about 5"x3". Glue to the top flap.
- Glue the belly to the bottom of the paper bag.
- Glue the fox’s chin area to the lower portion of the fox head so only about 1/3 of it is on resting on the head.
- Glue the nose and mouth piece on top of the chin, half on the chin and half on the orange face of the paper.
- Glue the eyes above the nose.
- Glue the orange part of the fox’s ear to the back of the brown paper bag.
- Glue the cream inside ear to the front of the fox’s face. Be sure not to glue the portion of the inner ear to the outer ear or the puppet won’t open properly.
- Glue the tip of the tail onto the orange tail and trim the excess.
- Position the tail in place and glue to the back of the paper bag.
Did you make this?
Don’t forget to leave a comment below and make sure to follow on Pinterest, Facebook and TikTok for more!
Download The Free Fox Template

Meet Sam
Sam is the crafter and founder of Simple Everyday Mom. She has been featured in Oprah Mag, Good Housekeeping, The Spruce Crafts, Country Living, The Bump, and more.


Going to use this for a family engagement event. Please email.
Since you’re already an email subscriber, all you need to do is enter your email in the form at the end of any post and it’ll automatically redirect you to the download page ◡̈
So excited to do this project with my students.
Yay! I hope they enjoy it!!
Can you email me the fox puppet please
Of course! All you need to do is enter your email in the form at the end of this post to have the link sent to you. Once you’ve been confirmed as an email subscriber (by clicking the link in the first email), you simply enter your email in any of the forms and it’ll automatically redirect you to the download page.
can I get a template
Since you’re already an email subscriber, all you need to do is enter your email in the form at the end of any post and it’ll automatically redirect you to the download page 🙂
Hi Love these puppets….
doing a script writing in P6 for a puppet show for P1’s and would love fox template…
Of course! All you need to do is enter your email in the form at the end of the post and the link will be sent to you ?
Can i get a template plz! Its awesome!
Of course! All you need to do is enter your email in the form at the end of the post and the link will be sent to you ?
I would love this template for my daughter project they are doing
Of course! All you need to do is enter your email in the form at the end of the post to have the link sent to you ?
Awesome Love it
Thank you!
love it!
Thanks!!
please can you send me the template of the fox
thank ou
If you put your email in the form at the end of the page, the link to download will be emailed to you ?
I would love a copy of the template for this fox
Of course! If you enter your email in the form at the end of the post, the link will be emailed to you ?
Awesome puppets! Love it!
Thanks!
Grabbing a couple of your animal templates to work as a station while we are reading The Mitten.
So glad to hear that! And that’s a great idea; we love that book!
Would you please send the fox puppet template? It is the cutest one I have seen.
Of course! If you just enter your email in the form at the end of the page, the link will be emailed to you ? And, thank you!
Love!
Thanks 🙂