Ladybug Paper Craft
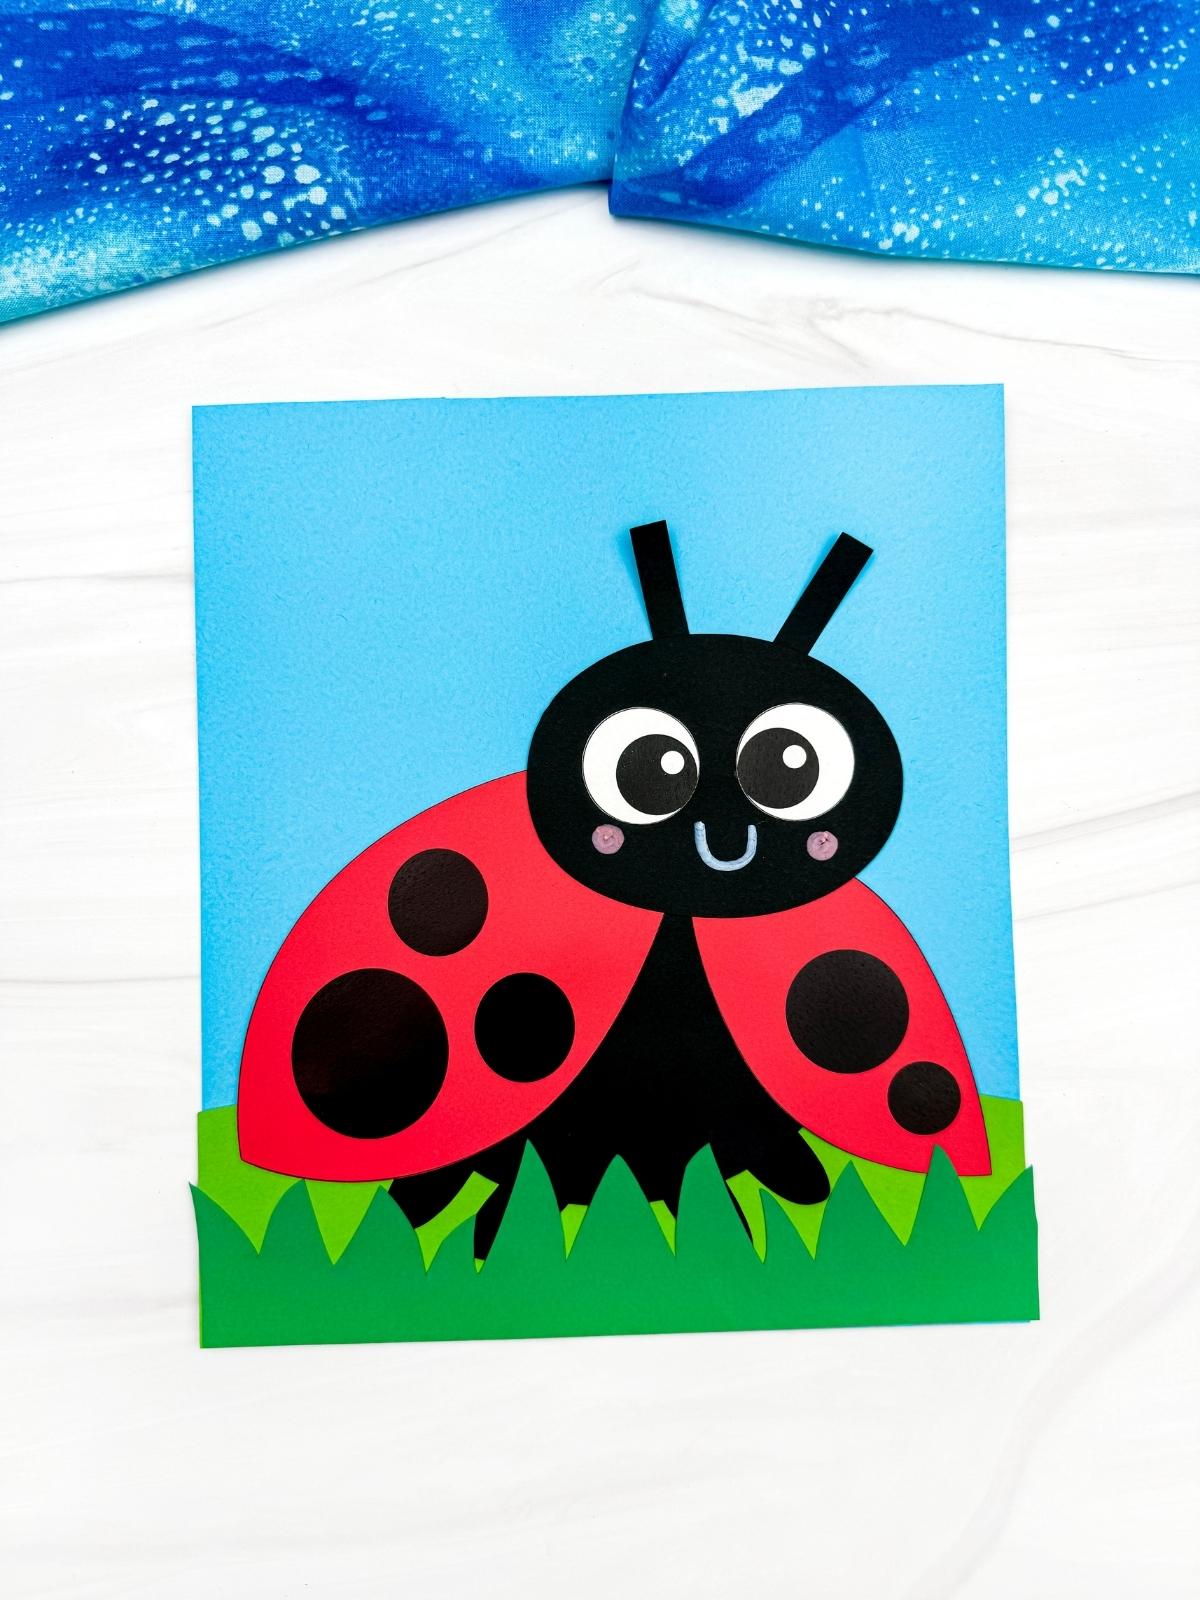
This ladybug paper craft is a fun spring activity where kids create an adorable ladybug sitting in tall grass using our printable template.
Print
Pin
Video
[adthrive-in-post-video-player video-id="WygzSTrY" upload-date="2026-02-16T18:47:54+00:00" name="Ladybug Paper Craft" description="Spring brings fresh energy, and your little ones will be excited to create this ladybug paper craft. Kids ages 5-8 will make a paper ladybug in tall green grass using our free template.
We have a couple of templates to choose from, depending on your child's skill level, that can be made in about 25 minutes. The craft version can be completed independently by older children, or you could cut out the pieces to help your younger children, or opt for the black and white version for them to color.
Educators can pair it with nature units or life cycle discussions, or it would make a great book companion activity at home or at the library." player-type="default" override-embed="default"]
Materials
- Colored cardstock or construction paper
- Scissors
- Glue
- Crayola Bold & Bright Markers
- Ladybug Paper Template
Instructions
- Print the template and gather the materials for this fun activity.
- Begin by laying the wing pieces on top of the body piece and glue them down.
- Next, glue the head piece to the top of the body so it covers the top of the wings.
- Now, glue the antenna pieces to the back of the head so they extend above the top.
- Now, glue the eye pieces onto the middle of the head.
- Next, use the Bold & Bright markers to draw a small smile under the eyes and add two small cheek circles on the face.
- Glue the legs piece to the bottom of the body.
- Now, glue the hill piece along the bottom edge of the background paper.
- Next, glue the completed ladybug onto the background.
- Finish by gluing the grass piece along the bottom edge of the ground.