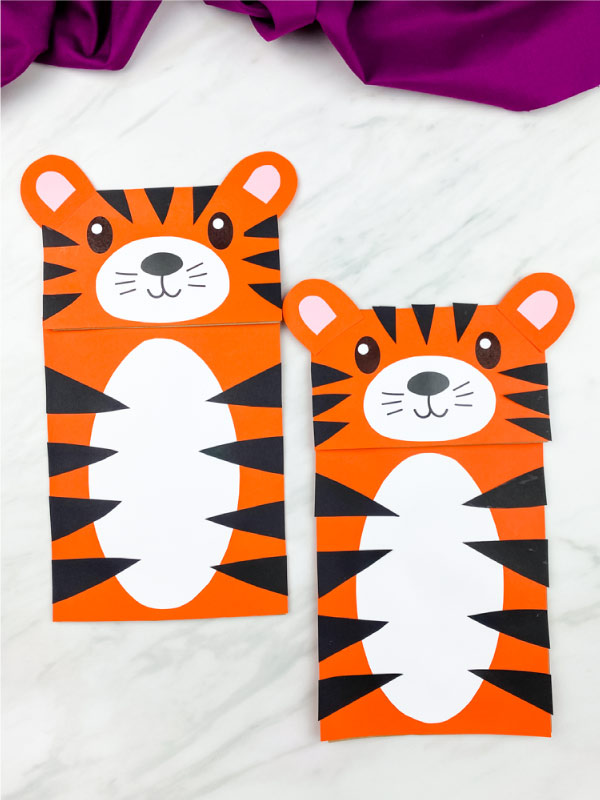
Paper Bag Tiger Craft
Whether you're working on a zoo animal theme or just want to encourage pretend play, this paper bag tiger craft is so much fun to make!
Print
Pin
Video
Materials
- Brown paper bag
- Colored paper in pink, orange, black and white
- Scissors
- Glue stick
- Hole punch or white out pen optional
- Black marker optional
- Tiger craft template
Instructions
- Download the tiger template, print and cut out the pieces.
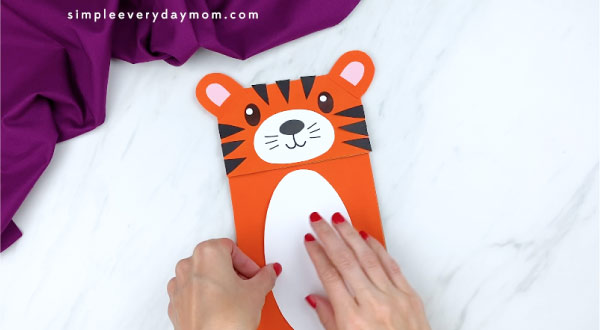
- Glue the tiger's head piece to the top of the brown paper bag flap. Glue the tiger's body piece to the bottom of the bag.
- Take the white tiger's muzzle and glue it in between the tiger's eyes. Optional: Use the hole punch to cut out two circles from the white paper. Glue these to the tiger's eyes. You can also use a white out pen to draw in the whites or leave them off altogether.
- Place the tiger's ears and glue them to the top corners of the tiger's face. Glue the pink inner ears to the middle of the outer ears.

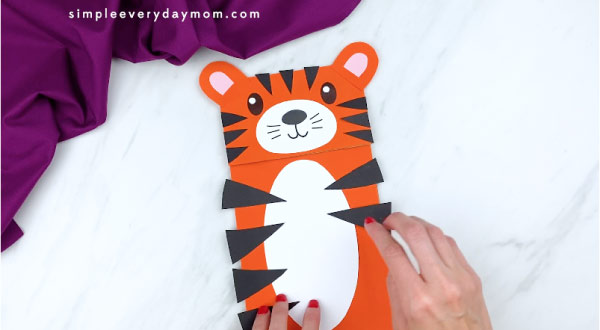
- Glue the smaller tiger stripes all around the top and both sides of the tiger's head. Use scissors to trim off any of the excess paper that falls off the sides.
- If you're making this craft with young children and want to make it easier, just use a black marker for the kids to draw the stripes in.
- Glue the white tiger's belly to the center of the bottom part of the paper bag. Glue the tiger's body stripes on both sides of the tiger. Use scissors to trim off any of the excess paper that falls off the sides.