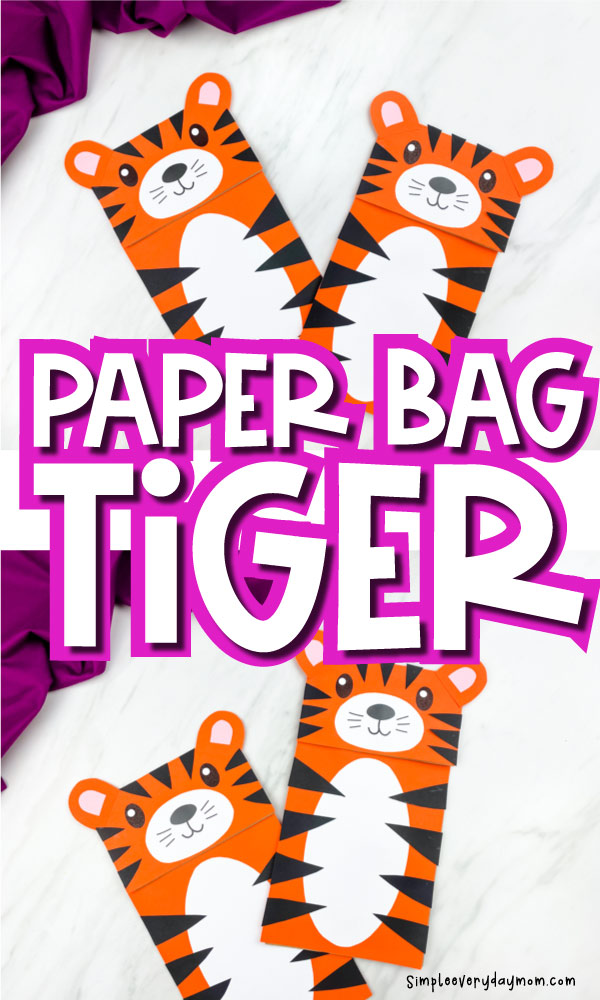
Brown Paper Bag Tiger Craft W/Free Template
All activities require adult supervision. By using this site, you agree to our terms of use. This post may contain affiliate links. As an Amazon Associate and a participant in other affiliate programs, I earn a commission on qualifying purchases. Read our disclosure policy.

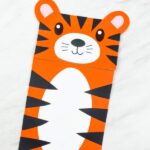

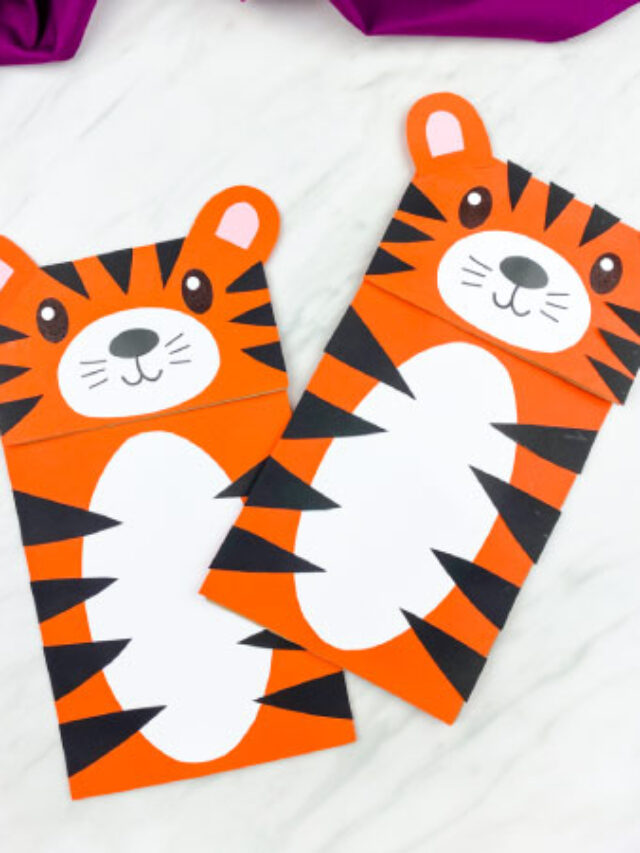
This brown paper bag tiger craft is a classic kid’s craft that’s fun for all ages!
We’ve made tons of paper bag crafts for kids, because they’re inexpensive, fun and kids love them! On top of that, after they’re made children can use them for imaginative play too.
If your child or students has a love for wild animals, this craft is perfect. Download the free printable template and do this simple project.
Watch our quick video tutorial to see how to make it or read or step by step directions.
Tiger Craft For Kids
Supplies
- Brown paper bag
- Colored cardstock or construction paper
- Scissors
- Glue stick
- Hole punch or white-out pen (optional)
- Black marker (optional)
- Tiger craft template (download form located at the end of this post)
Related: Handprint Tiger Craft
Directions
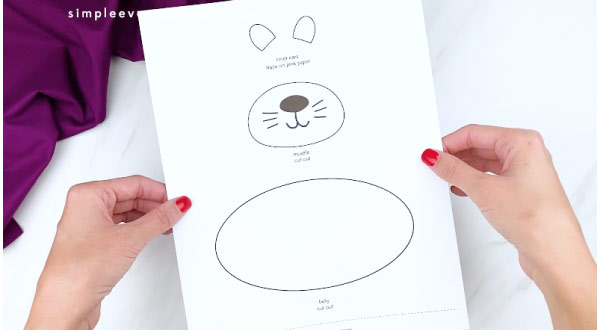
Download the tiger template, print, and cut out the pieces.
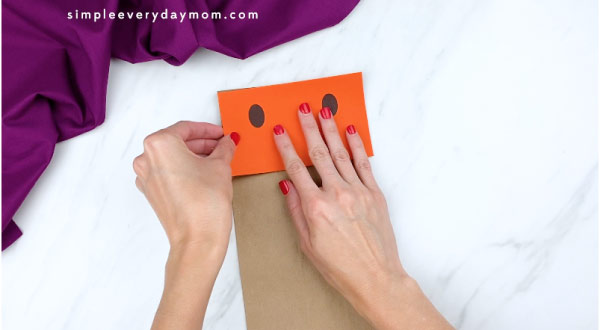
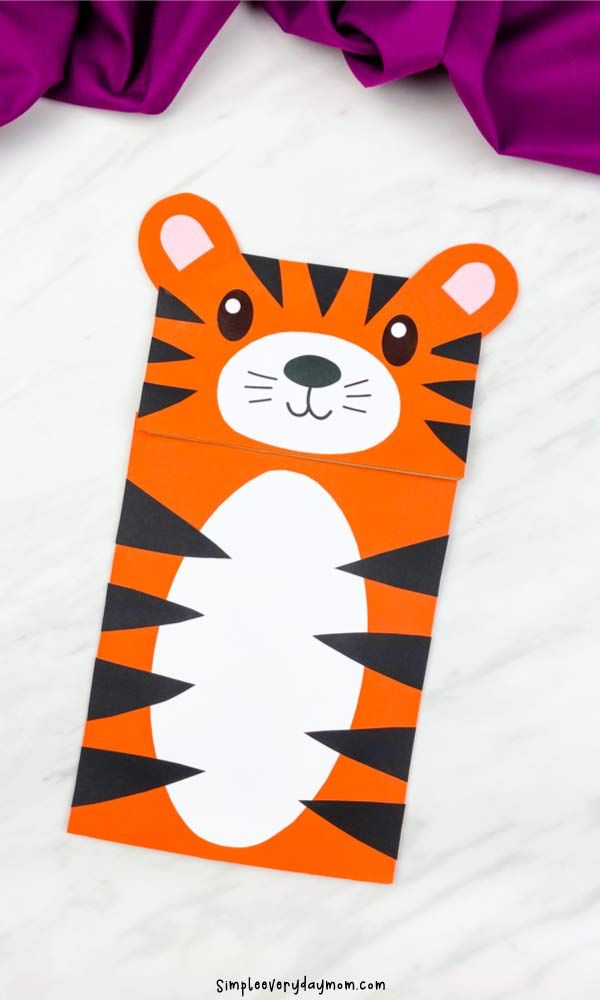
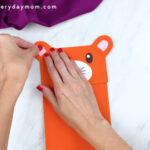
Glue the tiger’s head piece to the top of the brown paper bag flap. Glue the tiger’s body piece to the bottom of the bag.
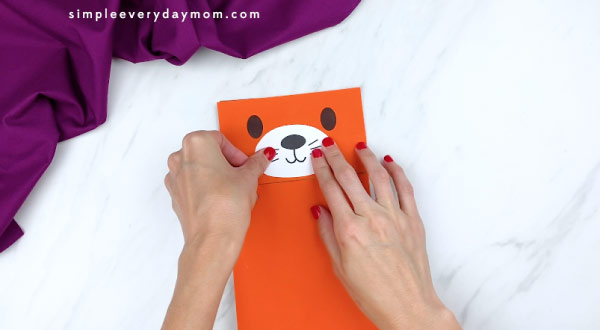
Take the white tiger’s muzzle and glue it in between the tiger’s eyes. Optional: Use the hole punch to cut out two circles from the white paper. Glue these to the tiger’s eyes. You can also use a white out pen to draw in the whites or leave them off altogether.
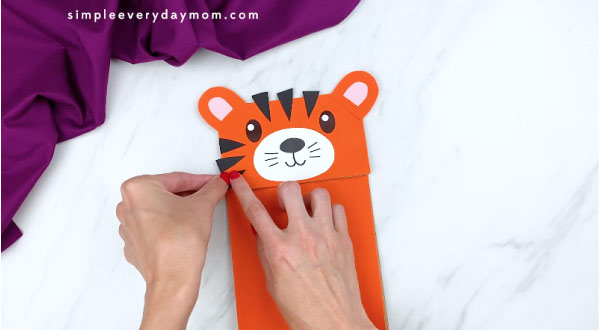
Place the tiger’s ears and glue them to the top corners of the tiger’s face. Glue the pink inner ears to the middle of the outer ears.

Glue the smaller tiger stripes all around the top and both sides of the tiger’s head. Use scissors to trim off any of the excess paper that falls off the sides.
If you’re making this craft with young children and want to make it easier, just use a black marker for the kids to draw the stripes in.
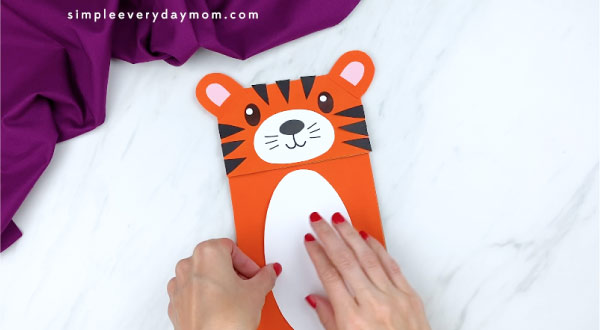
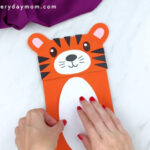
Glue the white tiger’s belly to the center of the bottom part of the paper bag. Glue the tiger’s body stripes on both sides of the tiger. Use scissors to trim off any of the excess paper that falls off the sides.
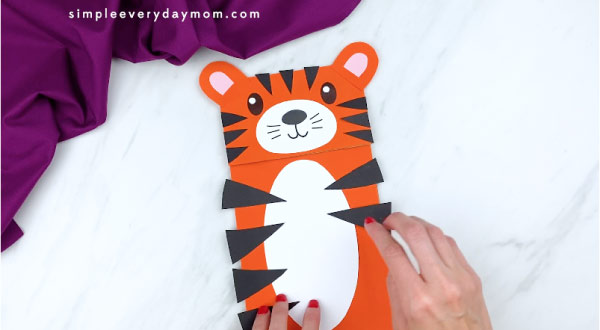
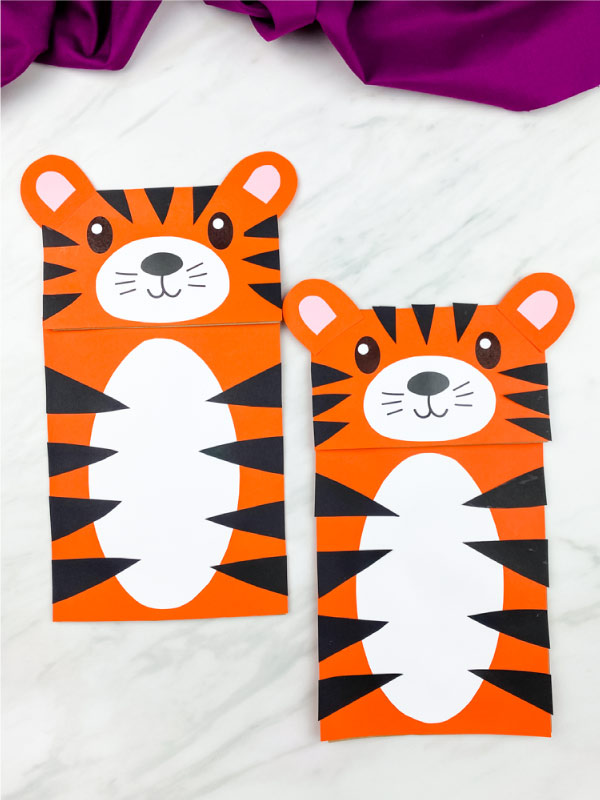
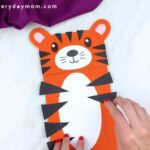
Don’t you love how cute and simple this craft turned out?!
This paper bag craft is a perfect fit for wild animal themes, zoo animal themes or for T is for tiger crafts!
Animal Project Ideas
Let’s keep the good times rolling with these animal project ideas! Not only are they fun for kids, but they’ll also help them learn more about the world of animals.
Keep reading to find some creative activities that are perfect for both classroom and home learning!
Zoo Books For Kids
Have you ever noticed how fascinated children can be when you read them a story? It turns out that there is a scientific reason for that – reading books to your kids can actually be incredibly beneficial for their development!
Reading helps improve language and vocabulary skills. It also helps strengthen their imagination, improve their focus and concentration, and even promote empathy and understanding!
Wild Animal Crafts For Kids
Making crafts with your kids offers a whole world of benefits beyond simply passing the time. Crafting teaches children important life skills such as problem-solving, communication, and teamwork – all while having fun and making something special together!
Next time you’re looking for a new activity to try with your kiddos, consider grabbing some supplies and getting crafty!
Lion Name Craft – Get ready to roar! Kids of all ages will have a blast putting together their lion name craft. Our free template makes assembling the colorful lion and arranging letters to spell your kid’s names easy. It’s a fun and educational activity that encourages hand-eye coordination and letter recognition!
Elephant Paper Bag Puppet Craft – This elephant paper bag puppet craft is perfect for learning and playtime. They’ll have so much fun putting together the different pieces – trunk, ears, eyes – and creating a sweet puppet. Then, once complete, your little wildlife explorers can use their puppets to craft imaginative stories!
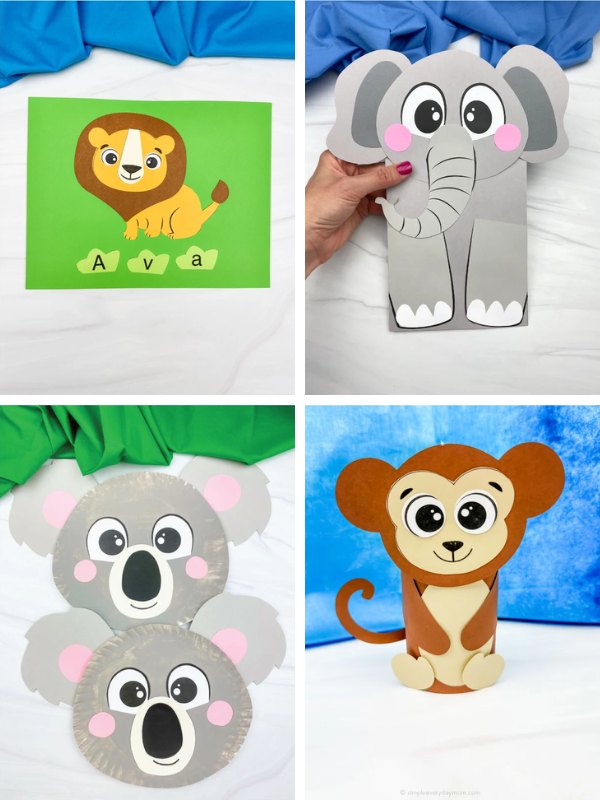
Paper Plate Koala – Do your kids love koalas? Then they’ll love this paper plate koala craft! Watch your little ones get creative with paint, scissors, and glue to make their unique koala friend. Include this craft in your next zoo animal learning unit for a fun and educational experience!
Monkey Toilet Paper Roll Craft – Put a twist on traditional toilet paper roll crafts with this monkey craft! Kids will have fun transforming an everyday object into an adorable animal. Not only is this a great activity for learning about animals, but it also promotes recycling and upcycling!
Zoo Animal Activities For Kids
For an educational yet fun no-prep activity, monkey color by numbers are a real winner! Kids can color each section with its coordinating color, all while practicing their number recognition skills.
This activity encourages cognitive development, requiring concentration and attention to detail – perfect for young learners!
Learning doesn’t have to be boring with these zoo animal worksheets! This set of worksheets features a variety of animal-themed activities, such as letter mazes, flashcards, number strip puzzles, and silhouette matching.
These fun pages will help preschoolers gain vital skills in letter recognition, counting, memory, and more!
Download and print our zoo color by numbers activity for another fun, educational way to engage kids. Children love getting arty with colors, and these color-by-number pages are the perfect way to combine learning and creativity! Your kids will have so much fun coloring each numbered section to reveal the animal.
These jungle animal coloring pages are the best rainy day activity! Will your kids choose traditional colors or try something new?
Let their imaginations go wild as they color in each page and bring these cool jungle animals to life. They can even spell out the names of each animal as they go!

Share With Us
Did you and your kids make this tiger paper bag puppet? If so, we’d love to see it!!
Snap a picture of your finished craft and share it with us by posting it to our Facebook page wall or by joining our private Facebook group and posting it in there.
Paper Bag Tiger Craft
Video
Materials
- Brown paper bag
- Colored paper in pink, orange, black and white
- Scissors
- Glue stick
- Hole punch or white out pen optional
- Black marker optional
- Tiger craft template
Instructions
- Download the tiger template, print and cut out the pieces.
- Glue the tiger's head piece to the top of the brown paper bag flap. Glue the tiger's body piece to the bottom of the bag.
- Take the white tiger's muzzle and glue it in between the tiger's eyes. Optional: Use the hole punch to cut out two circles from the white paper. Glue these to the tiger's eyes. You can also use a white out pen to draw in the whites or leave them off altogether.
- Place the tiger's ears and glue them to the top corners of the tiger's face. Glue the pink inner ears to the middle of the outer ears.

- Glue the smaller tiger stripes all around the top and both sides of the tiger's head. Use scissors to trim off any of the excess paper that falls off the sides.
- If you're making this craft with young children and want to make it easier, just use a black marker for the kids to draw the stripes in.
- Glue the white tiger's belly to the center of the bottom part of the paper bag. Glue the tiger's body stripes on both sides of the tiger. Use scissors to trim off any of the excess paper that falls off the sides.
Did you make this?
Don’t forget to leave a comment below and make sure to follow on Pinterest, Facebook and TikTok for more!
Free Tiger Craft Template

Meet Sam
Sam is the crafter and founder of Simple Everyday Mom. She has been featured in Oprah Mag, Good Housekeeping, The Spruce Crafts, Country Living, The Bump, and more.


I’m going down another rabbit hole with your craft ideas! Thank you for all you share.
I love these paper bag ideas.
Thanks, Michelle!
Where can I find the form to fill out to get the free template? Thank you!
It’s near the bottom of the post. If you aren’t able to see it, you likely have a firewall blocking its appearance.