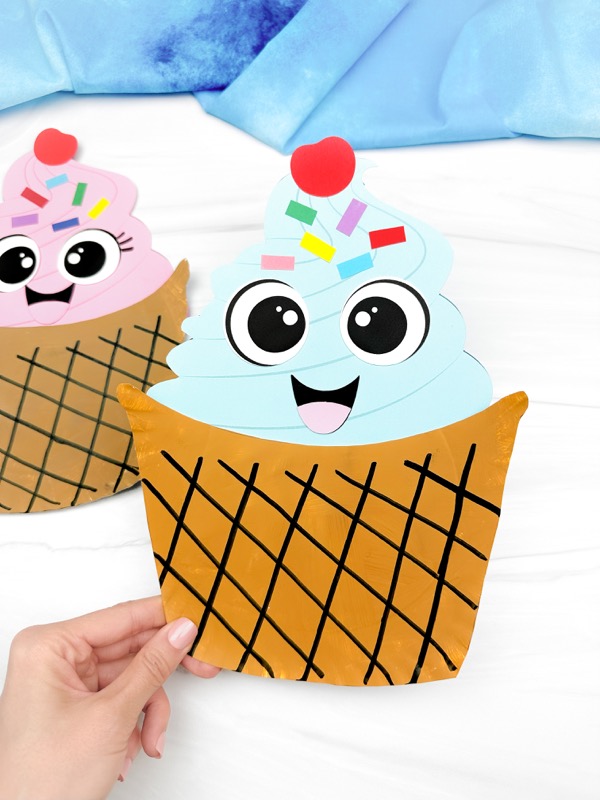
Paper Plate Ice Cream Craft
Make this summer extra sweet with our paper plate ice cream craft! It’s a simple and cute project that promises scoops of fun.
Print
Pin
Video
Materials
- Paper plates
- Colored cardstock or construction paper
- Glue
- Scissors
- Brown Paint
- Paintbrush
- Black marker
- Ice Cream template
Instructions
- Download the ice cream template, print, and cut out the pieces you need.
- Paint the paper plate with 1-2 thin coats of brown paint. Let dry completely.
- Trace the waffle bowl template on top of the paper plate and cut it out. Use a black marker to draw diagonal lines along both parts of the cone to create the waffle cone design.
- Next, attach the cone to the bottom of the ice cream and glue it in place.
- Glue the mouth just above the cone.
- Position the tongue at the bottom of the mouth and glue it in place.
- Take the eyes and glue them above and on either side of the ice cream’s mouth.
- Attach the cherry on top of the ice cream using glue.
- Finish up by cutting out sprinkles and gluing them to the top of the ice cream section.