Pumpkin Craft For Preschoolers
This easy pumpkin craft for preschoolers is a fun way to celebrate fall or Halloween!
Print
Pin
Video
Materials
- Colored cardstock or construction paper
- White cardstock
- Glue stick
- Scissors
- Pumpkin template
Instructions
- Download the pumpkin template, print, and cut out the pieces.
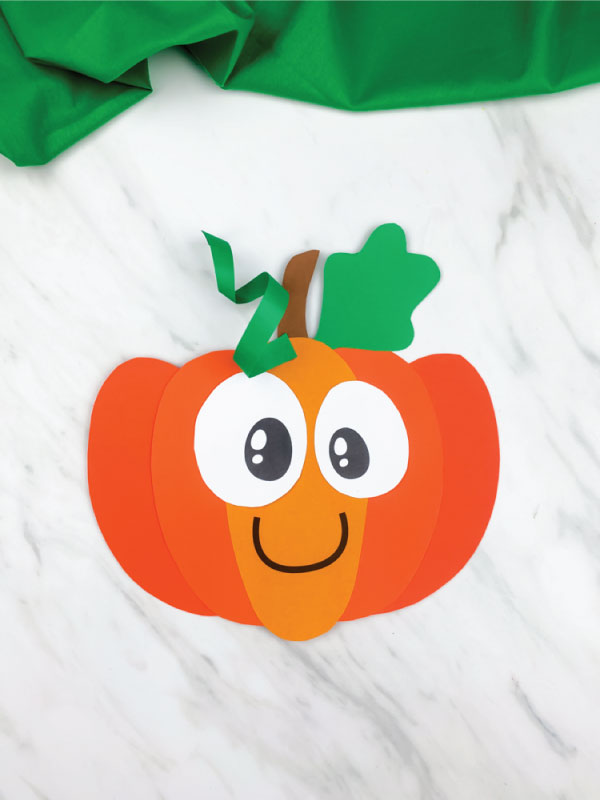
- Help your child find the middle piece, this is the light orange pumpkin shape with the smile on it. Glue the middle piece to the two side pieces so that it’s in the center.
- Take the remaining two side pieces and glue them to the outside edges of the first set, making a rounded pumpkin shape.
- Glue the eyes in the center of the middle piece, just above the mouth.
- Place the pumpkin leaf at the top of the pumpkin and glue it to the back. Do the same for the pumpkin stem.
- Take the green vine piece and wrap it around your finger or a pen to make it curly. Put a little glue on one end of the vine, then attach it to the front, top part of the pumpkin, near the leaf and stem.
Notes
To simplify this craft even more, glue the middle piece to the center of the whole pumpkin piece, then continue with step #4.