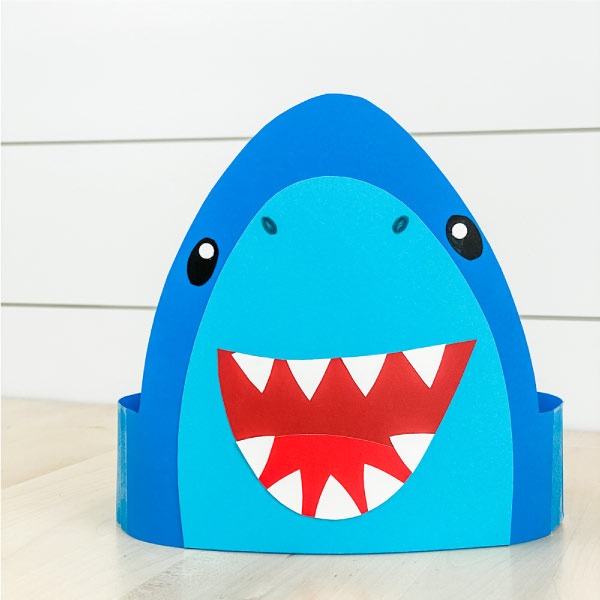
Shark Headband Craft
Make this fun shark headband craft with the kids for summer or Shark Week!
Print
Pin
Video
Materials
- Colored cardstock or construction paper
- Markers
- Glue stick
- Tape or stapler
- Shark headband template
Instructions
- Download the shark headband template, print, and cut out the pieces.
- Begin assembling the mouth by gluing the red tongue to the bottom of the mouth.
- Take as many teeth as you want and glue them all around the outside of the mouth. Use the scissors to trim off any excess teeth for the best results.
- Take the completed mouth and glue it to the middle-ish area of the light blue underbelly.
- Use a black or gray marker to draw on two nose holes near the top of this section of paper.
- Place this piece in the middle of the headband base and glue it in place.
- Create the shark’s eyes by cutting out two small ovals from the black card stock. Use a standard hole punch or scissors to cut out a smaller circle from white paper. Glue the white paper onto the top of the black oval.
- This will give your shark a happier look. If you don’t want that, leave off the white circle.
- If you don’t want to cut out each small piece, just use a black marker to draw the eyes directly onto the blue paper.
- Attach as many headband extenders as you need to fit your child’s head. We attached them to the base with tape, but you can also use a stapler.