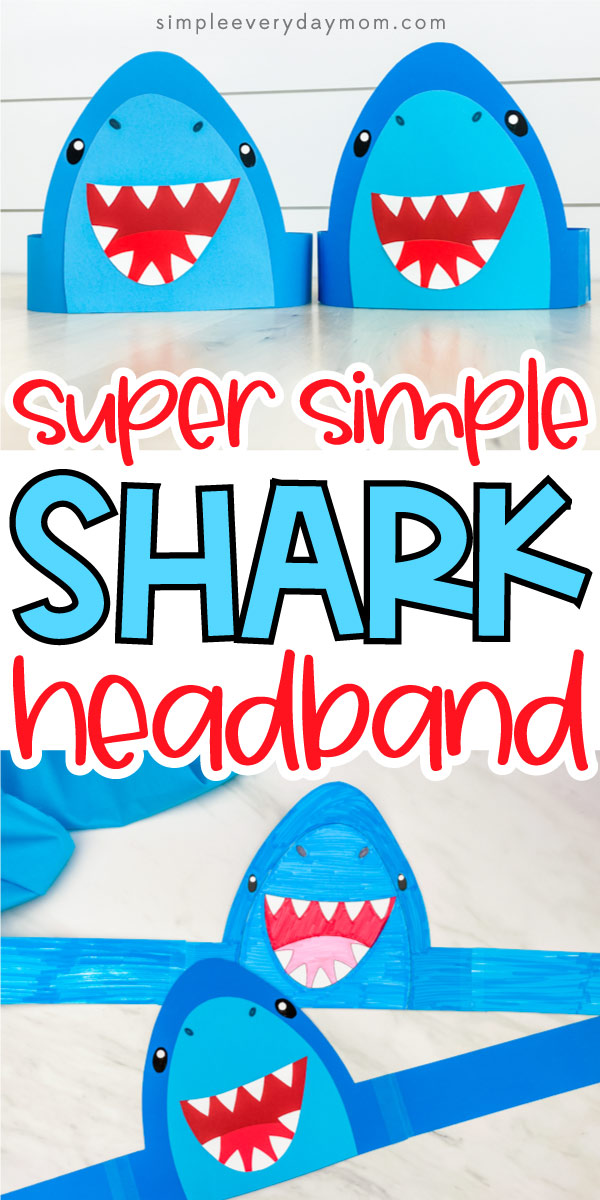
Shark Headband Craft For Kids [Free Template]
All activities require adult supervision. By using this site, you agree to our terms of use. This post may contain affiliate links. As an Amazon Associate and a participant in other affiliate programs, I earn a commission on qualifying purchases. Read our disclosure policy.
To many kids, sharks are some of the coolest creatures in the ocean! At the top of many of those lists is the deadly great white shark.
We made this shark headband craft because we have two boys at home who love cute sharks!
This easy shark craft is perfect for summertime, especially when shark week rolls around.
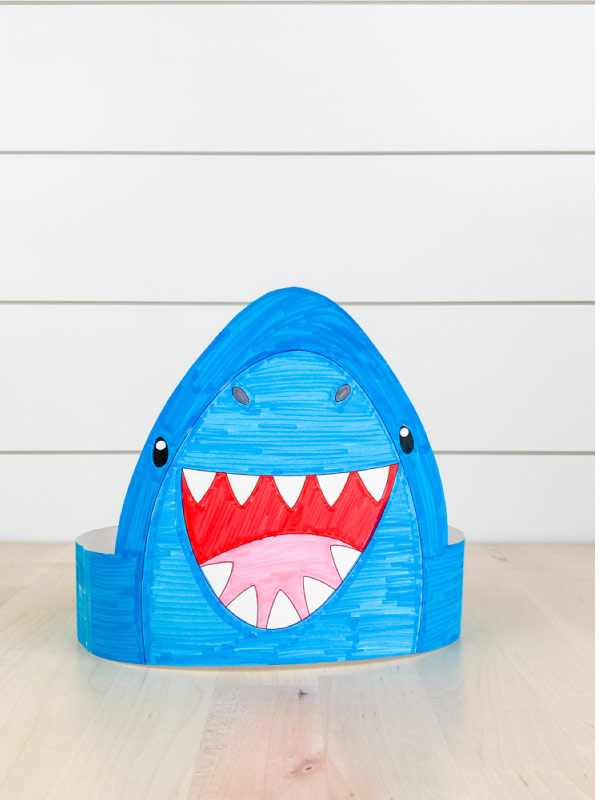
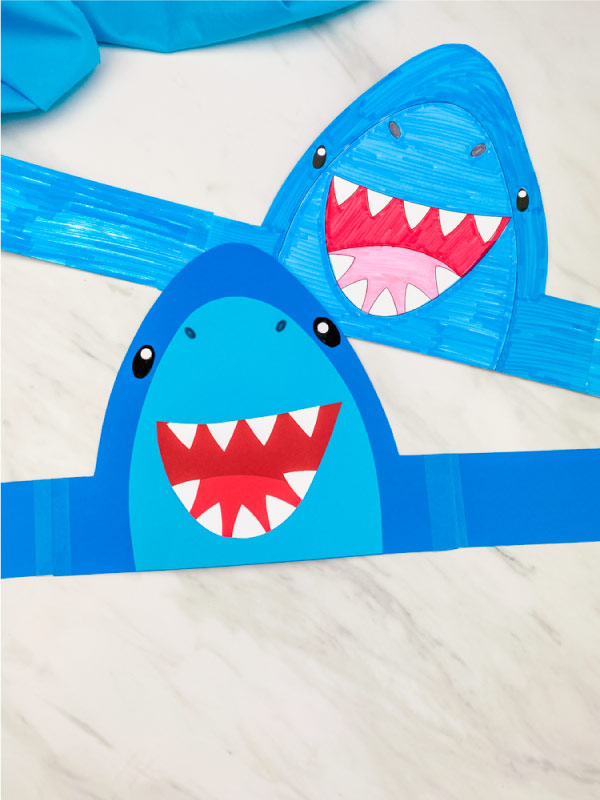
Download the free printable template and make this craft or print out the black-and-white version for your kids to color in!
If your kids love this simple shark craft, check out all of our shark activities. Here you’ll find shark puppets, coloring pages, paper plate sharks, and more!
Shark Hat Craft
Choose Your Download Option
Get your template right now—no ads, no scrolling!
Instant Download
Skip the wait—just $3
Prefer the free version? Just keep reading—the download sign up image is at the end of this post!
Supplies
- Colored cardstock or construction paper
- Markers
- Glue stick
- Scissors
- Tape or stapler
- Shark headband template (click the “click here to get this freebie” image at the end to open the form)
Directions
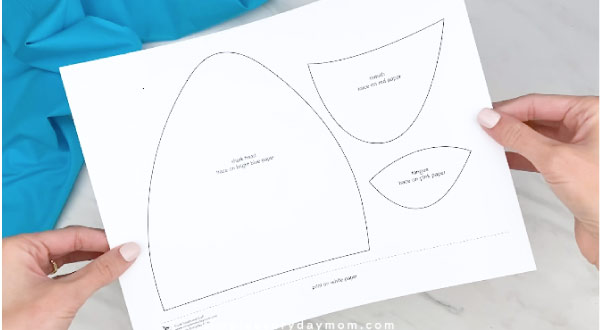
Start by downloading the shark template and printing it out. Once you have the template printed, gather the materials needed for this fun activity. Get those scissors ready, and let’s help the kids bring this shark to life!
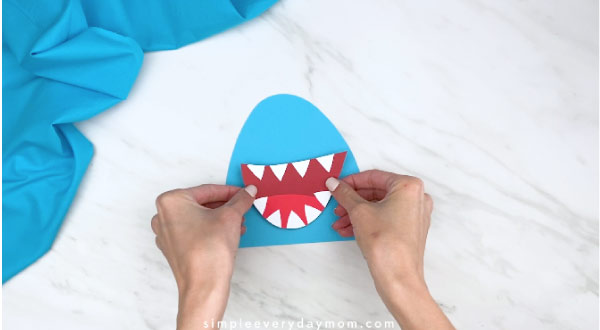
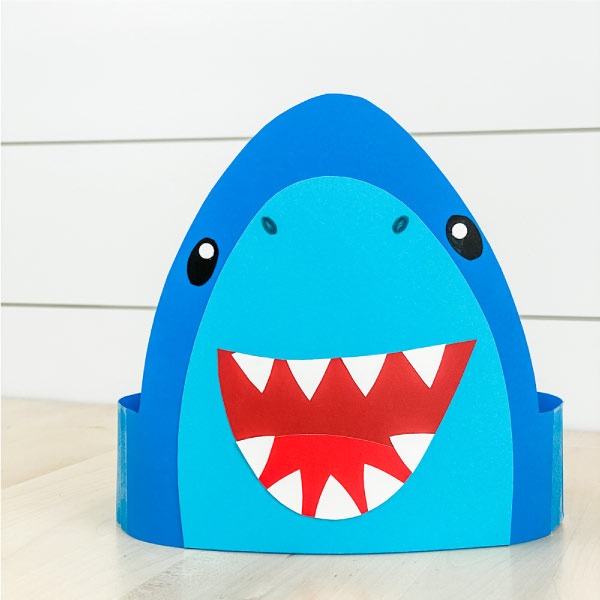
First, guide your child to assemble the mouth by gluing the red tongue to the bottom of the mouth.

Next, help your child to take as many teeth as you want and glue them all around the outside of the mouth. Use the scissors to trim off any excess teeth for the best results.

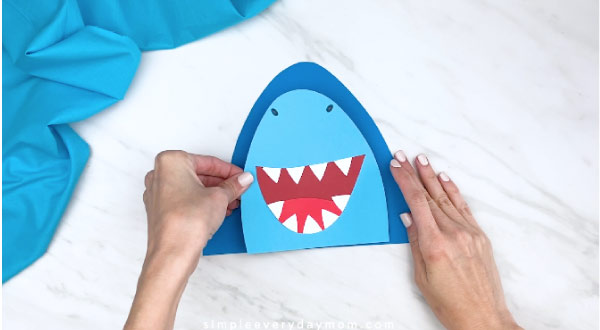
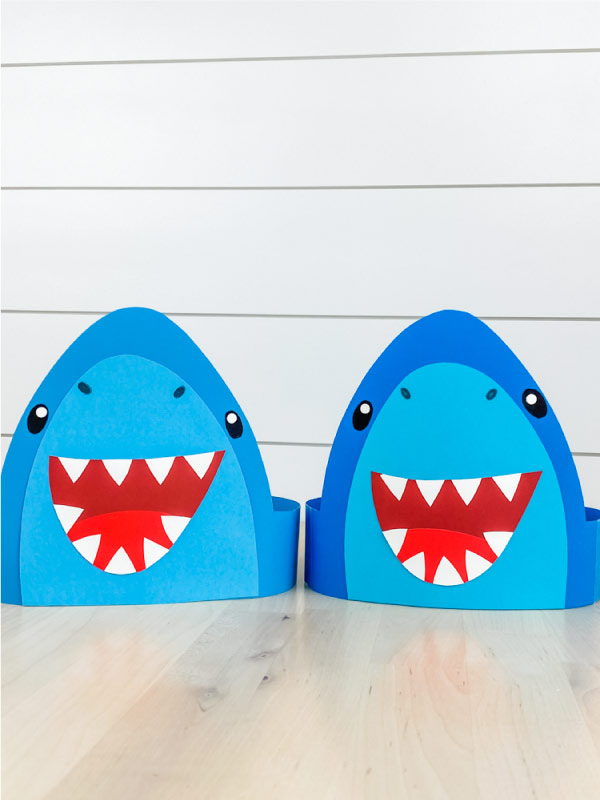
Take the completed mouth and glue it to the middle-ish area of the light blue underbelly.
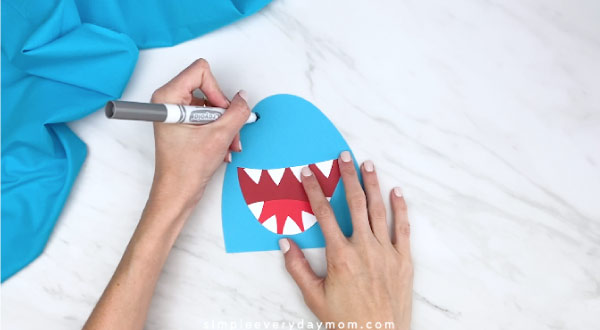
Use a black or gray marker to draw on two nose holes near the top of this section of paper.
Place this piece in the middle of the headband base and glue it in place.
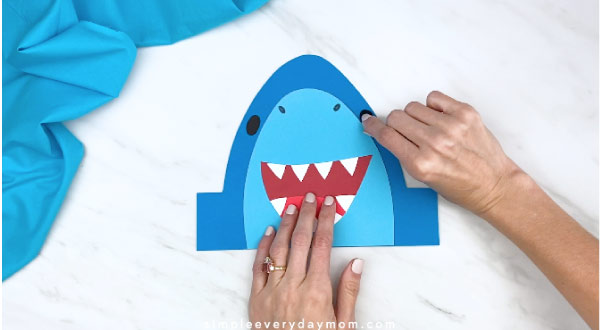
Create the shark’s eyes by cutting out two small ovals from the black card stock. Use a standard hole punch or scissors to cut out a smaller circle from white paper. Glue the white paper onto the top of the black oval.
This will give your shark a happier look. If you don’t want that, leave off the white circle.
If you don’t want to cut out each small piece, just use a black marker to draw the eyes directly onto the blue paper.
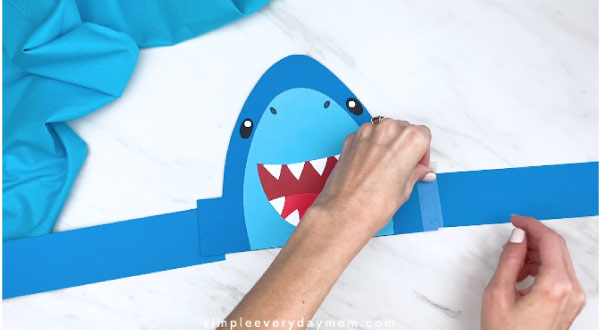
Finally, encourage your child to attach as many headband extenders as you need to fit your child’s head. We attached them to the base with tape, but you can also use a stapler.
For more fun, check out our headband crafts that are sure to get your kids in the spirit!
Try This Popsicle Stick Shark Craft
Ocean Ideas For Kids
Once you’re done with this fun shark craft, try out some other ocean-themed activities to keep the fun going.
Summer is the perfect time to learn about the underwater world with some ocean study units! There are so many fun and simple crafts, printables, and activities that can help young kids learn and have a blast at the same time.
Ocean Books For Kids
Reading aloud to kids is important for so many reasons! First of all, it helps them to develop a love for reading. When they hear you reading aloud with expression and excitement, they’ll be more likely to want to read themselves.
Additionally, reading aloud helps kids to develop their vocabulary and learn new concepts. As they hear you reading, they’ll be exposed to new words and ideas that they might not otherwise encounter.
Finally, reading aloud is simply a great way to spend time together. It’s a chance to snuggle up and bond over a shared experience. So go ahead and grab an ocean book – your kids will be glad you did!


The Snail and the Whale– Julia Donaldson, author of the famous book The Gruffalo, brings kids another fun book about an unlikely set of friends. Snail and Whale have lots of fun together in this colorful book!
Shark Lady– This children’s book is based upon the true story of Eugenie Clark, aka, The Shark Lady. Learn about her love of sharks, her discoveries, and the inspiring message of going after what you want in life.
The Rainbow Fish -This is a classic children’s book with a wonderful message for children. In it, a fish learns to share his favorite possession, his glittery scales, with his friends!


Ocean Crafts For Kids
Crafting is a great way for kids to express their creativity and have fun. It’s also a great way to encourage kids to be hands-on and use their imaginations. Crafting also helps kids to develop fine motor skills, as they learn to use their hands to create things.
For all those reasons and more, we love crafting and have tons of craft ideas! Try adding in some more of our favorite ocean crafts:
Handprint Jellyfish – Kids will love making these jellyfish as a summer craft! They’re easy to make and require no paint – just construction paper and scissors. This is a great activity for kids of all ages and can be customized to any color scheme. So get creative and have fun!
Paper Plate Octopus Craft – Summer is the perfect time for kids to get creative with their crafts. One of our favorites is the cute octopus craft. All you need are a few simple supplies, but feel free to add some googly eyes for a fun way to customize your craft! In no time at all, your kids will have themselves a cute little octopus friend.

Fish Paper Bag Puppet Craft – This fish puppet is a fun and easy craft that’s perfect for kids of all ages. Once they’re done creating it, they can have hours of pretend play fun!
Tissue Paper Jellyfish – This tissue paper jellyfish is not only fun for kids to make, but it also helps them to develop essential fine motor skills! It’s perfect for young children and only requires simple materials, such as tissue paper, scissors, and glue. Get ready for some under-the-sea fun with this adorable craft!
Ocean Activities For Kids
If you want to make this into an educational experience come get our free printable shark worksheets. They’re great for younger students who want to learn more about sharks. With these printables, they’ll label the parts of a shark and learn about shark conservation!
Want some more ocean-themed educational activities? Try out this ocean activities bundle! It’s loaded with over 60 pages of activities that can help kids practice handwriting, fine motor skills, letter recognition, and more.

Looking for a fun and educational activity for your little one? Check out these color by number fish printables! These free printables are perfect for helping kids to practice number recognition, while also working on their fine motor skills.
This ocean color sorting game is a great way to teach kids about types of marine life and different colors. It’s perfect for preschoolers and kindergarteners and can easily be played at home or school. Plus, it’s a fun, hands-on activity that can keep kids engaged while they learn!
Related: 3D Crab Craft
Share With Us
Did you make this activity with your kids or students? We’d love to feature them on our social media!
For a chance to have your child’s project featured, simply snap a picture of the completed project and post it to our Facebook page, email it to us directly by clicking here, or use #simpleeverydaymom on your social media!
Shark Headband Craft
Video
Equipment
- Scissors
Materials
- Colored cardstock or construction paper
- Markers
- Glue stick
- Tape or stapler
- Shark headband template
Instructions
- Download the shark headband template, print, and cut out the pieces.
- Begin assembling the mouth by gluing the red tongue to the bottom of the mouth.
- Take as many teeth as you want and glue them all around the outside of the mouth. Use the scissors to trim off any excess teeth for the best results.
- Take the completed mouth and glue it to the middle-ish area of the light blue underbelly.
- Use a black or gray marker to draw on two nose holes near the top of this section of paper.
- Place this piece in the middle of the headband base and glue it in place.
- Create the shark’s eyes by cutting out two small ovals from the black card stock. Use a standard hole punch or scissors to cut out a smaller circle from white paper. Glue the white paper onto the top of the black oval.
- This will give your shark a happier look. If you don’t want that, leave off the white circle.
- If you don’t want to cut out each small piece, just use a black marker to draw the eyes directly onto the blue paper.
- Attach as many headband extenders as you need to fit your child’s head. We attached them to the base with tape, but you can also use a stapler.
Did you make this?
Don’t forget to leave a comment below and make sure to follow on Pinterest, Facebook and TikTok for more!
Free Shark Headband Template


Meet Sam
Sam is the crafter and founder of Simple Everyday Mom. She has been featured in Oprah Mag, Good Housekeeping, The Spruce Crafts, Country Living, The Bump, and more.


where is the link for the template?
All you need to do is enter your email in the form at the end of the post and the link will be sent to you ?
i love this, can i get the print versie?
Of course! All you need to do is click the image at the end of the post that says, “Click Here To Get Your Freebie” and then enter your email in the form, and you’ll get the template link ◡̈
Awesome
Thanks!
How can I access the template?
All you need to do is enter your email in the form at the end of the post and the link will be sent to you ?
Fantastic activity template for World Ocean Day – Love this!
Great! Thanks so much 🙂
I can’t wait to make this. I’m positive the kiddos will like it, also!
Oh, good! I hope so!
Awesome…so excited about it
So glad to hear that!
Love this
Thank you!
Can’t wait for my students to create this craft!
Yay! Love to hear that!
shark
Nice, thanks
No problem 🙂
Love this craft idea!
Thanks, Cindy!
Thanks
You’re welcome!
excellent
Tiburón diadema
Of course! All you need to do is click the image at the end of the post that says, “Click Here To Get Your Freebie” and then enter your email in the form, and you’ll get the template link ◡̈
excellent
Excellent work, I’m very much impressed
Thanks 🙂