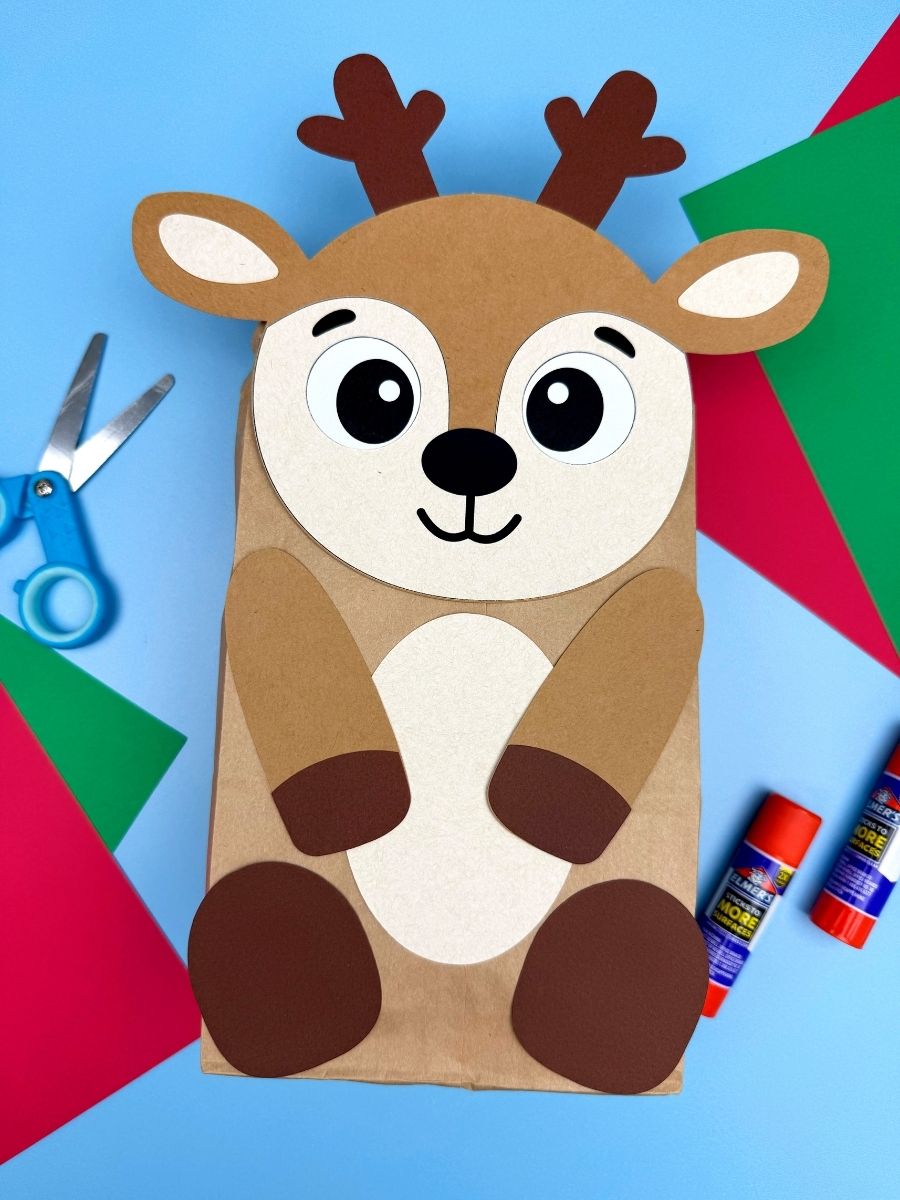
Stuffed Paper Bag Reindeer Craft
Make this holiday season extra fun with this stuffed paper bag reindeer craft, where kids fill a paper bag and transform it into an adorable reindeer using the template.
Print
Pin
Video
Materials
- Colored cardstock or construction paper
- Scissors
- Glue
- Paper Bag
- Tape
- Reindeer Template
Instructions
- Download the template, print it, and cut out the pieces you need.
- Begin by gluing the lower face piece onto the head.
- Next, glue the eyes below both eyebrows.
- Glue the inner ears onto each outer ear.
- Now, glue the nose in the center of the face, between the eyes and mouth.
- Take the antlers and glue them to the top and back of the head.
- Position the brown paper bag so the top is up, and the flap part is on the back side. Glue the leg hooves to the bottom, front corners of the paper bag.
- Next, glue the belly piece above the hooves, in the middle of the bag.
- Now, glue the arm hooves onto the ends of the arms.
- Glue the completed arms to the front of the bag, angled slightly inward so that they appear to be resting on the belly.
- Stuff the bag with crumpled paper until it is about 3/4 full.
- Fold or scrunch the top of the bag and tape it closed.
- Finish by gluing the reindeer head to the top of the stuffed paper bag.