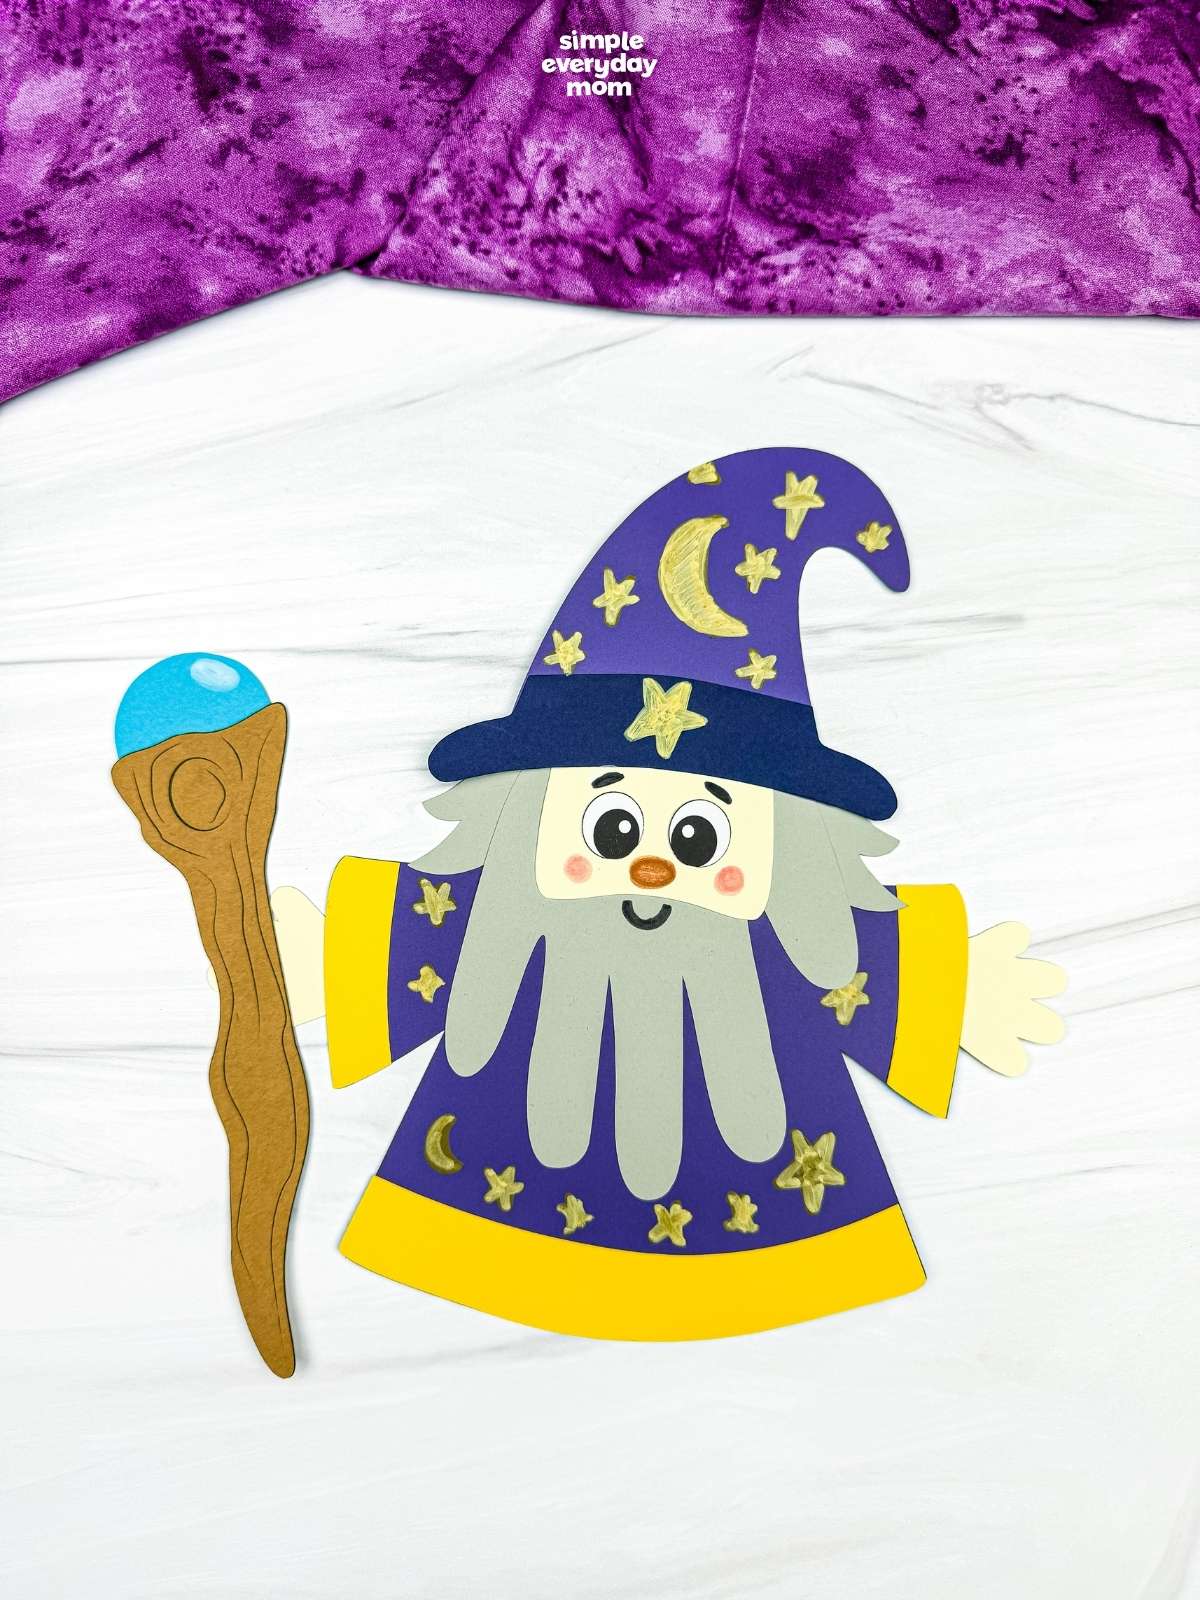
Wizard Handprint Craft
This wizard handprint craft is a fun fairy tale activity that lets kids create their own magical wizard while getting creative.
Print
Pin
Video
Materials
- Colored cardstock or construction paper
- Scissors
- Glue
- Markers
- Crayola Bold & Bright markers
- Wizard handprint template
Instructions
- Print the template and gather the materials for this fun activity.
- Begin by tracing your child’s hand onto paper, then cut out the handprint.
- Position the handprint with the fingers pointing down and glue the face onto the upper part of the palm.
- Glue the eyes to the center of the face.
- Use a marker to draw a small nose below and between the eyes.
- Let your child get creative and use a marker to add cheeks, eyebrows, and a smile to the face.
- Glue the hat bottom along the bottom edge of the hat.
- Use a Bold & Bright marker to decorate the hat with stars, moons, or other designs.
- Glue the completed hat to the top of the wizard’s head.
- Glue the hair pieces to back of both sides of the face.
- Glue the robe trim along the bottom edge of the robe and the sleeve cuffs to the ends of the sleeves.
- Decorate the robe with stars, moons, or other magical details using a Bold & Bright marker.
- Glue the finished wizard head to the top center of the robe.
- Glue the hand pieces to the back and ends of the sleeves.
- Take the staff and glue the orb to the top and back.
- Use a Bold & Bright marker to add a small highlight or decorative detail to the orb.
- Finally, glue the completed staff beside one of the wizard’s hands so it looks like the wizard is holding it.