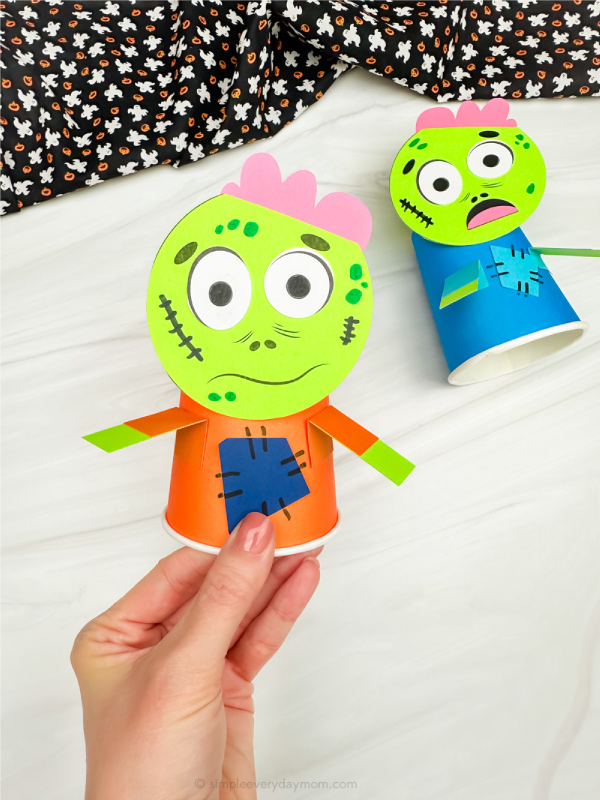
Zombie Paper Cup Craft For Kids
This zombie paper cup craft encourages kids to refine their fine motor skills, boost creativity, and foster patience and attention to detail. Plus, it's fun for Halloween!
Print
Pin
Video
Materials
- Colored Paper Cup
- Colored cardstock or construction paper
- Scissors
- Glue
- Colored Marker
- Zombie template
Instructions
- Download the zombie template, print, and cut out the pieces you need
- Start by gluing the eyes onto the head portion.
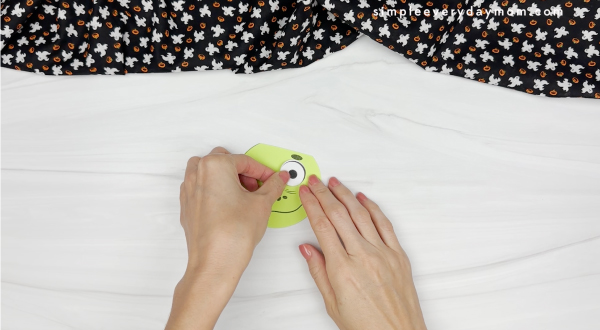
- Use a dark green marker to draw on skin spots.
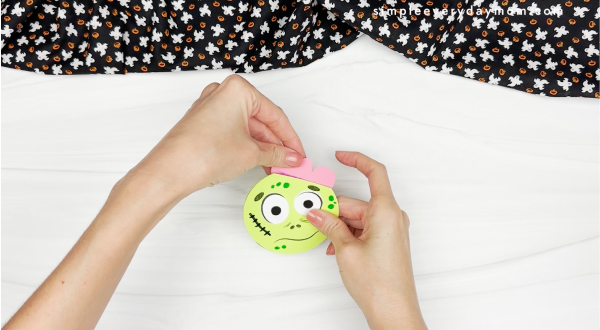
- Using glue, position the brain somewhere at the top of the zombie’s head.
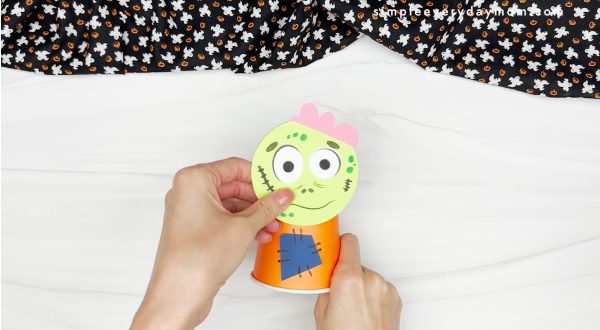
- Place the paper cup upside down with its rim facing downward, then use glue to attach the chest patch to the bottom (rim portion) of the cup and use a marker to draw a line around it.
- Next, attach the head to the upper and middle parts of the cup.
- Assemble the arms by attaching them to the sleeves.
- Finish up by gluing the arms to both sides of the cup.