Neon Slime Recipe With Contact Lens Solution
All activities require adult supervision. By using this site, you agree to our terms of use. This post may contain affiliate links. As an Amazon Associate and a participant in other affiliate programs, I earn a commission on qualifying purchases. Read our disclosure policy.

With summer rapidly approaching, we’re stockpiling ideas for indoor play because it’s just so hot here in Arizona.
We love doing easy crafts for kids all year round, but sometimes we like to do more sensory play and just get a little messy.
Slime is the perfect sensory activity for older kids!
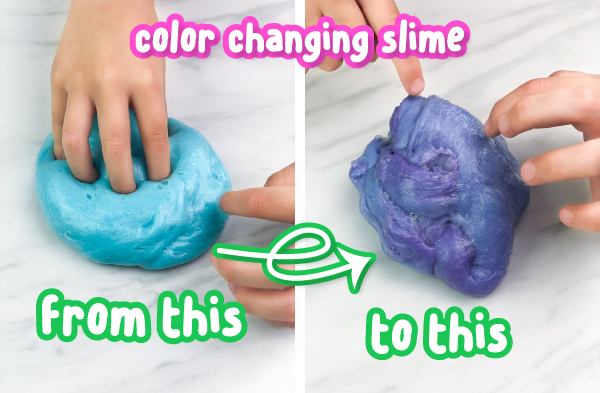
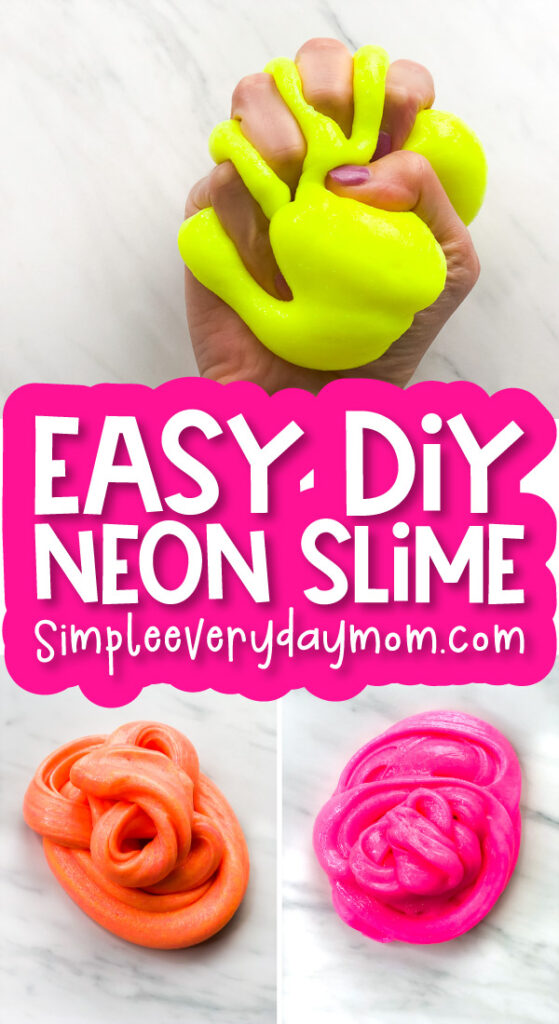
If you want a new, bright slime, try out this easy neon slime recipe for kids made with contact lens solution, acrylic paint, baking soda, and glue!
Recently we’ve made lots of new slimes and gathered them all on our easy slime recipes for kids page. Be sure to check it out and save some ideas for later.
Today we’re sharing a no-fail neon slime recipe without borax everyone will love!
How To Make Neon Slime For Kids
Slime Ingredients
- 1 cup Elmer’s clear glue
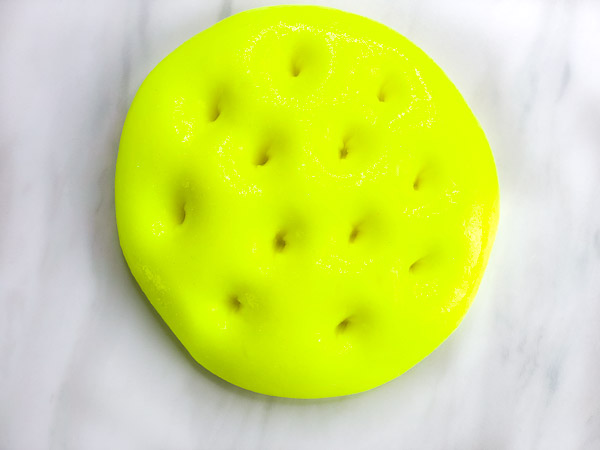
- 1 tablespoon of each neon acrylic paint (we used this yellow and this pink)
- 1/2 tablespoon Baking soda
- 1 tablespoon Contact lens solution (it must contain boric acid to work)
- 1 tablespoon Neon glitter (optional)
Easy Neon Slime Recipe
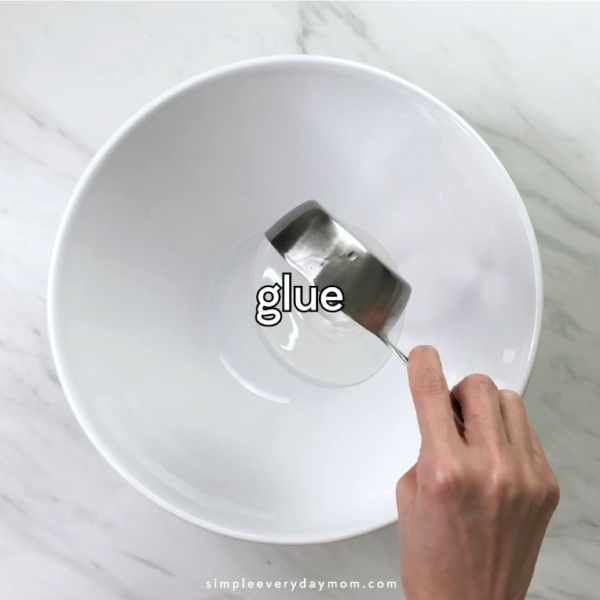
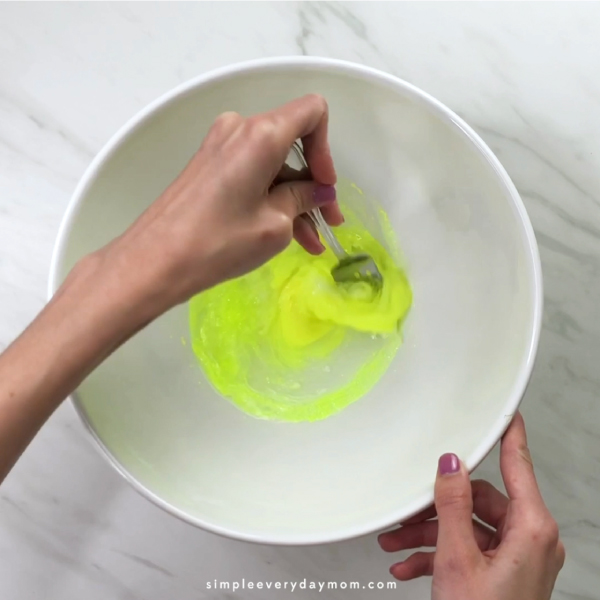
Pour the glue into a large bowl.
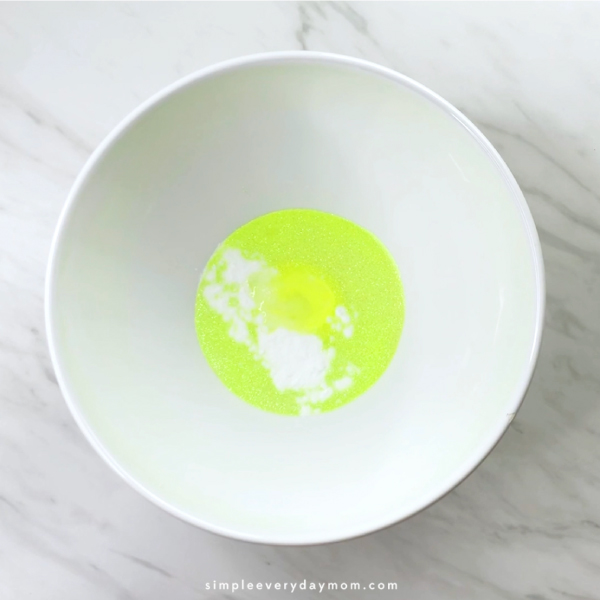
Add the baking soda, contact lens solution, glitter (if using) and one of the neon acrylic paints to the bowl. Mix thoroughly with a fork.
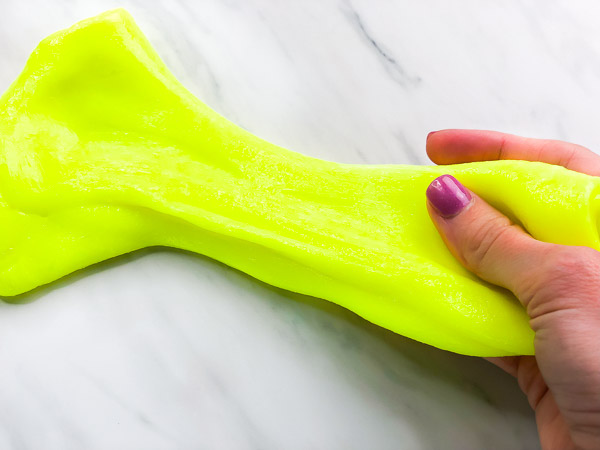
Use your hands to knead the slime until it is no longer sticky.

Repeat steps 1-4 for each neon paint color you have. If it still feels sticky after kneading and mixing, add in a little more contact solution until it feels the way you want it to.
Be careful to not use too much contact solution; if you add too much, it’ll cause the slime to turn rubbery instead of slime-like.
You’re done!
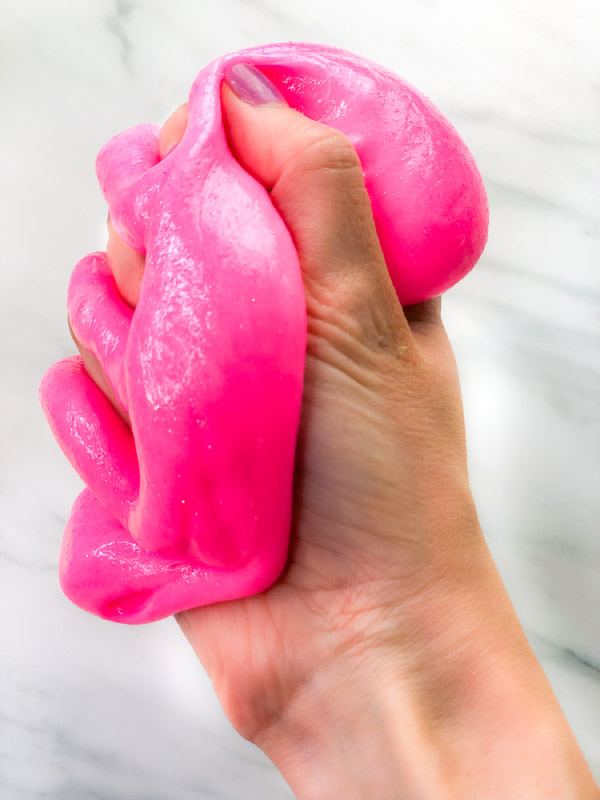
Can you believe how simple this slime recipe is?!
It’s probably one of my favorites for a standard slime because it’s not sticky at all!
When my boys were playing with it, they kept telling me how cool it was because it didn’t stick to their hands and it was still super stretchy!
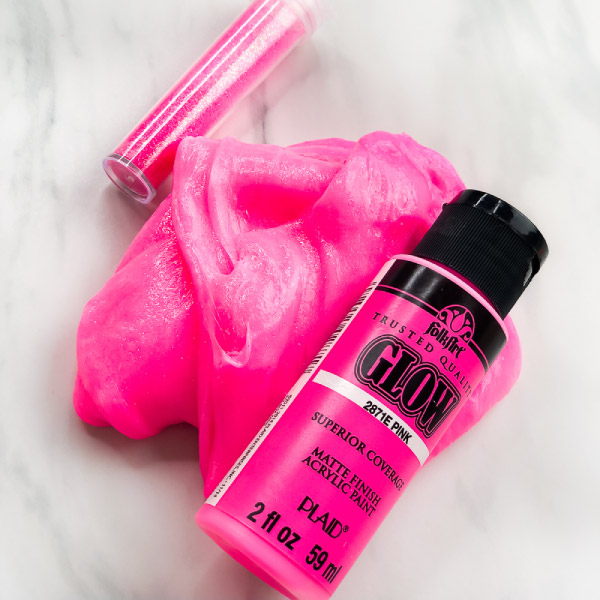
If you’re wondering if this slime glows in the dark the answer is technically yes, but it doesn’t work too well. The acrylic paint we used said it was glowing paint, but it’s really way too subtle to call glow in the dark.
We’re working on an insanely bright glow-in-the-dark slime recipe now, so stay tuned!

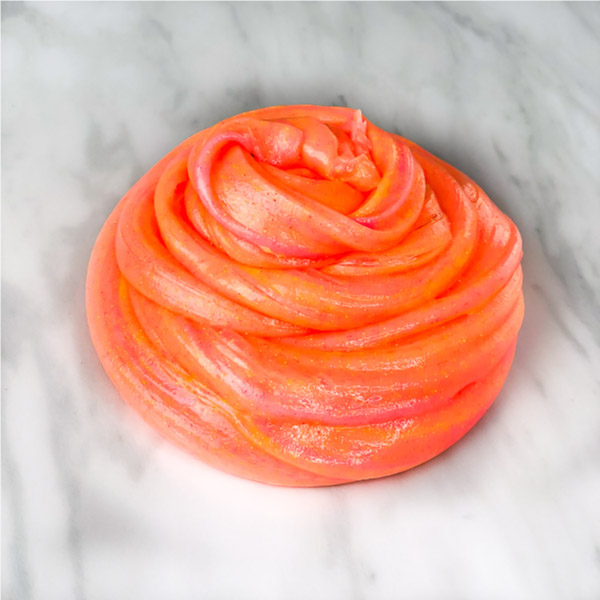
We played with this slime for a while separately, then we mixed them together to make the neon orange slime you see in the pictures.
Slime Safety
Please always have adult supervision when children are playing with slime.
You also want to be sure your child knows that this type of slime is not edible. If any part of the slime is ingested, immediately call for medical advice.
Parents or other adults should always make the slime. This type of slime should not be used with children 3 and younger.
If your child has sensitive skin use gloves while playing with the slime or watch them to be sure the slime isn’t irritating to the skin.
Always have your child wash their hands after playing with slime.
More Sensory Activities For Kids
Easy DIY Neon Slime Recipe
Video
Equipment
- Mixing bowl
- Fork
- Measuring cups
- Measuring spoons
Materials
- 1/2 cup Elmer’s clear glue
- 1/2 tablespoon baking soda
- 1 tablespoon contact lens solution with boric acid
- 1 tablespoon neon acrylic paint
- 1 tablespoon neon glitter optional
Instructions
- Pour the glue into a large bowl.
- Add the baking soda, contact lens solution, glitter (if using) and one of the neon acrylic paints to the bowl.
- Mix thoroughly with a fork.
- Repeat steps 1-4 for each neon paint color you have. If it still feels sticky after kneading and mixing, add in a little more contact solution until it feels the way you want it to. Be careful to not use too much contact solution; if you add too much, it’ll cause the slime to turn rubbery instead of slime-like.
- Repeat steps 1-4 for each paint color you have.
Notes
Did you make this?
Don’t forget to leave a comment below and make sure to follow on Pinterest, Facebook and TikTok for more!

Meet Sam
Sam is the crafter and founder of Simple Everyday Mom. She has been featured in Oprah Mag, Good Housekeeping, The Spruce Crafts, Country Living, The Bump, and more.