Easy Fluffy Chick Craft For Kids [Free Template]
All activities require adult supervision. By using this site, you agree to our terms of use. This post may contain affiliate links. As an Amazon Associate and a participant in other affiliate programs, I earn a commission on qualifying purchases. Read our disclosure policy.

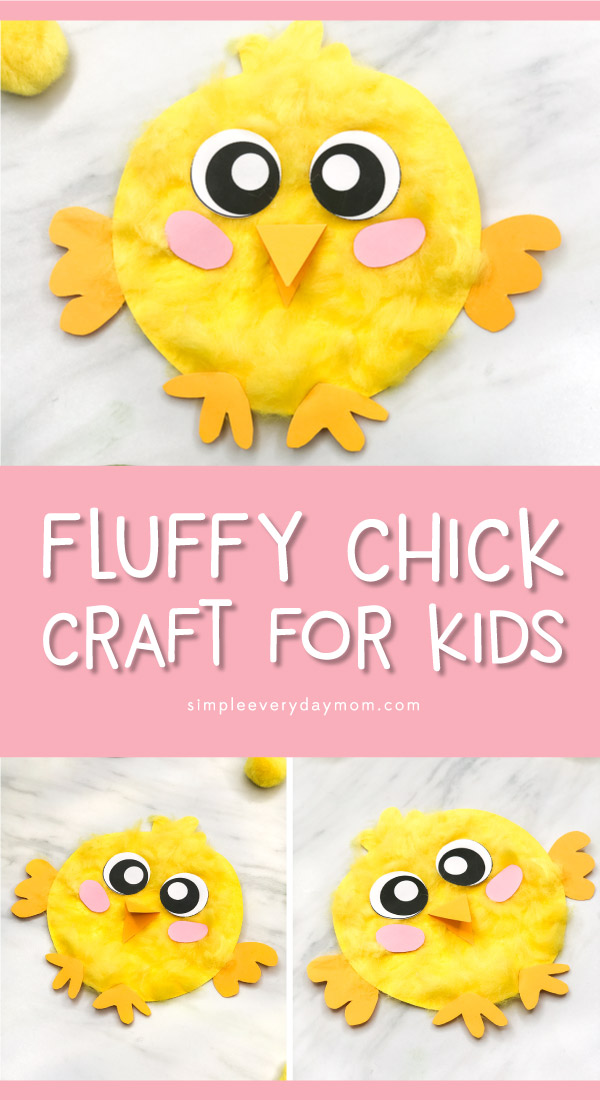
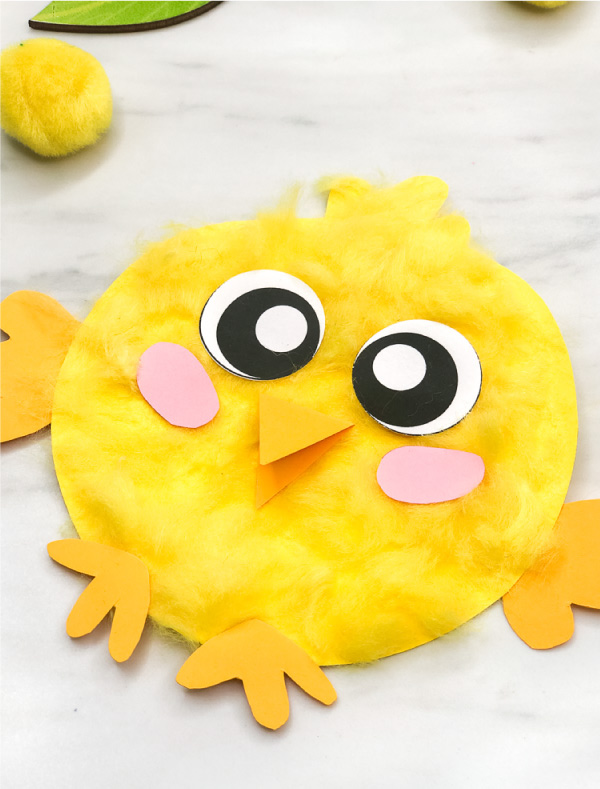
Make this adorable fluffy chick craft for kids this springtime, Easter, or when learning about farm animals!
This week we’re sharing all our best spring crafts for kids!
If you haven’t seen the past ones, you’ll want to check out all of our chick craft ideas.
So far we’ve made sheep crafts, bunny crafts, an Easter egg craft, and more! They’re all simple and quick, so if you need more ideas, don’t forget to save them for later!
Today, we’re sharing this fluffy chick craft for kids. These are the perfect craft for doing in the classroom or at home for Easter or springtime in general.
Read on below to see how quick they are to make!
Spring Chick Craft
Supplies
- Colored card stock (in yellow, golden yellow/orange and light pink)
- White card stock
- Yellow pom poms
- Scissors
- 1″ circle punch (optional)
- Glue
- Chick template

Related: Paper Plate Bunny Craft
Directions
Download the chick template and print the pages on the colored card stock indicated on each page. Cut out all the pieces. Cut out two small ovals from the pink card stock for the chick’s cheeks.
Fold a small piece of the golden yellow card stock in half and cut a triangle out, leaving the side folded in half intact so it opens into a diamond. This will be the chick’s beak.
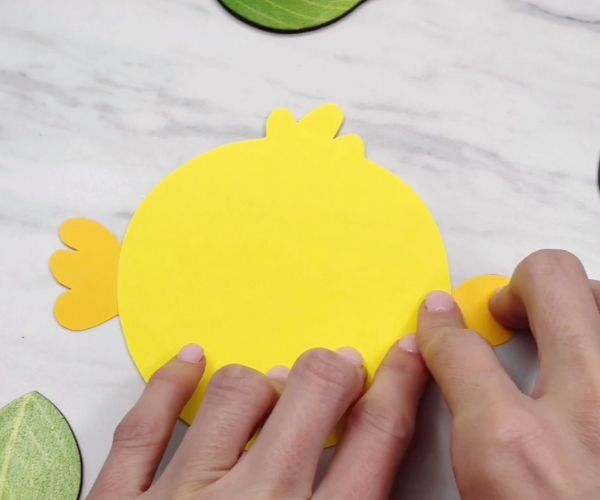
Glue the wings to the back of the chick’s body.
Cut 2 medium pom poms in half and fluff it out.
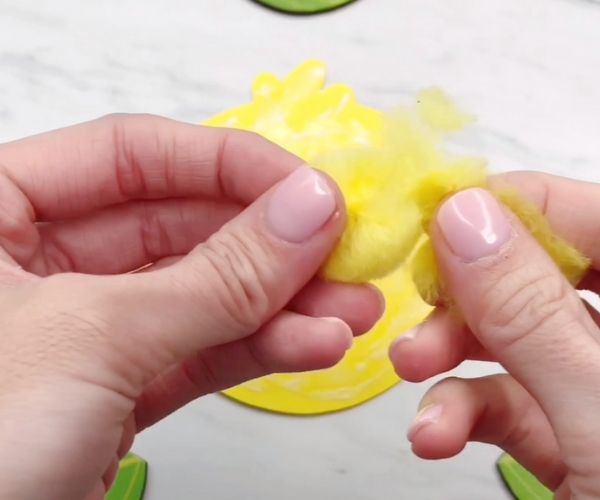
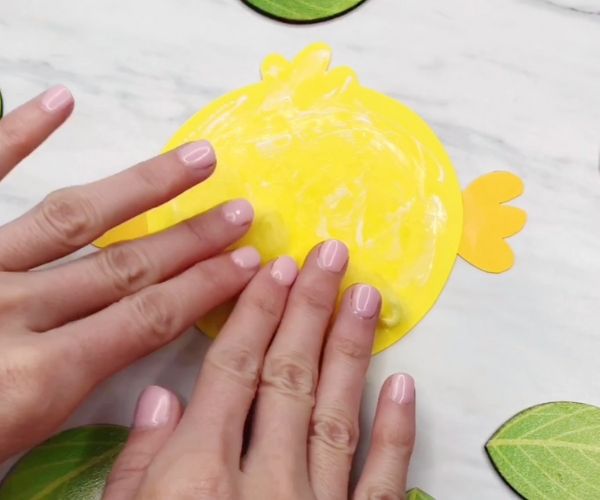
Use the glue to cover the chick’s body in a very thin layer of glue all over. Press a light layer of the yellow pom pom fluff all over the chick’s body. Let dry completely.
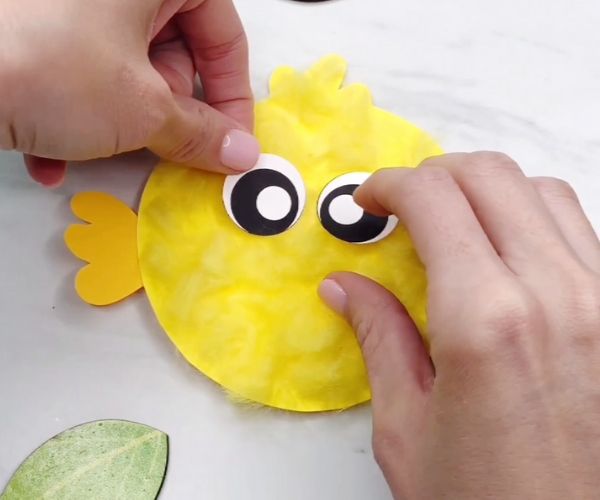
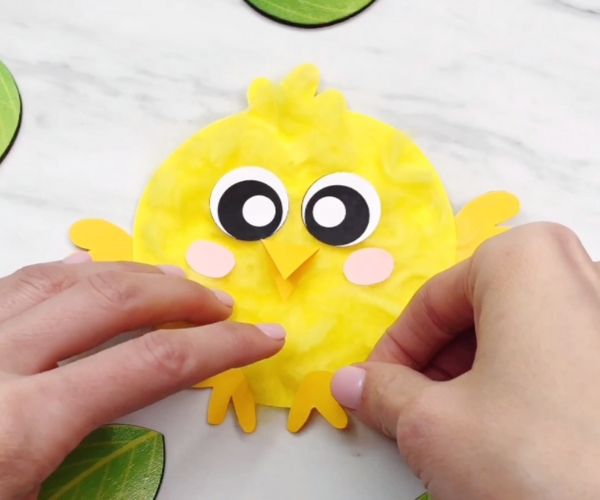
Glue the eyes, beak and cheeks on, using the pictures as reference. Glue the two feet to the bottom the chick’s body.
That’s all you have to do to make the fluffiest little chick!
It’s a pretty simple craft, but one note is to make sure you go easy on the pom pom fluff. The first time I made one I put a ton on the yellow fluff, but then the outer layer of “fur” wasn’t stuck to the chick and it was shedding like crazy.
Moral of the story, just be sure to only do a very light layer of the pom pom fur on it. I only used a little over 1 medium pom pom for each chick.
Related: Handprint Chick Craft For Kids

If you’d like to use the template with your kids, don’t forget to enter your email in the form at the end of the post.
More Easter Activities For Kids


Happy Easter Mouse – Everyone knows Mouse from the classic If You Give A Mouse A Cookie book, but now he’s back and ready to celebrate Easter! Kids will love watching him as he goes on an Easter egg hunt!
Pete the Cat: Big Easter Adventure – Join Pete as he races to help the Easter bunny just in time for Easter! This is another new classic kids rate as a must-have!
It’s Not Easy Being A Bunny – Follow PJ the bunny as he tries to discover what kind of animal he’d rather be instead of a bunny! It’s a silly story with a great lesson.
Share With Us
Did you make this activity with your kids or students? We’d love to feature them on our social media!
For a chance to have your child’s project featured, simply snap a picture of the completed project and post it to our Facebook page, email it to us directly by clicking here, or use #simpleeverydaymom on your social media!

Fluffy Chick Craft For Kids
Video
Equipment
- Scissors
- 1″ circle punch (optional)
Materials
- Colored card stock in yellow, golden yellow/orange and light pink
- White card stock
- Yellow pom poms
- Glue
- Chick template
Instructions
- Download the chick template, print and cut out the pieces.
- Cut out two small ovals from the pink paper for the cheeks. Cut out a diamond shape from the orange paper and fold in half to make a triangle that opens. This is the chick’s beak.
- Glue the wings to the back of the body, one on each side.
- Cut one yellow pom pom in half with scissors and use your fingers to fluff it out.
- Spread a very thin layer of glue all over the chick’s body.
- Push a thin layer of the pom pom "fur" all over the chick’s body. Let dry before moving on.
- Glue the chick’s eyes, nose and cheeks on, like in the pictures.
- Place the chick’s feet on the bottom and glue in place.
Did you make this?
Don’t forget to leave a comment below and make sure to follow on Pinterest, Facebook and TikTok for more!
Free Chick Craft Template

Meet Sam
Sam is the crafter and founder of Simple Everyday Mom. She has been featured in Oprah Mag, Good Housekeeping, The Spruce Crafts, Country Living, The Bump, and more.
![Tissue Paper Turkey Craft For Kids [Free Template]](https://www.simpleeverydaymom.com/wp-content/uploads/2021/09/Tissue-Paper-Turkey-craft-feature-image.jpg)


![Father’s Day Toolbox Card Craft [with FREE Printable Template]](https://www.simpleeverydaymom.com/wp-content/uploads/2025/05/dad-toolbox-card-craft.jpg)


making chicks for Heifer International project
Great ¡¡¡
Thanks!
Our school kids love your chick craft
I love hearing that- thanks for sharing!
Muy lindo
Gracias!
We love your Easter chicks!
Why thank you!