Cute Paper Plate Bunny Craft [Free Template]
All activities require adult supervision. By using this site, you agree to our terms of use. This post may contain affiliate links. As an Amazon Associate and a participant in other affiliate programs, I earn a commission on qualifying purchases. Read our disclosure policy.
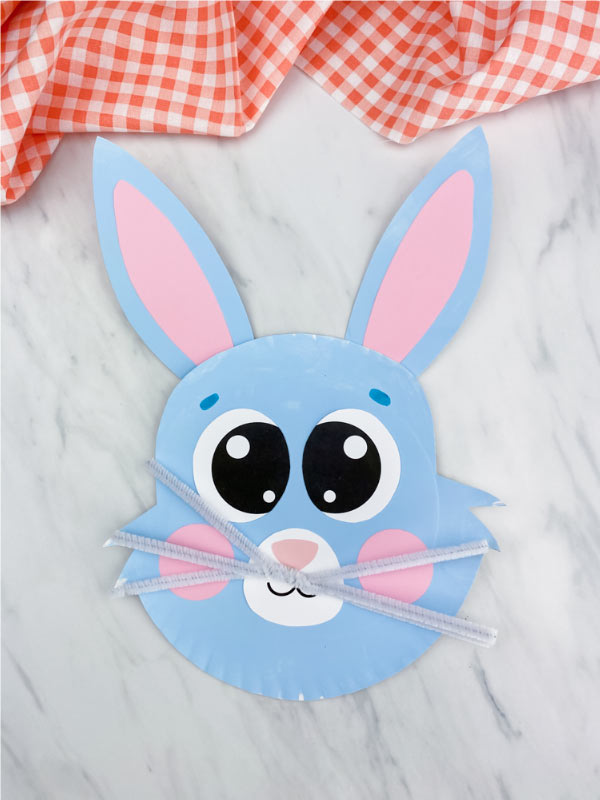
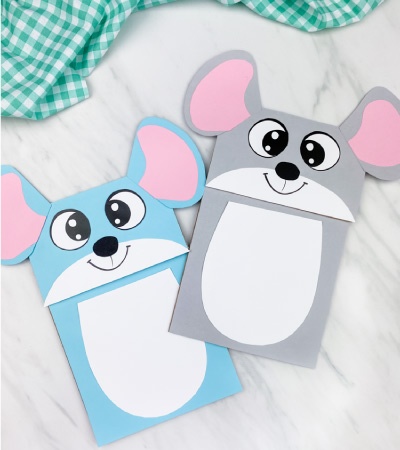
This paper plate bunny craft is the perfect craft idea for spring! We love creating easy Easter crafts for kids so we knew we had to add a rabbit to our collection.
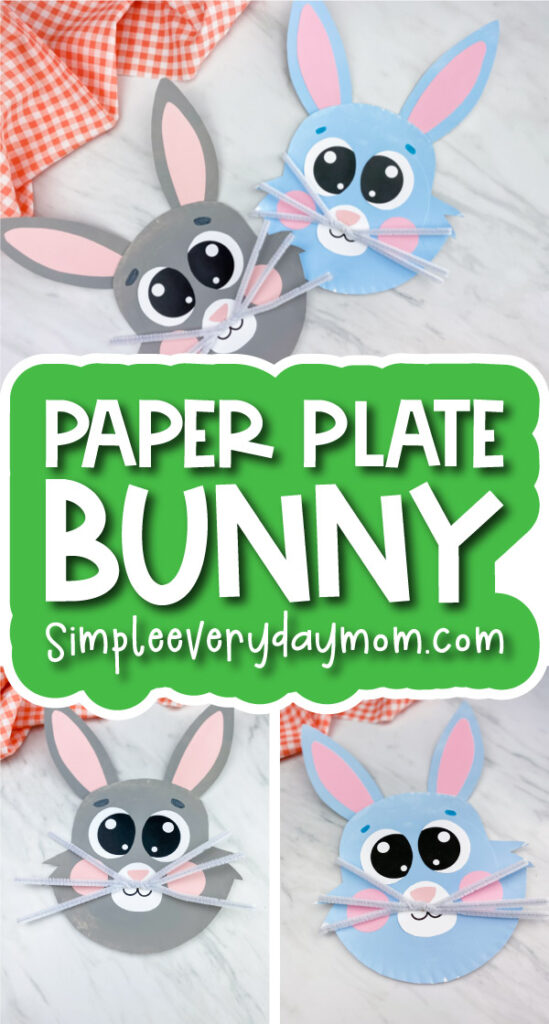
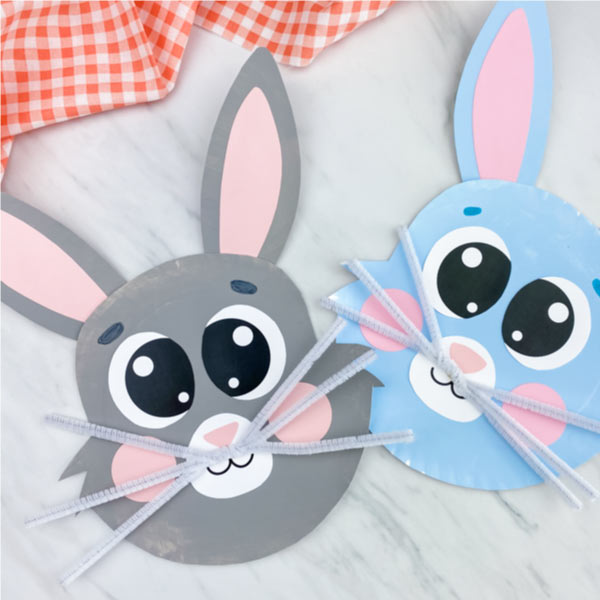
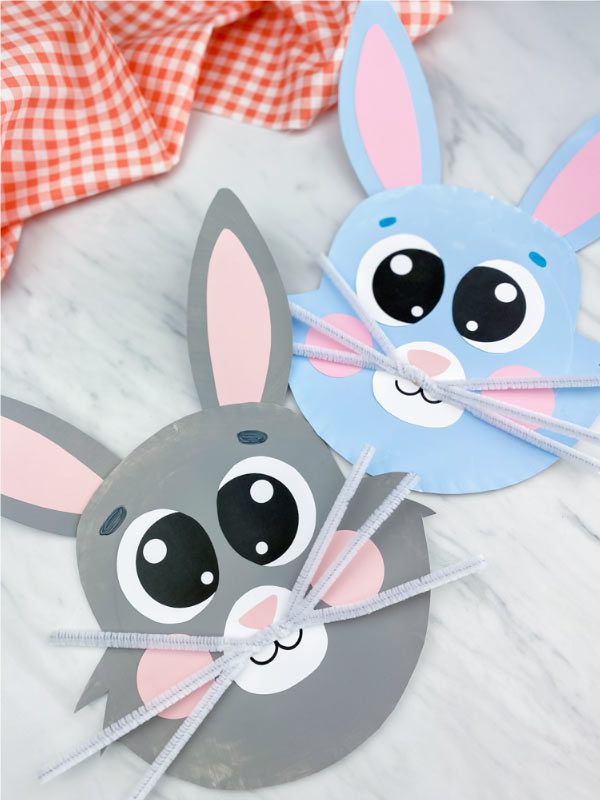
We wanted to be able to use this craft not only for Easter, but also for other times of the year so we painted it two different colors.
The first one is gray and represents the more natural coloring of the rabbit and the other is a light blue that’s so adorable for Easter!
Like usual, we’ve included a free printable template so you can easily recreate this craft with your kids or students. Read on below or watch our quick video tutorial to see how simple this craft is to make!
Bunny Paper Plate
Supplies
- Paper plates
- Paint
- Pink card stock
- White card stock
- Markers
- White pipe cleaners
- Scissors
- Pencil
- Glue stick
- Glue dots (optional)
Directions
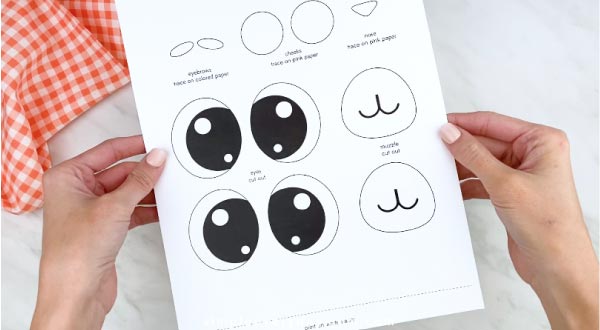
Download the rabbit paper plate template and print it out on white card stock. Cut out the pieces.
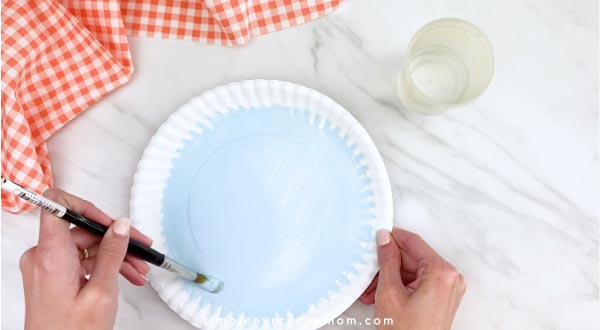
Paint two paper plates and let dry completely. One paper plate will be for the bunny’s face and the other will be to cut out the ears.
We painted one bunny gray to look more natural and one bunny light blue.
The gray bunny is perfect when you’re learning about bunnies or animals and you want a more realistic craft. The blue bunny is great for making it for Easter!
Take the rabbit face template and place it on the dried paper plate. Trace it with a pencil, then cut it out.
Related: Handprint Bunny Craft
Place the two rabbit’s eyes and glue them a little bit from the top of the paper plate.

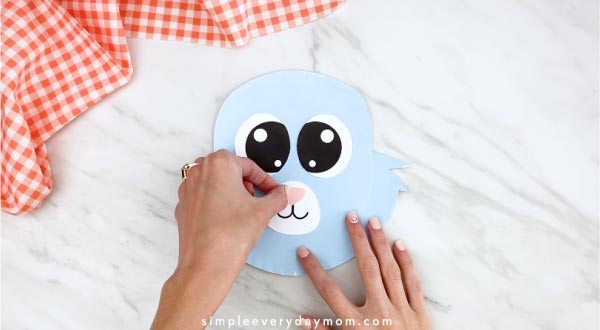
Position the muzzle in the middle of the plate, just below the eyes and glue in place.
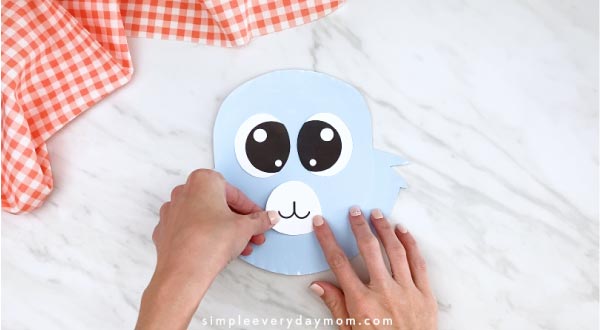
Glue the pink nose at the top of the black line. If you want, you can also use a pink marker to draw on the nose instead.
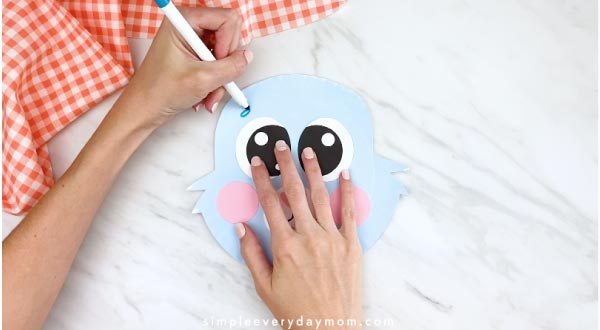
Place the pink cheek’s on either side of the muzzle.
Use the marker to draw on some cute and simple eyebrows above the eyes.
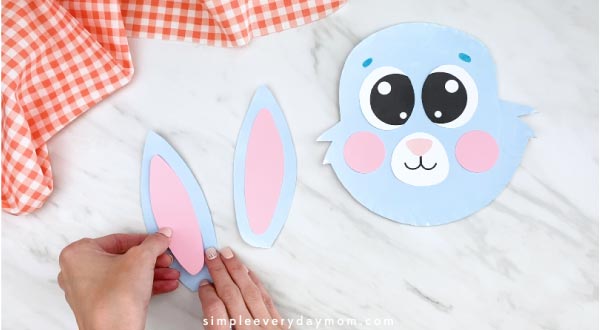
Trace the bunny ear template onto the second paper plate and cut them out. Glue the pink inner ears onto the blue outer ears, then glue the completed ears to the back of the paper plate.
Related: Paper Bag Bunny Puppet
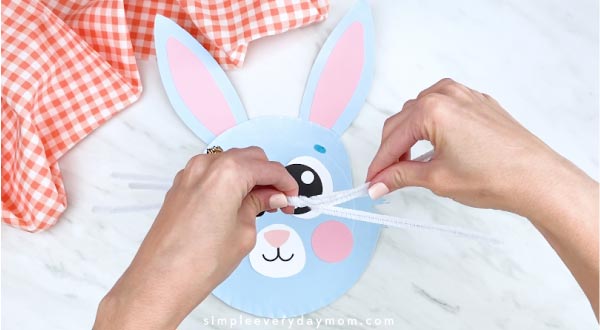
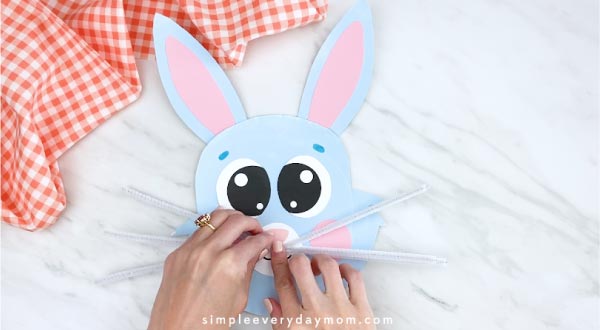
Take your three white pipe cleaners and twist them together. Use a glue dot or glue stick to glue the whiskers just below the bunny’s nose. We always use a glue dot because they’re stronger than the glue stick and because there’s no drying time!
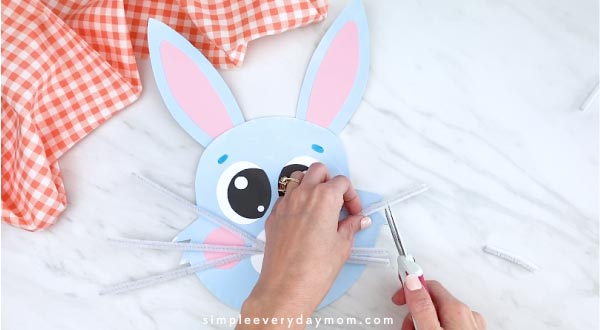
Use the scissors to trim down the whiskers.
Isn’t this the cutest little bunny craft you’ve ever seen?! We love those giant eyes!
This simple paper plate craft is great for young kids of all ages! Make with preschool, kindergarten, and elementary children either at home or at school.
Don’t forget to enter your email in the form at the end of the page to get the free printable template.
More Easter Activities For Kids
We’ve got some great ideas to get you started with your Easter unit. Get inspired by these creative, engaging ideas!
From reading books together to making more fun crafts, keep reading for some of our top Easter ideas.
Easter Books For Kids


Happy Easter Mouse – Everyone knows Mouse from the classic If You Give A Mouse A Cookie book, but now he’s back and ready to celebrate Easter! Kids will love watching him as he goes on an Easter egg hunt!
Pete the Cat: Big Easter Adventure – Join Pete as he races to help the Easter bunny just in time for Easter! This is another new classic kids rate as a must-have!
It’s Not Easy Being A Bunny – Follow PJ the bunny as he tries to discover what kind of animal he’d rather be instead of a bunny! It’s a silly story with a great lesson.

Easter Crafts For Kids
The best way to keep your kids engaged is by giving them an activity that will challenge their creativity and engage their minds. And what could be more exciting than making things? These craft ideas are sure not only to help with fine motor skills but also to get those creative juices going.
Baby Yoda Easter Egg Craft – This simple papercraft is super cute and perfect for Star Wars and Mandalorian fans of all ages. It’s an easy Easter activity the whole family can enjoy.
Handprint Bunny Card Craft – This Easter, have your kids make this adorable handprint bunny card craft as a sweet keepsake for someone special. It’s a simple activity that will keep them entertained and produce a wonderfully cute result!
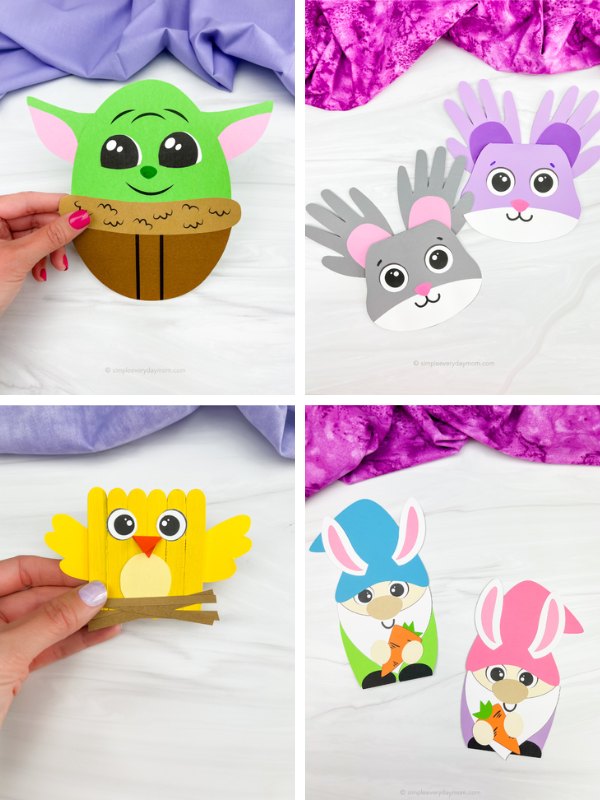
Chick Popsicle Stick Craft – This chick craft is perfect for Easter! It’s a great way to keep the kids entertained and has a free template to download.
Bunny Gnome Craft – This bunny gnome craft is a wonderfully whimsical way to let children’s imaginations run wild as they welcome the holiday spirit.
No need to worry about a trip to the store, as this craft project relies on the everyday essentials of colored paper, scissors, and glue. So let’s hop to it and get those bunny gnomes ready to celebrate – laughter and creativity are bound to abound!
Kids’ Easter Activities
Our Easter Do A Dot printables are definitely a great way to keep the kids entertained and teach them something too!
With these fun and educational worksheets, you can pass time on Easter with a hint of learning in it. Get ’em excited about learning with these worksheets at home or in the classroom!
These chick coloring pages are a fun and easy way to get into the Easter spirit! These free printables are perfect for kids of all ages, and they can help improve hand-eye coordination while also expressing their creativity. Print out a few copies today and have some fun with the family!
Enjoy these Easter worksheets for kids as a fun way to celebrate the holiday. They’ll help kids practice scissor skills, handwriting, letter recognition, and more. Plus, they’re just plain fun!
The fun doesn’t cease with the sugar rush from all the Easter basket candy; these Easter color by number pages are here to save the day!
Armed with crayons, kids can exercise their number recognition and fine motor skills, all while giggling away and basking in the colorful merriment.
Share With Us
Did you make this activity with your kids or students? We’d love to feature them on our social media!
For a chance to have your child’s project featured, simply snap a picture of the completed project and post it to our Facebook page, email it to us directly by clicking here, or use #simpleeverydaymom on your social media!
More Easter Ideas For Kids
Paper Plate Bunny Craft
Video
Equipment
- Scissors
- Paintbrush
Materials
- Paper plates
- Paint
- Pink card stock
- White card stock
- Markers
- White pipe cleaners
- Pencil
- Glue stick
- Glue dots optional
Instructions
- Download the bunny template, print, and cut out the pieces.
- Paint two paper plates in the color of your choice. Let dry completely.

- Place the bunny's head template on the paper plate, trace it, and cut it out.
- Glue the eyes in the middle of the paper plate.
- Glue the muzzle just below the eyes.
- Place the bunny's nose at the top of the black line and glue it in place.
- Glue the cheeks on both sides of the muzzle.
- Use the marker to draw on eyebrows just above the eyes.
- Glue the pink inner ears to the outer ears.
- Glue the completed ears to the top and back of the paper plate.
- Twist the three white pipe cleaners together then use a glue dot to attach them just below the bunny's nose.
- Use scissors to trim the pipe cleaners.


Did you make this?
Don’t forget to leave a comment below and make sure to follow on Pinterest, Facebook and TikTok for more!
Bunny Craft Template

Meet Sam
Sam is the crafter and founder of Simple Everyday Mom. She has been featured in Oprah Mag, Good Housekeeping, The Spruce Crafts, Country Living, The Bump, and more.


Hi! All you need to do is enter your email in the form at the end of this post to have the confirmation link sent to you. Or if you’re already a subscriber, you just need to enter your email in the form at the end of the post and it’ll automatically redirect you to the download page ◡̈
I can’t download it
Hi! All you need to do is enter your email in the form at the end of this post to have the confirmation link sent to you. Or if you’re already a subscriber, you just need to enter your email in the form at the end of the post and it’ll automatically redirect you to the download page ◡̈
All your arts and crafts are awesome. Thank you for always sharing the free templates. I use a lot of them and share them with the teachers at my school. Thank you again:)
Thank you so much! It’s awesome to hear they’re helpful for you and your school!
Where do you download the template?
You’ll see the download when you enter your email in the form. The form is above the comments section, under the heading titled “Bunny Craft Template”. If you’re not able to see it, it most likely means you have a firewall or adblocker blocking it from appearing. If you can allow the page or try from a personal device, you should be able to see it. Also, you can open it in an incognito window to see it as well.
nicce
Thank you!
Genialne
💗💗💗
Świetny
Thanks!
looking for template for easter bunny paper plate craft. Thank you
Since you’re already an email subscriber, all you need to do is enter your email in the form at the end of any post and it’ll automatically redirect you to the download page 🙂
Kids will love making these crafts.
I hope so!
Very cute
Thanks!!
Students will love making these crafts.
So glad!