It’s nearly Halloween time and we’re even more excited than normal to celebrate!
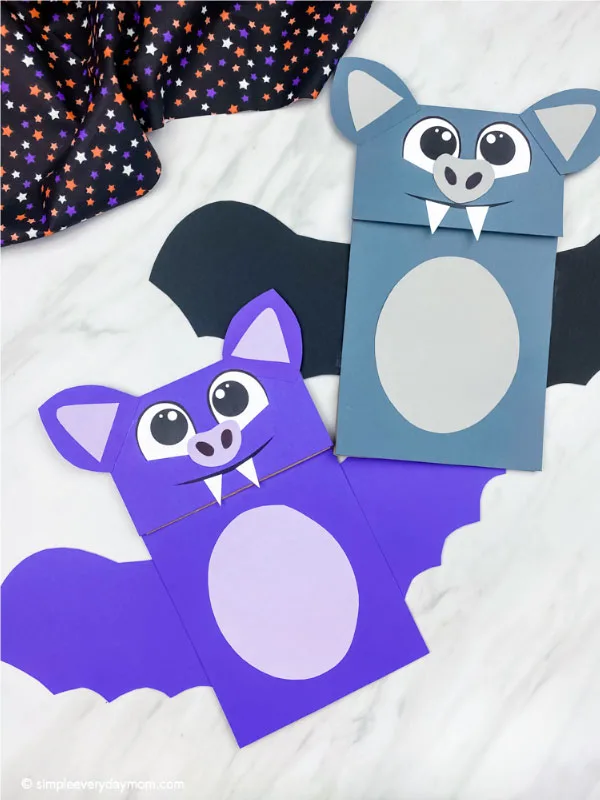
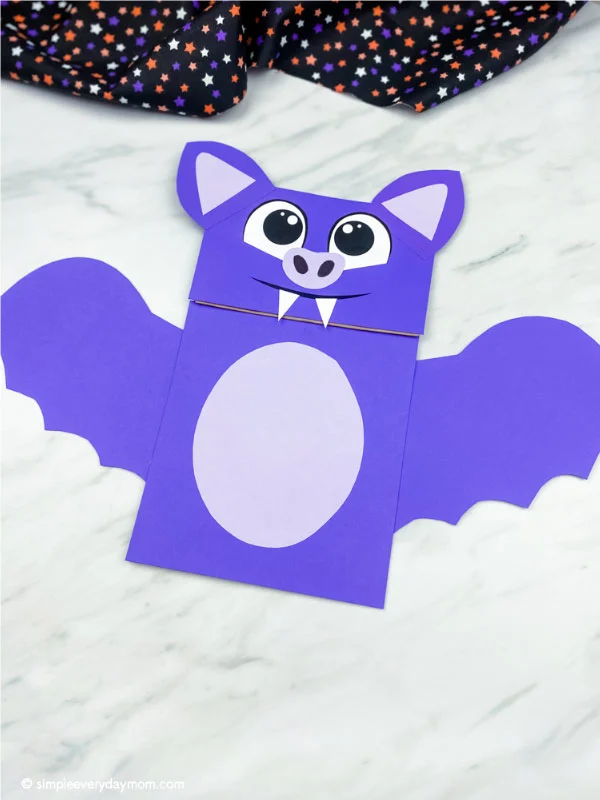
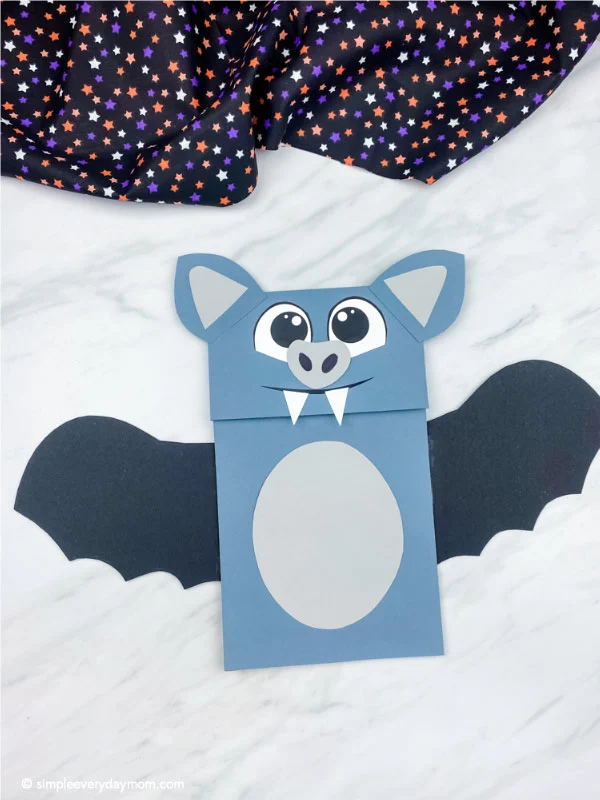
This time we’re sharing this paper bag bat craft for kids. It’s an easy paper bag puppet craft that kids will love creating at home or at school.
Just download our free printable template and let their creativity flow!
It’s a simple Halloween craft for kids that’s perfect for making with preschool, pre-k, and kindergarten children.
Watch our quick video tutorial to see all the steps in action.
Bat Craft For Preschool

This post may contain affiliate links. As an Amazon Associate and a participant in other affiliate programs, I earn a commission on qualifying purchases. Read our disclosure policy.
Supplies
- Brown paper bags
- Colored cardstock or construction paper (in shades of gray, black or purple)
- White paper
- Scissors
- Black marker
- Glue stick
- Free bat template (download form located at the end of this post)
Related: Toilet Paper Roll Bat Craft
Directions
Download the bat template, print, and cut out the pieces.
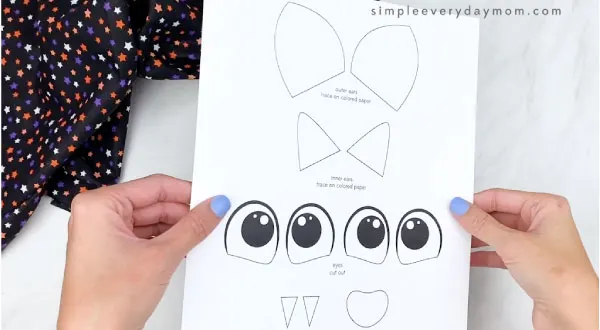
Begin making the bat by assembling the head. Glue the eyes in the middle of the head piece, then glue the nose in between the eyes, slightly overlapping them.
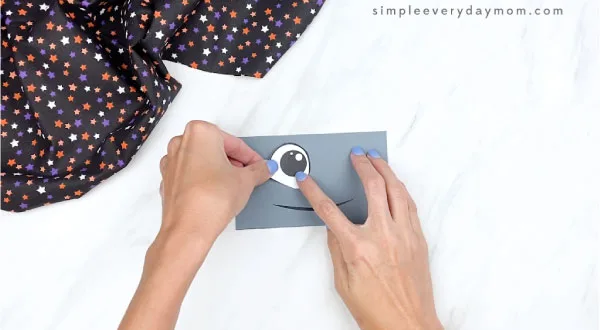
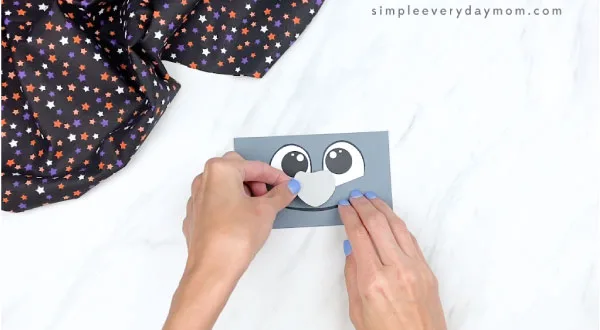
Use a black marker to draw the nostrils on the bat’s nose.
Place the bat’s fangs on the smile line and glue in place.
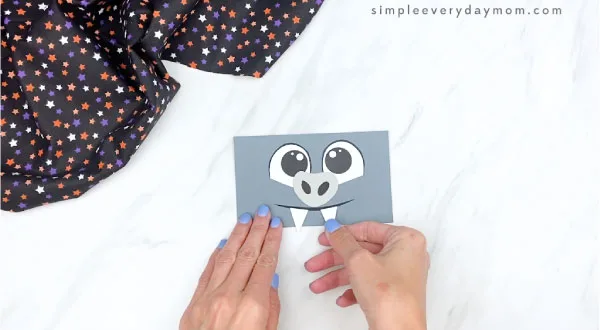
Glue the outer ears to the each of the corners, then take the inner ear and glue it to the middle of the outer ear.
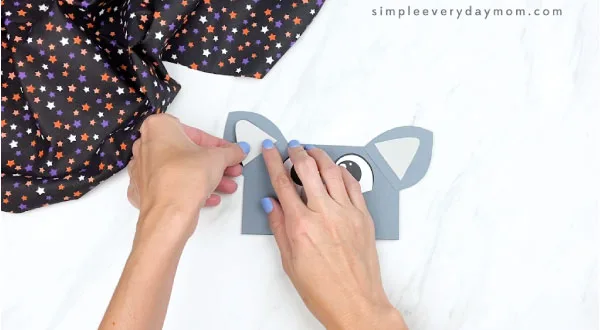
Take the completed bat face and glue it to the flap portion of the brown paper bag.
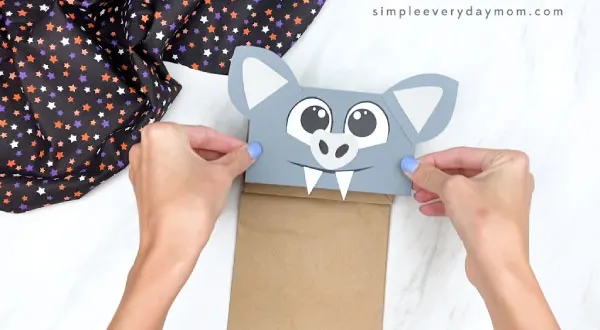
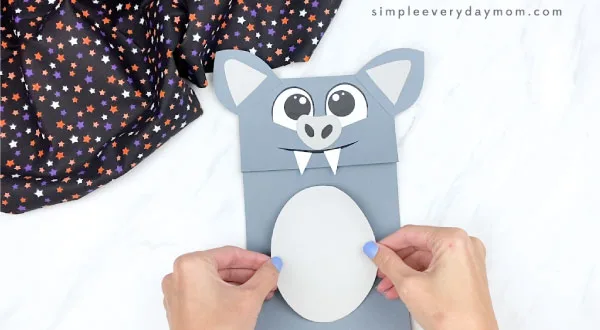
Make the bat’s body by gluing the body rectangle to the lower portion of the paper bag. Place the belly in the middle of the body and glue in place.
Finish off the bat by gluing the wings to the body. We like to open the sides of the bag and glue it in the middle, but you can also glue it the to back of the paper bag if you prefer.
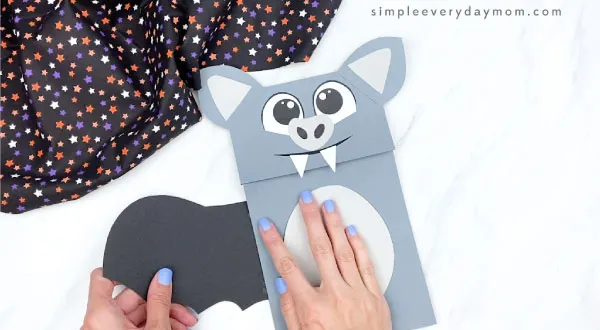
Isn’t this little bat too cute?!
We think this bat puppet would be a fun craft to do at a school or homeschool Halloween party!
Halloween Preschool Unit
Another way to incorporate this craft is to have a week or couple day period of Halloween activities leading to the big day.
You can do a mix of fun and educational activities to celebrate and learn!
We always recommend starting with reading to your kids. Below are some of the top-rated Halloween books for kids. Add them to your home collection or borrow them from your local library.
Room On The Broom: This has to be one of our most favorite Halloween books of all time! The story follows a witch and her cat as they happen upon some animals who help the witch. There’s danger, mystery, and friendship in this adorable children’s story.
5 Minute Spooky Stories: We love Disney’s 5 minute storybooks and this one is perfect for Halloween! See how all your favorite Disney characters celebrate this spooky holiday.
Ten Timid Ghosts: This is a fun countdown book about a witch who moves into a haunted house where 10 ghosts already live. The witch scares the ghosts out one by one until they devise a scheme to get her out of their house. This Halloween children’s book is good for kids who love rhyming stories!
We love using these Halloween pattern block mats with young kids. They’re great at helping with fine motor skills and for introducing foundational math concepts.
You can also print out some simple Halloween matching game cards to help your child with visual memory, patience, and social skills like taking turns.
All you need to do is print them out and laminate them (if you want to reuse them) and start playing!
Share With Us
Did you make this craft with your children or students? We would love to feature them on our Facebook page and in our Facebook group!
Take a quick picture and share it with us by posting on our Facebook page or email us. We can’t wait to see them!
Spooky season is here and what better way to celebrate than with this delightful candy corn headband craft! This candy corn headband craft is a wonderful way for kids to improve their fine motor skills and follow instructions. The craft is simple, engaging, and easy to make!
More Halloween Ideas For Kids
Paper Bag Bat Craft
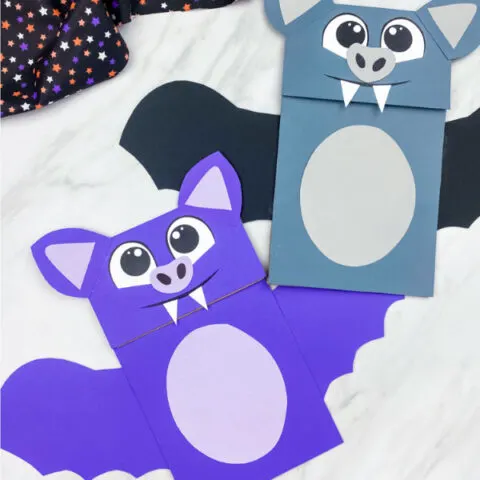
Learn how to make this simple paper bag bat craft with the kids this Halloween season!
Materials
- Brown paper bags
- Colored cardstock or construction paper (in shades of gray, black or purple)
- White paper
- Scissors
- Black marker
- Glue stick
- Free bat template (download form located at the end of this post)
Instructions
- Download the bat template, print and cut out the pieces.
- Begin making the bat by assembling the head. Glue the eyes in the middle of the head piece, then glue the nose in between the eyes, slightly overlapping them.
- Use a black marker to draw the nostrils on the bat's nose.
- Glue the outer ears to the each of the corners, then take the inner ear and glue it to the middle of the outer ear.
- Place the bat's fangs on the smile line and glue in place.
- Take the completed bat face and glue it to the flap portion of the brown paper bag.
- Make the bat's body by gluing the body rectangle to the lower portion of the paper bag. Place the belly in the middle of the body and glue in place.
- Finish off the bat by gluing the wings to the body. We like to open the sides of the bag and glue it in the middle, but you can also glue it the to back of the paper bag if you prefer.
Free Bat Template

Sam is the crafter and founder of Simple Everyday Mom. She has been featured in Oprah Mag, Good Housekeeping, The Spruce Crafts, Country Living, The Bump and more. Read more.




Matt Boch
Saturday 14th of January 2023
Cool
Sam
Monday 16th of January 2023
Thanks!