Simple Paper Bag Pilgrim Craft [FREE Template]
All activities require adult supervision. By using this site, you agree to our terms of use. This post may contain affiliate links. As an Amazon Associate and a participant in other affiliate programs, I earn a commission on qualifying purchases. Read our disclosure policy.
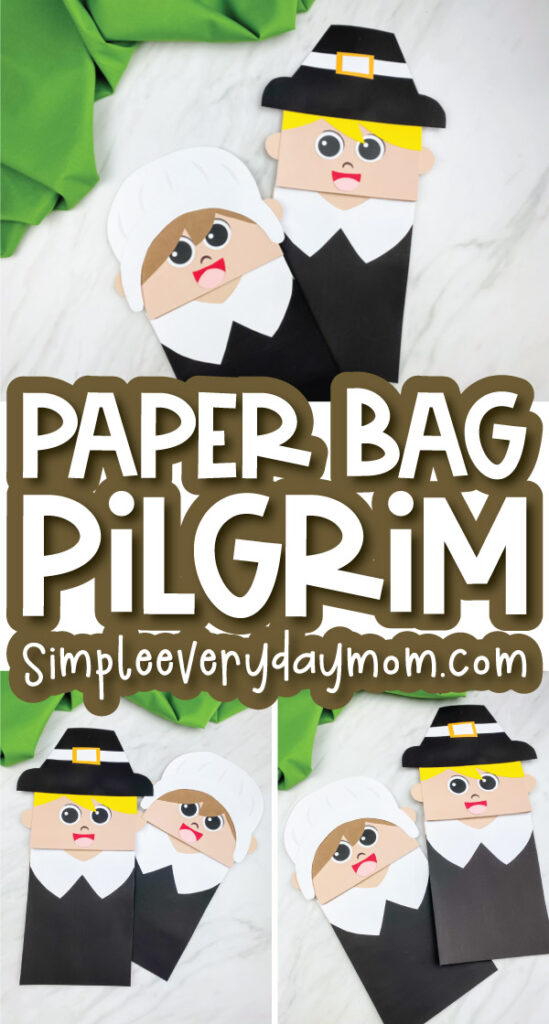
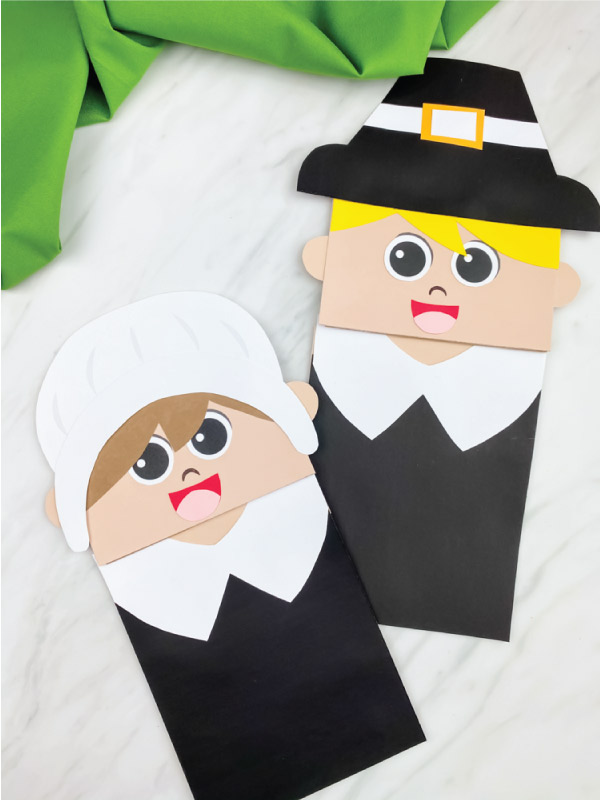
This paper bag pilgrim craft is the perfect Thanksgiving project for the kids to do! It’s a great preschool Thanksgiving craft that’s fun to make too.
If you’ve looked around our site, you know we love paper bag puppet crafts. We make them for every season and for anything we can think of.
They’re great because they’re cheap, easy to make and fun to play with once the kids are done making them!
Last year we made a cute turkey paper bag puppet so this year we’ve created these simple pilgrim puppets to go along with it.
They come with a free printable template so it’s easy to recreate at home or in the classroom.
We think preschoolers, pre-k, and kindergarten children will love creating their own pilgrim for Thanksgiving Day!
Pilgrim Puppet Craft
Supplies
- Brown paper bags
- Colored cardstock or construction paper
- Scissors
- Glue
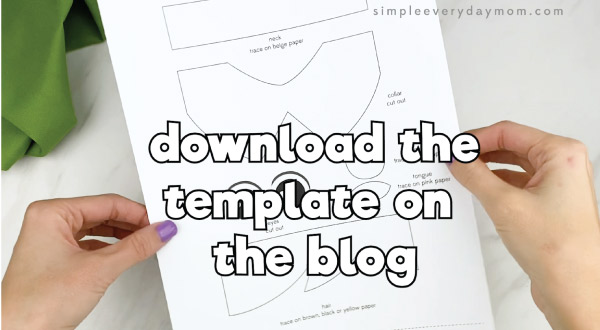
- Pilgrim puppet template (download form located at the end of this post)
Directions
Download the pilgrim template, print and cut out the pieces you need.
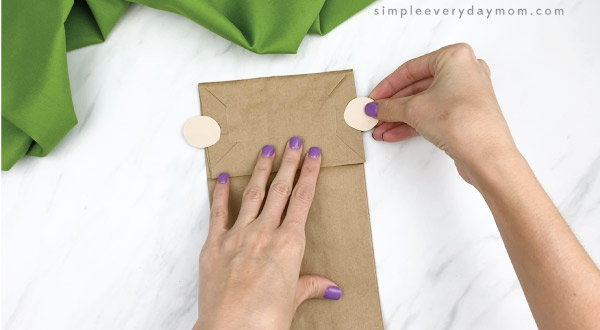
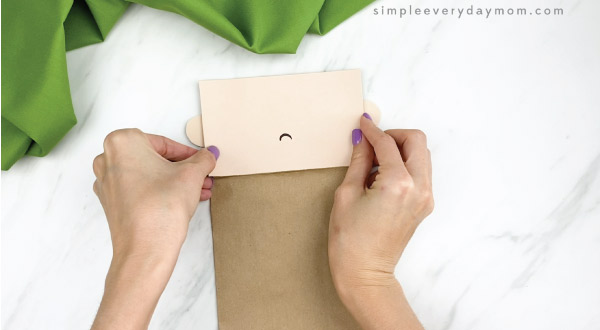
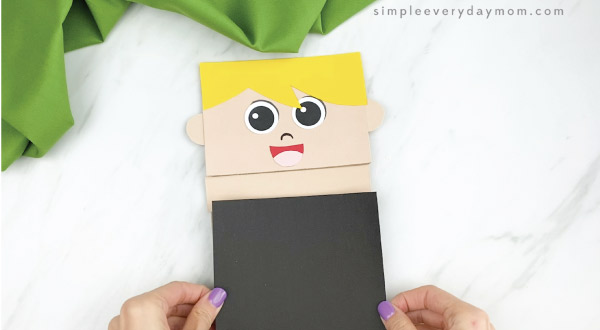
Assemble the head by gluing the ears on either side of the paper bag flap. Next glue the face on top of the flap.
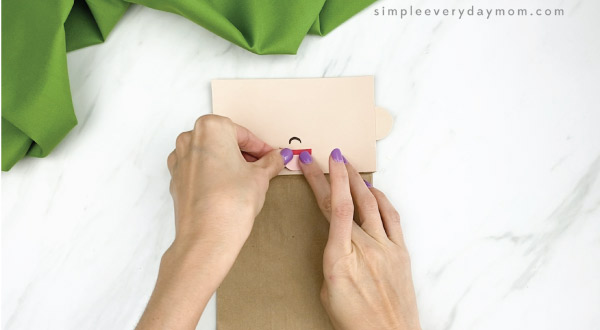
Create the mouth by gluing the tongue to the mouth and trimming off any excess paper. Take the completed mouth and glue it below the nose.
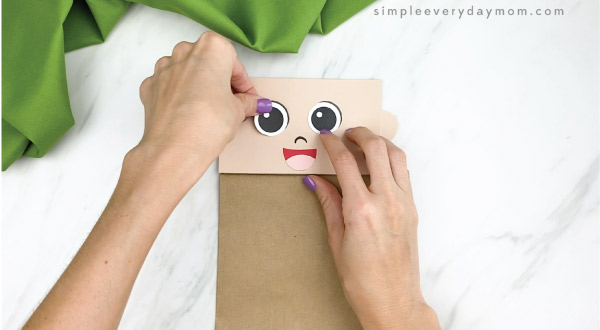
Place the eyes slightly above the mouth and glue in place.
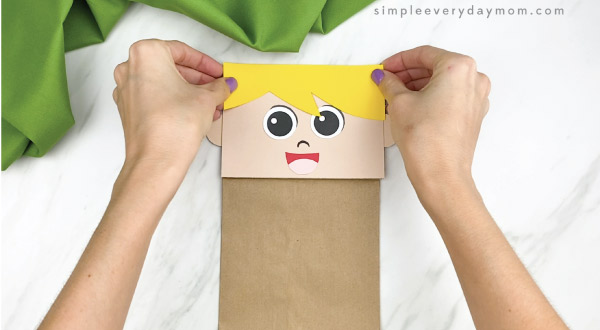
Glue the hair above the eyes, then glue the neck on the main piece of the paper bag, just below the head.
Position the black body on the main part of the paper bag and glue it slightly over top the neck piece.
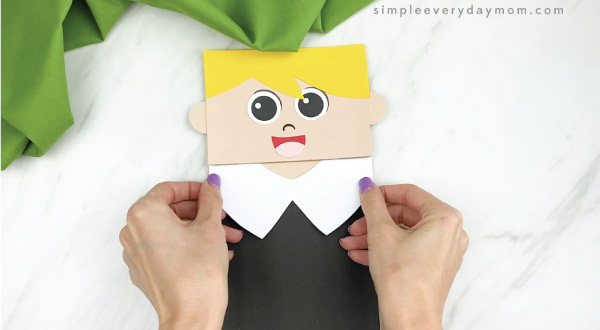
Next, glue the collar to the top of the neck. You only want to see the skin colored paper in the center of the collar, not the black paper.
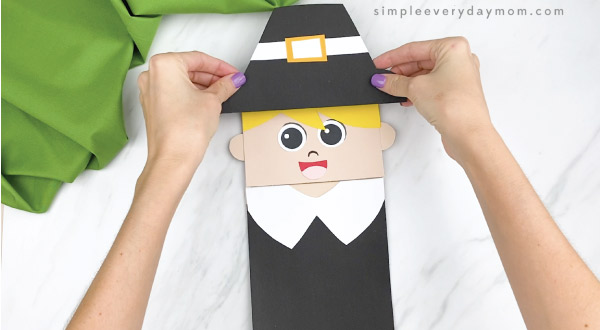
For boy pilgrims, assemble the pilgrim hat by gluing the white strip on the hat. In the middle of the strip, glue the gold rectangle and then on top of that glue the white rectangle. Trim off any excess paper that falls off of the hat.
For the girl pilgrims, glue the front of the bonnet to the back of the bonnet.
Take the completed hat or bonnet and glue it towards the top of the hair.
You’re done! Now your child has a fun pilgrim puppet they can use to tell the story of the first Thanksgiving!
Thanksgiving Fun
Looking for some Thanksgiving fun and learning for your kids? Look no further than this Thanksgiving fun bundle! It’s packed with 79 pages of Thanksgiving-themed worksheets, do a dot printables, family activities, and more. This is the perfect way to get your kids excited about Thanksgiving and help them learn all about this special holiday. So don’t wait – grab the Thanksgiving printables bundle today!
Thanksgiving Kids Activities
If you’d like to make a whole Thanksgiving unit for your child, we’ve got some great ideas to get you started! Browse through, find your favorites, and get ready for some fun fall activities!
Kids’ Thanksgiving Books
Reading aloud to children is one of the simplest, yet most important things parents can do to help their kids develop a love of reading and to prepare them for success in school.
Reading aloud stimulates brain development and helps children learn to read. It also helps them develop vocabulary and comprehension skills. By reading aloud to their children, parents can help shape their children’s lives in a fabulous way!
Below are some of the top Thanksgiving books for kids:


Turkey Trouble – If you’ve never read this book, you have to add it to your holiday collection! It’s so cute and fun and kids just love it! Follow the turkey around the farm as he disguises himself as different animals so the farmer doesn’t catch him for Thanksgiving dinner!
How To Catch A Turkey – Kids who love the How To Catch books will want to see all the crazy contraptions kids make to try to catch a turkey loose at the school!
Pete The Cat: The First Thanksgiving -Every Pete the Cat book is fantastic, but this one takes it up a notch with flaps for the kids to open. It’s a great way to get the kids excited about reading and Thanksgiving!

Thanksgiving Crafts For Kids
Crafts are a fantastic way to work on things like scissor practice, glue control, fine motor skills, following directions, and more! Try adding in some of these ones:
Handprint Turkey Craft – Thanksgiving is almost here, which means it’s time to start thinking about turkey crafts! This handprint turkey craft is a fun and easy way for kids to get involved in the holiday preparations. Best of all, it doesn’t require any paint, so it’s perfect for even the littlest hands.
Paper Bag Scarecrow Craft – It’s time to start thinking about scarecrows! This scarecrow puppet is perfect for kids to make. Not only is it fun for pretend play, but it’s also a great way for kids to use their imagination!
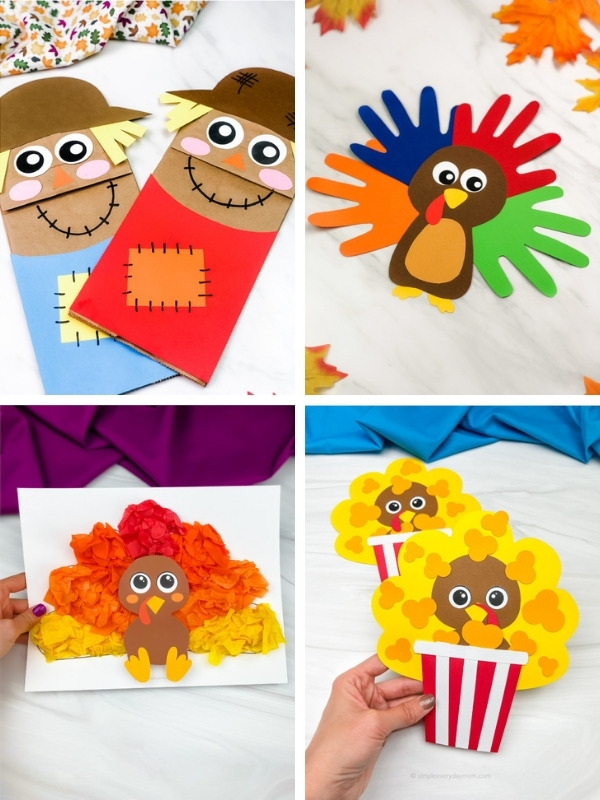
Popcorn Turkey Disguise Craft – Looking for a silly and fun way to hide your turkey in plain sight this Thanksgiving? Try this turkey in disguise craft! It’s perfect for movie lovers!
Tissue Paper Turkey Craft – This year, get your little ones in on holiday prep with this easy turkey craft. Not only is it a fun way to spend an afternoon together, but it’s also a great opportunity to work on fine motor skills. Plus, once your child is done, they’ll have a cute decoration to help get everyone in the Thanksgiving spirit.
Kids’ Thanksgiving Activities
These Thanksgiving I Spy printables are a great activity for young children. They will help kids with visual discrimination, counting, and writing numbers. Plus, they’re super fun and engaging!
Want a simple STEM activity? These Thanksgiving pattern block mats are perfect for that. They’ll help with shape recognition, fine motor skills, and pattern recognition.

We also love using this roll a turkey printable game for kids. Just print, grab some colorful candy or pom poms, and let the kids play!
If you want to include the whole family in Thanksgiving festivities, these Thanksgiving activities for kids are perfect. You’ll find bingo cards, a gratitude tree printable, turkey headbands, a kids activity placemat and so much more!
There are endless ways to make an easy and engaging Thanksgiving unit for your preschoolers to learn and explore!
More Thanksgiving Fun
- Get kids this giant Thanksgiving coloring page poster to keep the kids busy for hours!
- Little girls will look so adorable in this retro “Give Thanks” t-shirt.
- This turkey lollipop holder is cute and kids will love it!
Share With Us
Did you make this project with your kids or students? We’d love to feature them on our social media!
For a chance to have your child’s project featured, simply snap a picture of the completed project and post it to our Facebook page, email it to us directly by clicking here, or use #simpleeverydaymom on your social media!
Paper Bag Pilgrim Craft
Video
Materials
- Brown paper bags
- Colored cardstock or construction paper
- Scissors
- Glue
- Pilgrim puppet template download form located at the end of this post
Instructions
- Download the pilgrim template, print, and cut out the pieces you need.
- Assemble the head by gluing the ears on either side of the paper bag flap. Next glue the face on top of the flap.
- Create the mouth by gluing the tongue to the mouth and trimming off any excess paper. Take the completed mouth and glue it below the nose.
- Place the eyes slightly above the mouth and glue in place.
- Glue the hair above the eyes, then glue the neck on the main piece of the paper bag, just below the head.
Position the black body on the main part of the paper bag and glue it slightly overtop the neck piece.- Next, glue the collar to the top of the neck. You only want to see the skin colored paper in the center of the collar, not the black paper.
- For boy pilgrims, assemble the pilgrim hat by gluing the white strip on the hat. In the middle of the strip, glue the gold rectangle and then on top of that glue the white rectangle. Trim off any excess paper that falls off of the hat.
- For the girl pilgrims, glue the front of the bonnet to the back of the bonnet.
- Take the completed hat or bonnet and glue it towards the top of the hair.
Did you make this?
Don’t forget to leave a comment below and make sure to follow on Pinterest, Facebook and TikTok for more!
Paper Bag Pilgrim Template

Meet Sam
Sam is the crafter and founder of Simple Everyday Mom. She has been featured in Oprah Mag, Good Housekeeping, The Spruce Crafts, Country Living, The Bump, and more.


I have tried to receive two different templates and neither of them has been delivered despite a message indicating that they had been sent to my email. The site is very cumbersome to navigate. Please advise how to retrieve these templates.
Thanks
Hi! I checked your email address in the system and it shows that you did enter your email in the form to get the template and that you were redirected to the download page. Since you’re already a subscriber, it won’t email you the template. It will be on the page you are redirected to. Please let me know if you have any other questions.
Can I get the template please
Since you’re already an email subscriber, all you need to do is enter your email in the form at the end of any post and it’ll automatically redirect you to the download page ◡̈
Thanks! I’m looking forward to using the free template with my students!
You’re welcome! I hope they enjoy the activity ◡̈
I am excited to use this with my class. It will be used in AHG.
Oh, great!
couldn’t get the free template, I don’t think.
Uh oh! Did you enter your email in the form at the end of the post?